
After a few botched attempts I was sent this no-knead bread video from a friend, which has worked really well for us. However I find it annoying to have to re-watch it every time I want to bake bread and need to know the amounts, so am copying it out here, along with my own notes and a few variations for those of you who fancy giving it a go.
Original version – You’ll need:
- 3 cups (approx 350g) plain/all-purpose or bread flour (you can also mix in half and half wholemeal flour or 1 cup wholemeal to 2 cups white flour – whatever combo you fancy).
- 1/4 teaspoon of dried yeast (she says it doesn’t matter what kind of yeast, can be regular yeast, instant or fast-action dried yeast)
- 1 teaspoon salt (I think it needs more than this so I go for a very generous 1.5 teaspoons)
- 1.5 cups (approx 175ml) of very hot (but not boiling) water (she suggested around 50 degrees, which I think is roughly half cold water half boiling water, or alternatively very hot water straight from the tap, though it depends on how hot your tap gets!
- Optional: I like to add seeds to my bread, so I add a large tablespoon of mixed sunflower seeds and pumpkin seeds, but other seeds would work too. You can try a little more or less until you work out how many seeds you like in your bread.
- Cling film and Baking paper
- Large mixing bowl
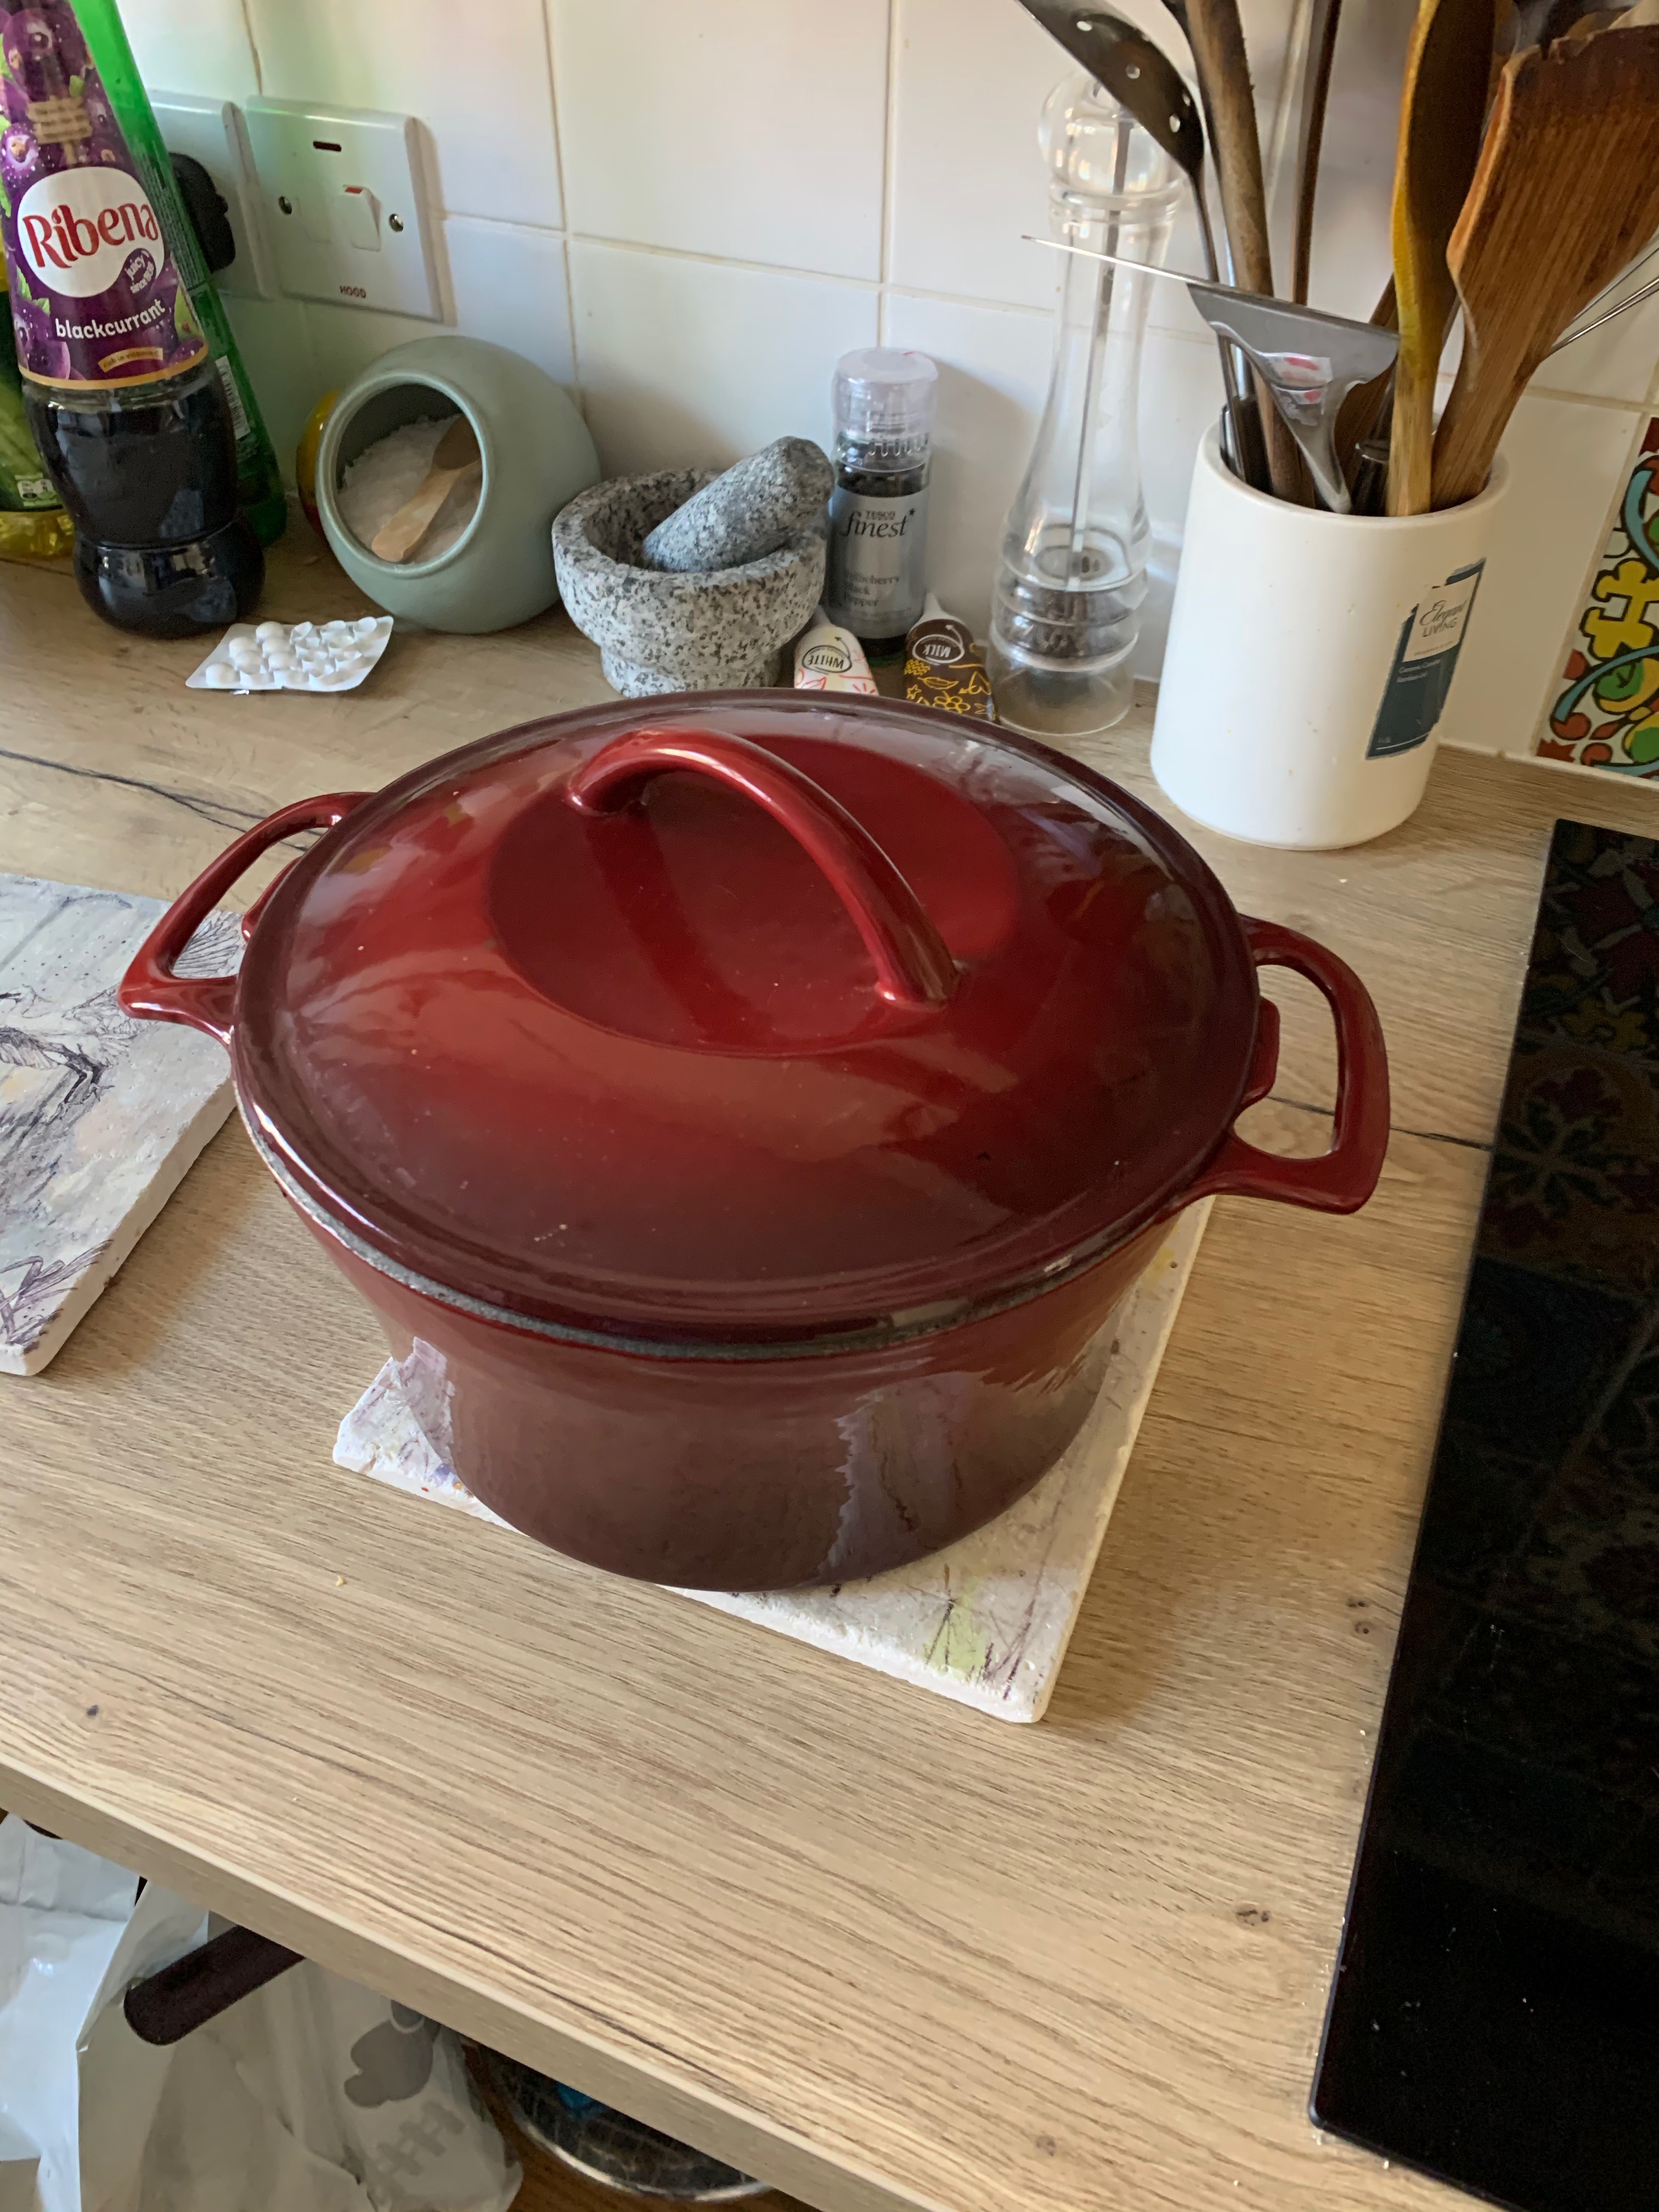
- Large pot (Dutch oven) with a lid that can go in the oven (ideally a le creuset or cast iron pot) – make sure the lid doesn’t have a handle that will melt.
Here is the short version of the steps, with more detail given below (it might help to watch the video once to see how it is done, but I find it super annoying to have to keep watching it every time I make bread….)
- Mix all the dry ingredients together really well in a large bowl, including the seeds if you are using them.
- Add the hot water and mix really well
- Cover with cling film and leave for minimum of 3 hours, up to 24 hours, on the kitchen counter
- Flour the worktop and scrape dough out, dust with flour and lightly turn, shape into a ball and place into a bowl lined with baking paper and cover with a tea towel
- Heat oven with pot in it to 230c / 450F, and leave dough for approx 45mins somewhere warm if possible
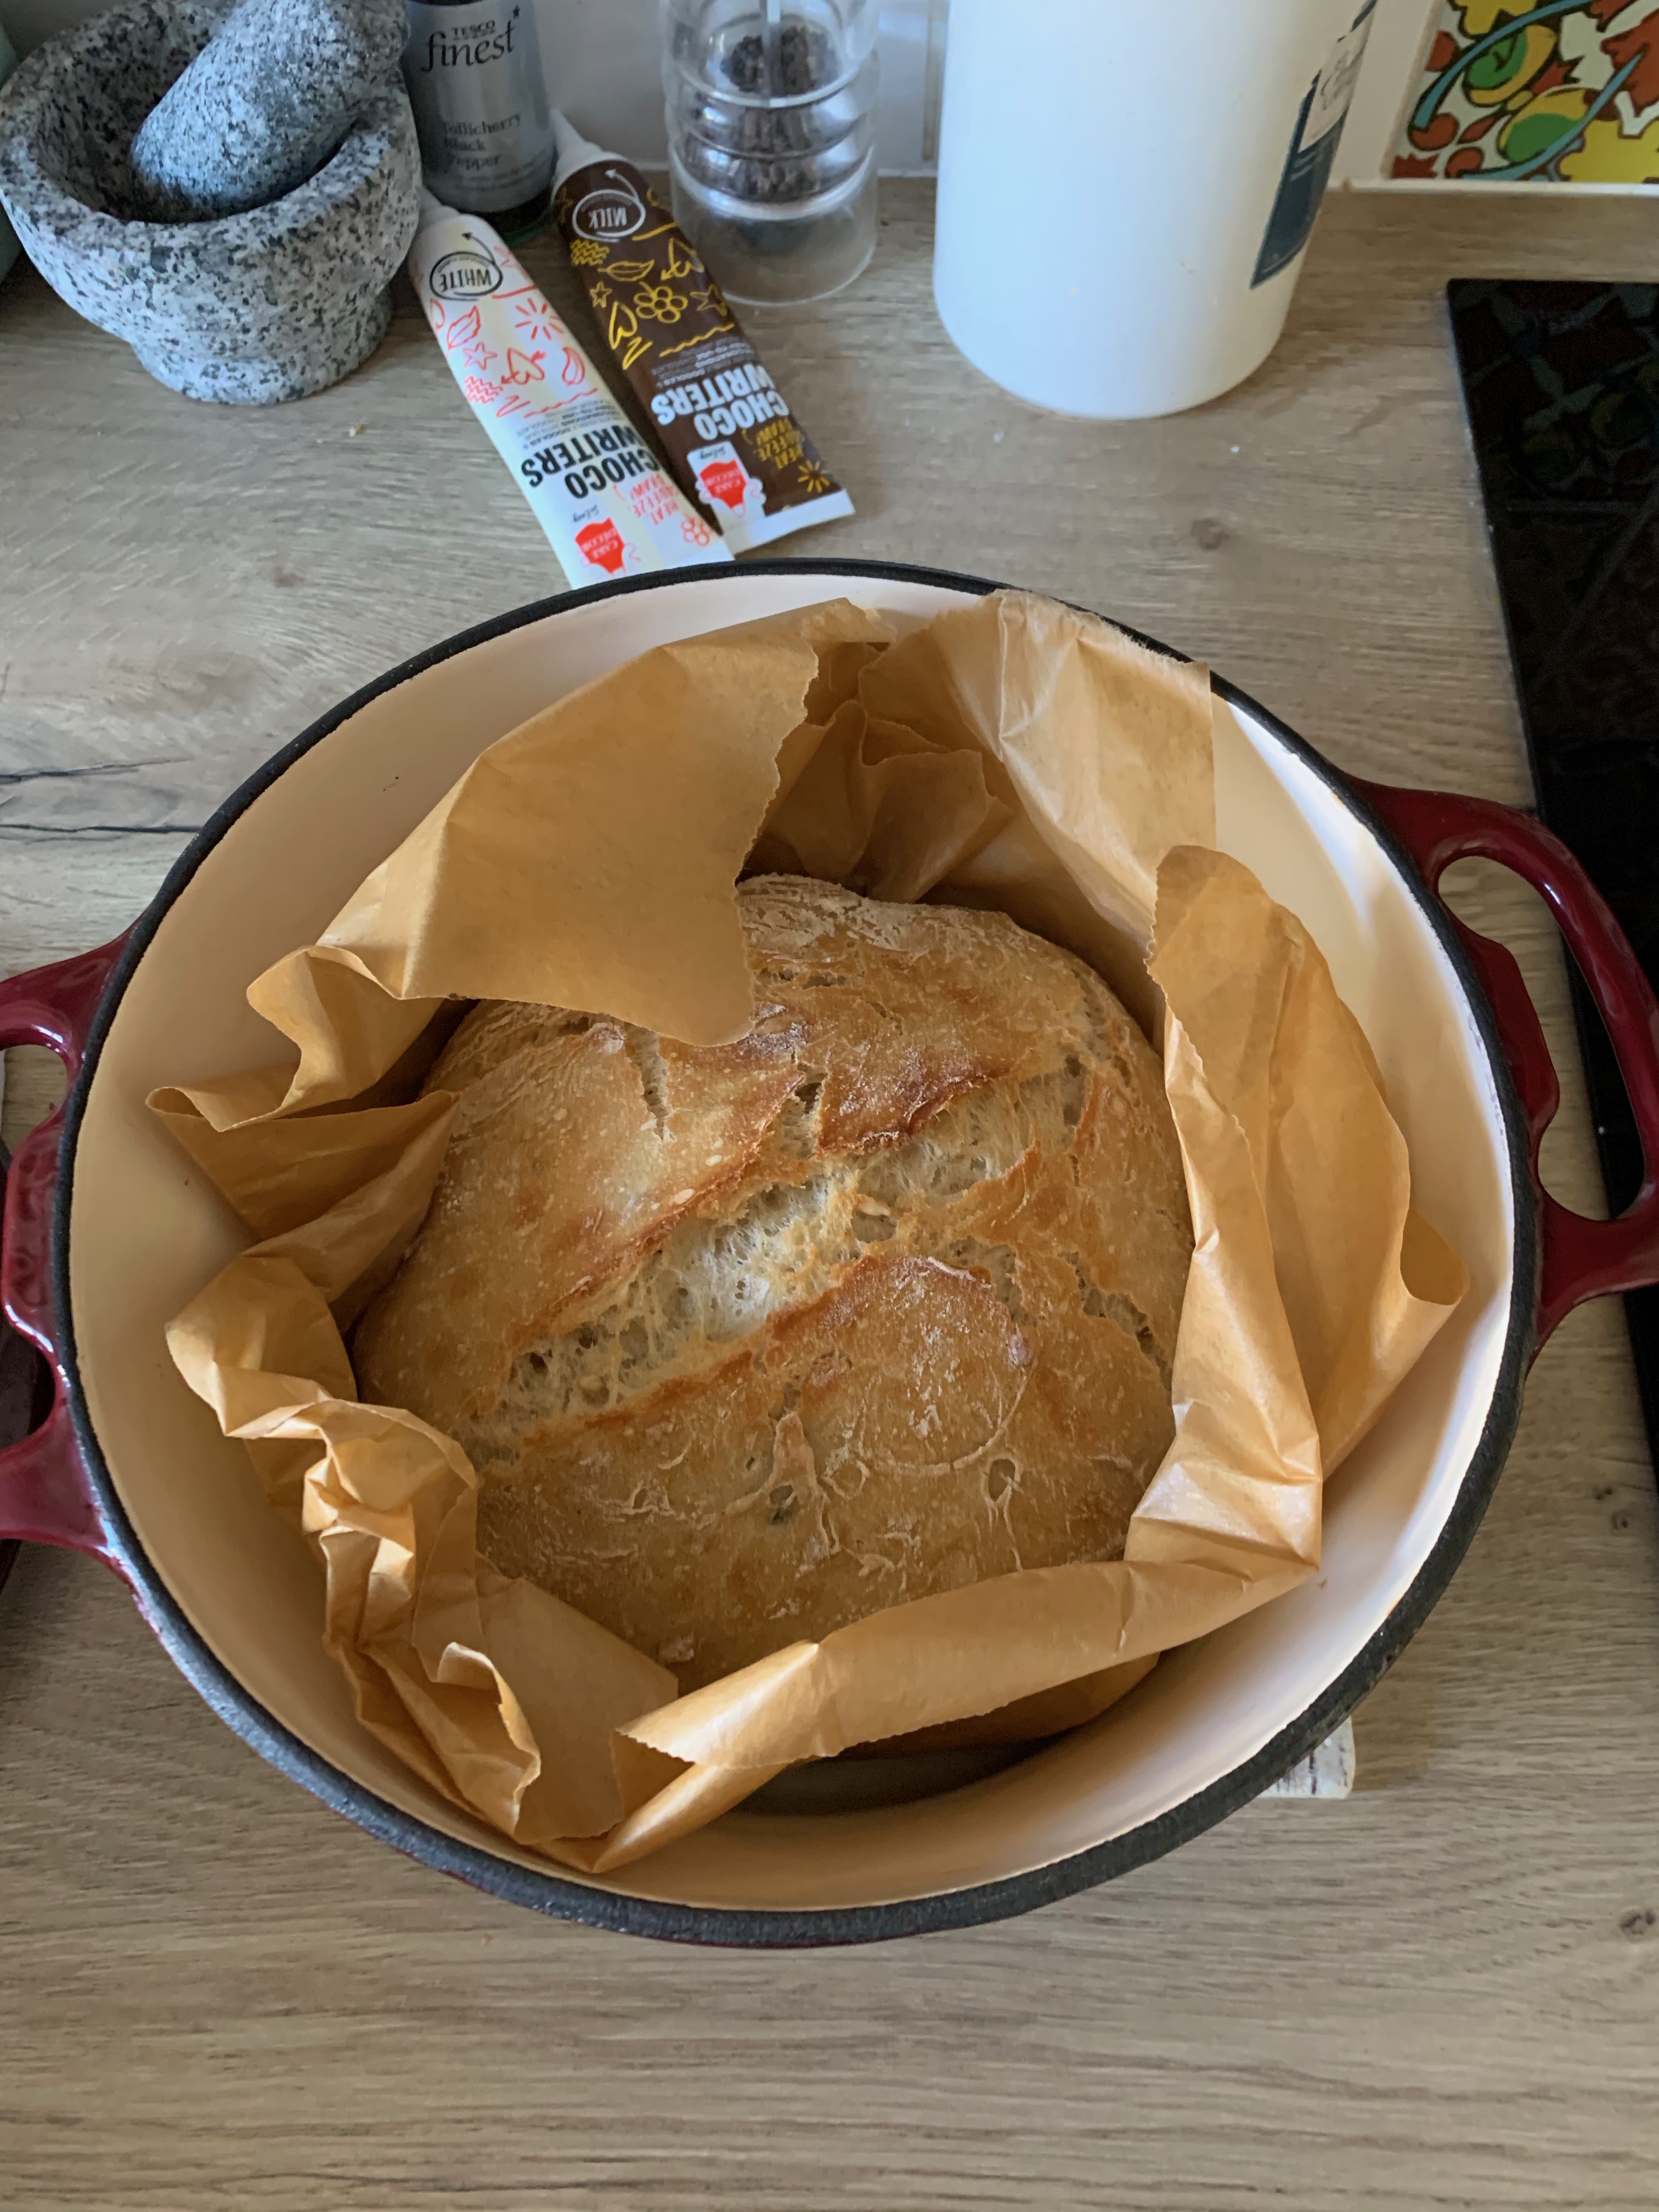
- Lift the baking paper and dough and place into pot, lid on, and into oven for 30 mins
- Remove lid and paper, and back into oven for 10-15mins to brown
More detailed notes: It will be quite a sticky, stringy dough, not suitable for kneading, which is fine as it’s no-knead bread anyway! She says in the video you can leave it for 3 hours, and it can just be on the counter top and not in a warm place, but I think it does need to be slightly warm if you are only prooving it for 3 hours. You can also make this up and leave it overnight, or up to 24 hours just out on the side in the kitchen – I prefer this as you can make it anytime during the day before, and then get it ready to bake the next morning so you’ll have fresh bread for lunch.
After either 3 hours or overnight, you’ll need to flour your worktop and scrape the dough out onto the floured surface. Lightly dust it with flour and gently roll it so it is lightly covered with flour, or use a scraper to turn it a couple of times. The flour on the outside helps to make it manageable as it’s so sticky. You don’t need to knead it at this point, just turn it a couple of times so that it’s floured, and shape it into a ball or loaf shape. Then line a large bowl with baking paper and drop your ball of dough into the bowl onto the baking paper. Cover it with a towel and let it sit again for at least 45 mins.
Ideally it will be warm while it rises the second time. So put your bowl near the oven and put your large pot with a lid (needs to be an oven-safe pot like a cast-iron one or one with a lid that won’t melt) into the oven and turn it on to heat up to 230 degrees celcius (450 Fahrenheit). The pot needs to heat up inside the oven so it will be nice and hot.
After about 45 mins, when the oven and pot are good and hot, and assuming your dough has risen again a little bit, get your very hot pot out (be careful – you’ll need good oven gloves and you might need a trivet or something to put it on so you don’t burn your counter top). Lift the bread out of the bowl by lifting the baking paper, and transfer it – including the paper, into the hot pot. Put the lid on and pop it back into the oven for 30 mins.
After 30 mins, take it out, take the lid off, remove the paper, and put the bread back into the pot without the llid. and return it to the oven for 10-15mins to get the crust nice and brown and crusty. As the oven is super-hot it will go pretty dark brown, but otherwise you won’t have a nice crunchy crust. You can experiment with your oven to see what works best for you.
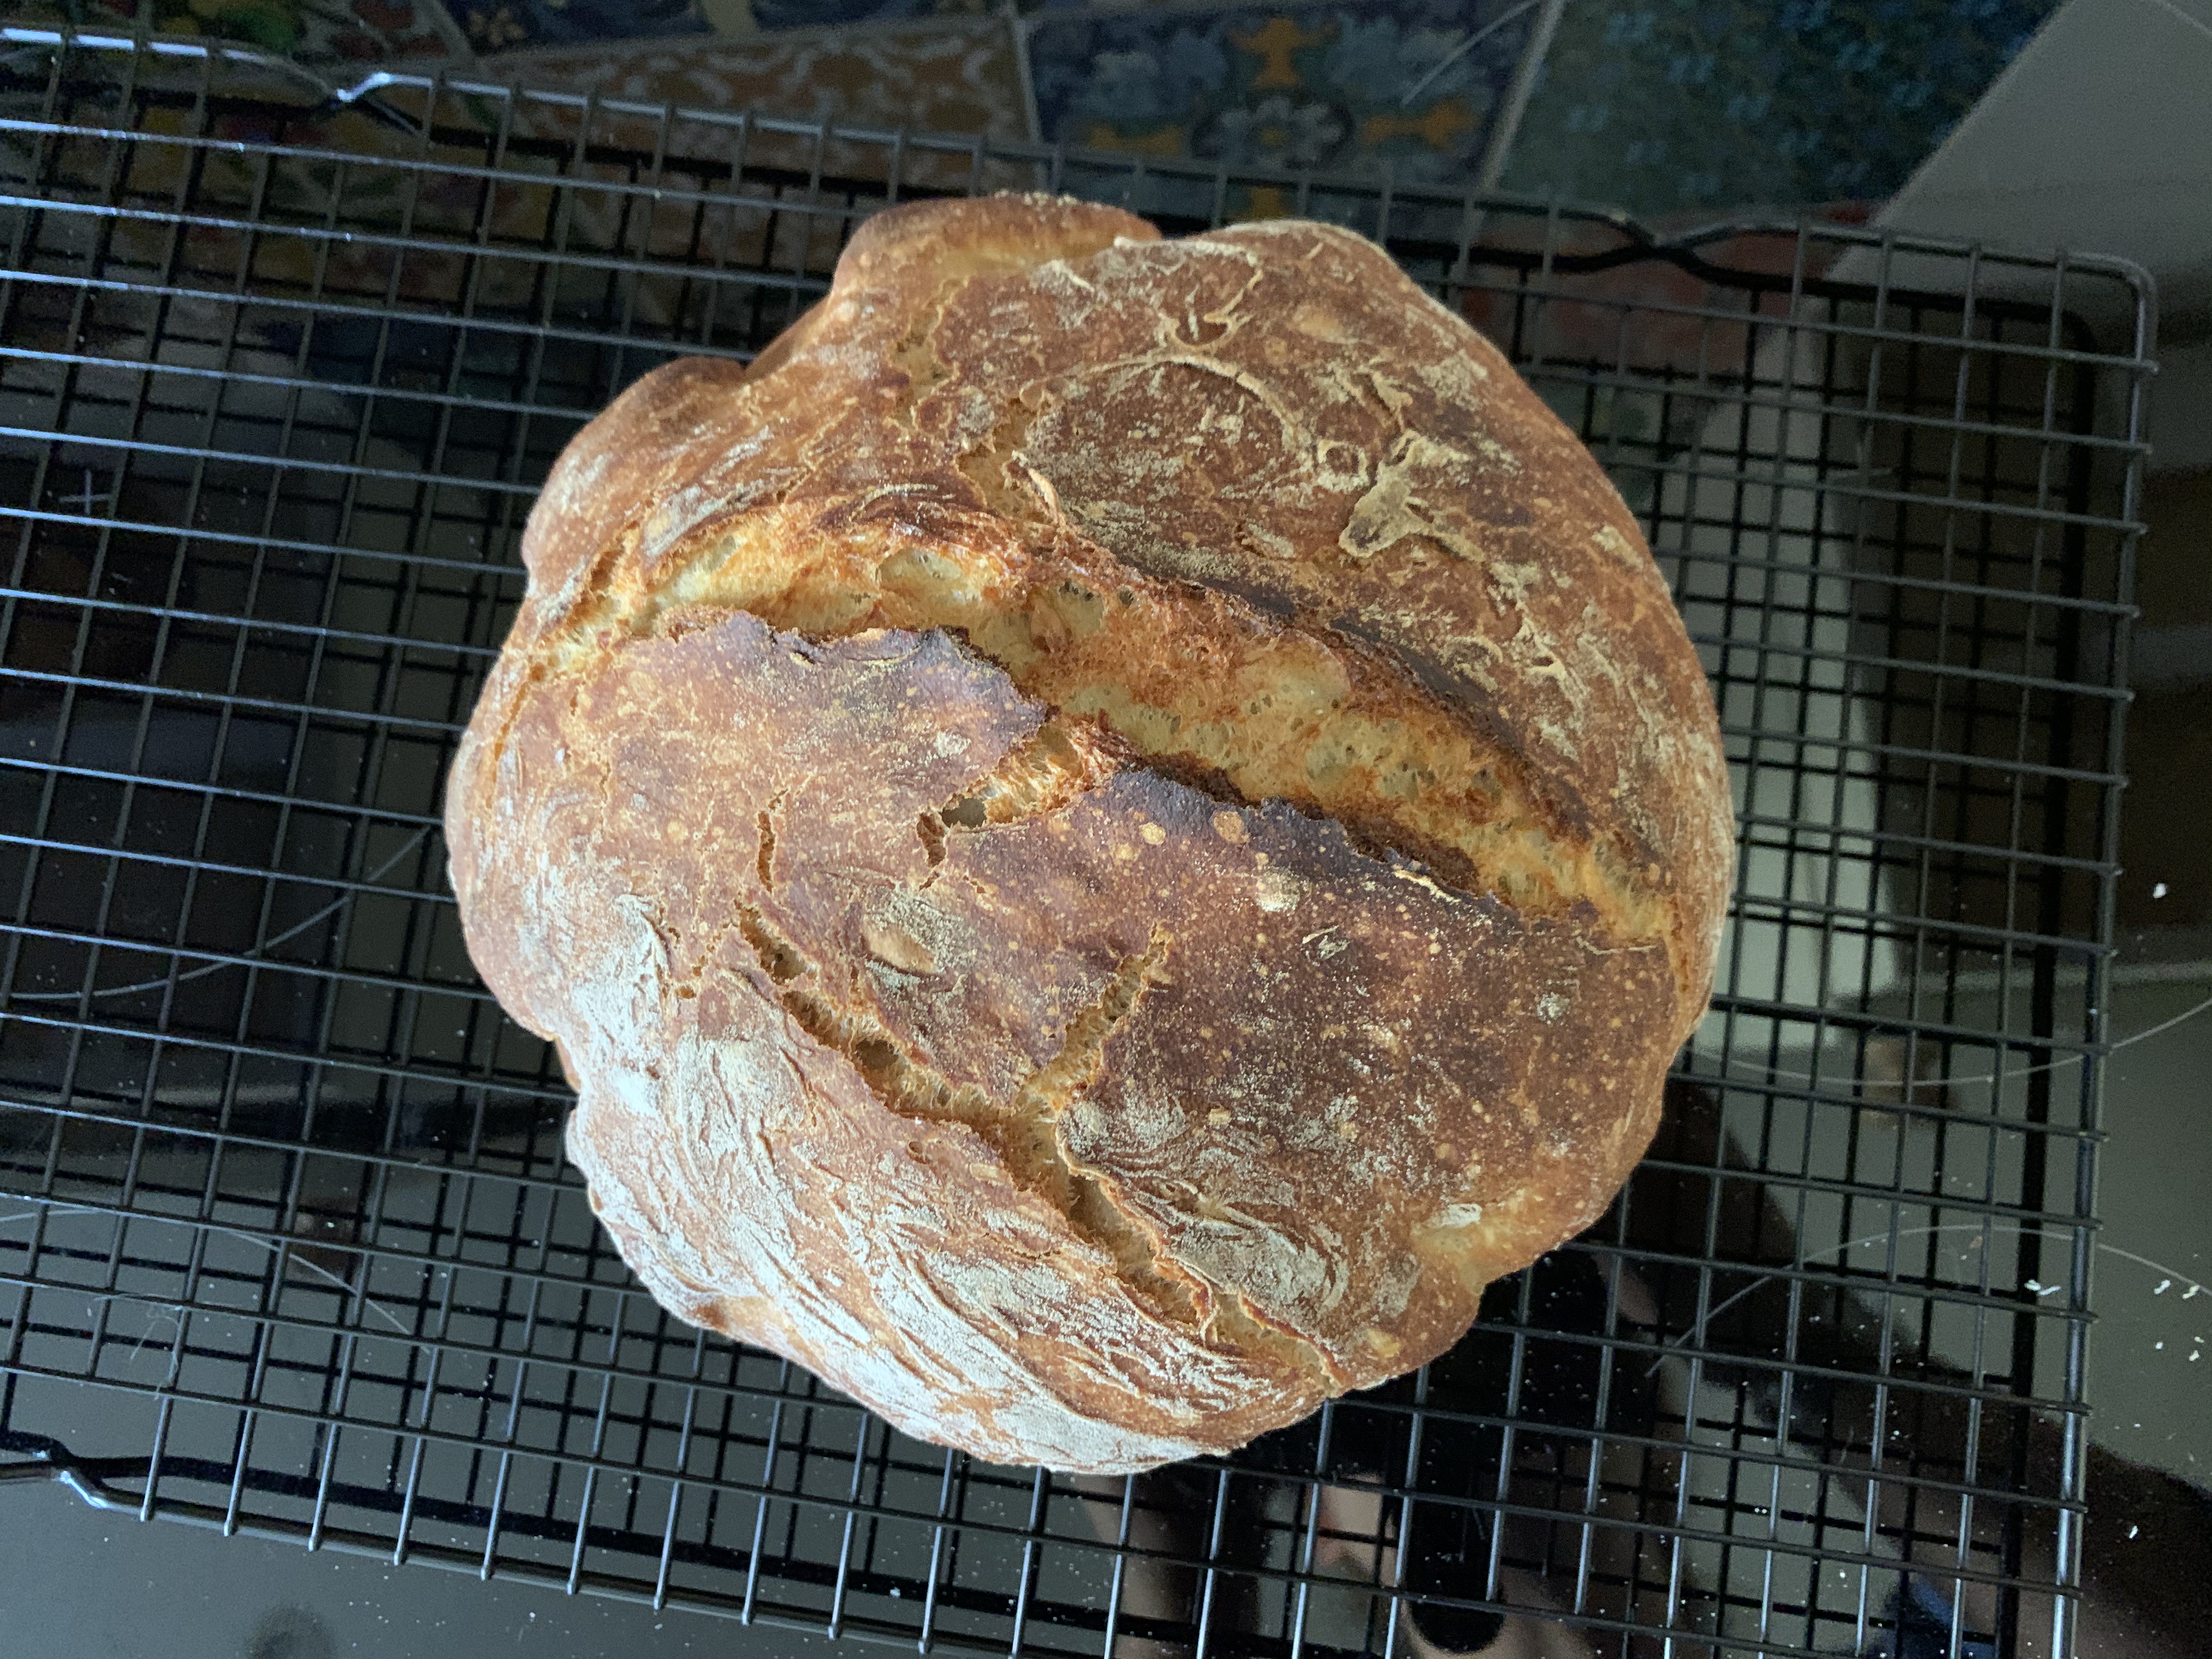
Then leave it on a rack to cool!
Variations:
You can add olives to this dough (though why would you when olives are so disgusting?). My neighbour adds chilli and cheddar to make delicious chilli cheese bread.
I made mine with harissa and sun-dried tomatoes which was delicious. I added about 4-5 sun dried tomatoes, chopped into small pieces, and a large heaped teaspoon of harissa paste. You’ll need to make sure it is well-mixed through, so you could add the tomatoes to the dry mix and stir, and maybe stir the harissa paste into the hot water and mix it before adding it, to ensure a more even spread through the dough.
