
After getting really REALLY into my new hobby (and while wondering how I would fill my days in the summer with no pottery to look forward to), I have been watching The Great Pottery Throwdown on the BBC, and getting lots of ideas and techniques.
I then found a place in Wiltshire that offered Raku firings so I booked myself in for an afternoon of Raku!
Raku is a Japanese form of glazing pottery that involves an outdoor kiln, where you bring the pots very rapidly up to about 1000 degrees, then remove them and immerse them in a combustible (usually sawdust or similar) which starves the pot of oxygen while it is oxidising and producing a lot of carbon, (a process called “reduction”).
Then the pots are removed and immersed in water, and scrubbed to get some very unusual glazing effects. The most common ones are the metallic colours from the oxides you paint on while glazing (Raku glazes are oxide-heavy to get this shiny metallic effect), and something called Crackle glaze, which is usually white, and which cracks in a rather beautiful way due to the sudden changes from hot to cold.The bits you leave without any glaze on will turn matt black in the Raku process, so you can use tape to make interesting designs as well.
While a normal kiln will take many hours to heat up and cool down, and will often go up to 1500 degrees, Raku is quick and unpredictable. Pots are at a higher risk of breaking and cracking during the process, and it is very hard to predict what a glaze will look like or to replicate an effect. The amount of oxygen and heating/cooling processes depend on where your pot is in the kiln, whether it is on top or bottom during the reduction phase, and how long they are left in each phase, so it’s all very experimental and unpredictable!
It can also only really be done in the summer, as you need a clear, non-rainy day in order to do it, so it was perfect for me while my usual class is on summer break!
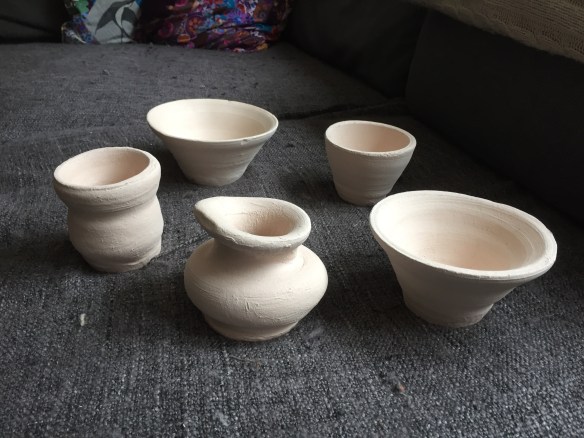
Here are some pots I made beforehand, which were bisque-fired first (these were made out of Crank, a slightly coarser clay more likely to stand up to the Raku firing process!).
Pots go into the gas-fired kiln first, and are checked to see when the glaze has started to melt…
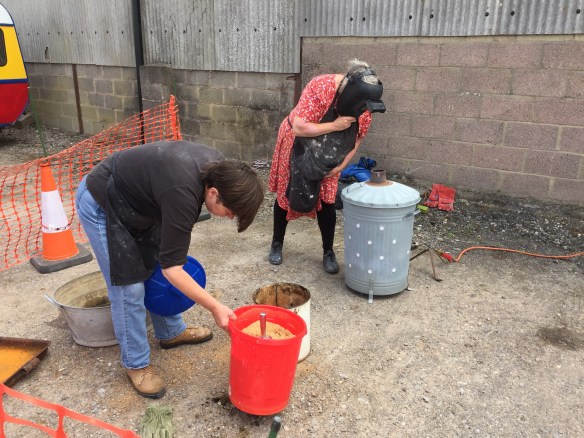
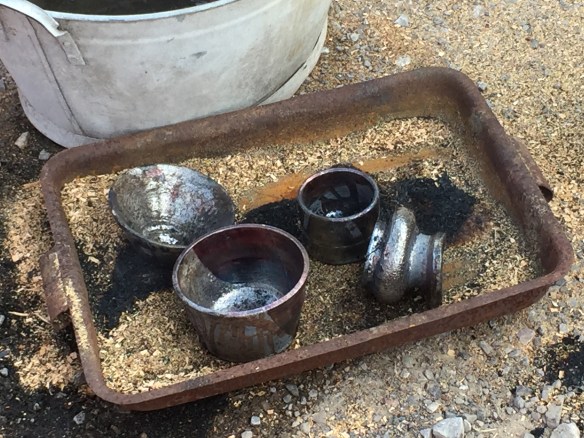
Then as soon as they are removed from the kiln they go into the metal bucket and are immediately covered in sawdust for the reduction process.


The pots are so hot at this point that the sawdust immediately catches fire.
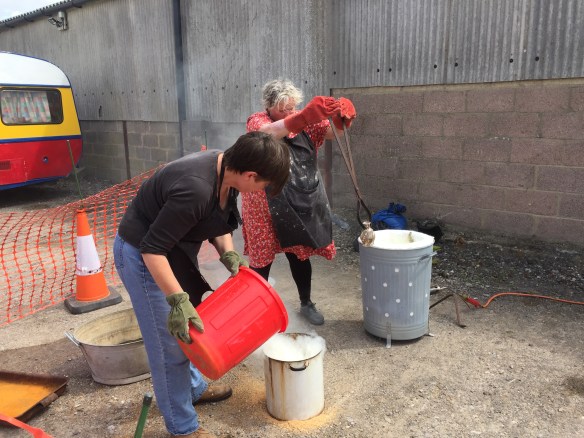
Then after all the pots are fully covered, the lid goes on to starve it of oxygen and ensure a thorough reduction process.

Then after a while they come out…

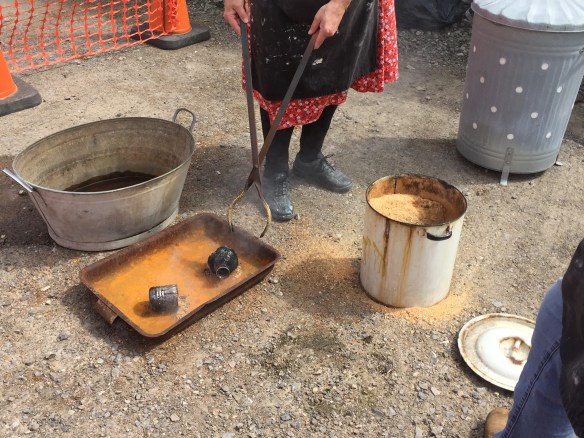
You can see the metallic colours even before they are washed off with water.

Then as the water goes on, and the black oxidisation and soot is washed off, the metallic colours come up brighter.

Here are some of our finished pieces (not all mine though)

After the first batch we did a couple more firings – so that you can see on your first tester what the glazes look like and then have another go!

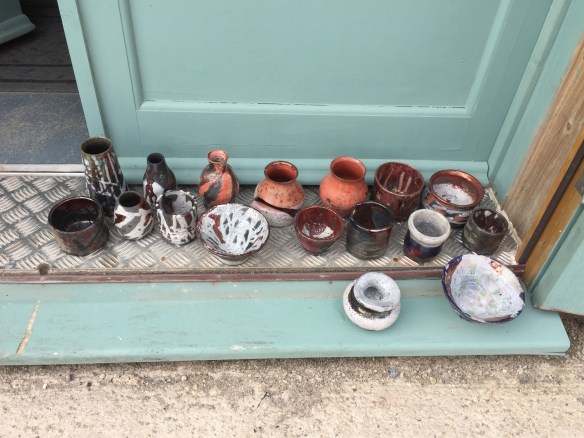
Here’s all our pots by the end of the day
And here are my pots – bit disappointed with some of them, as I put too much glaze on/too thick so didn’t quite get the results I was after…. But it’s a learning curve for next time!
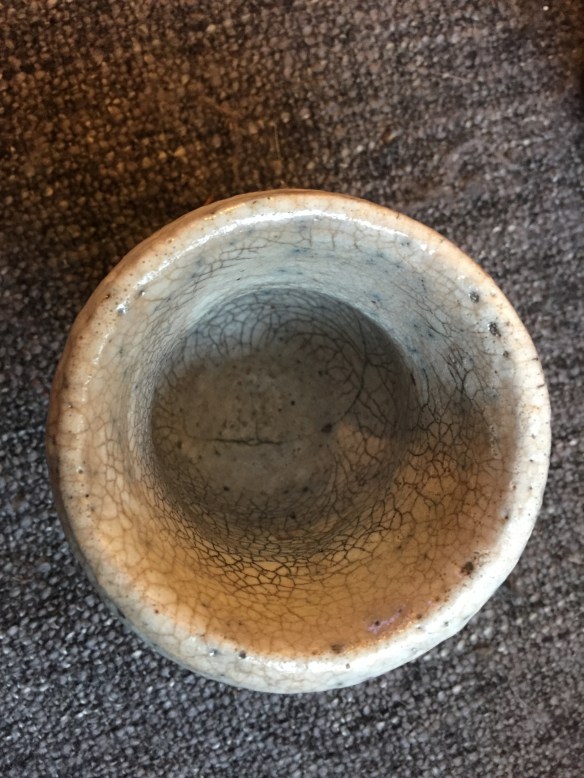
Too thick at the bottom, but I got a decent crackle nearer the top of this bowl!
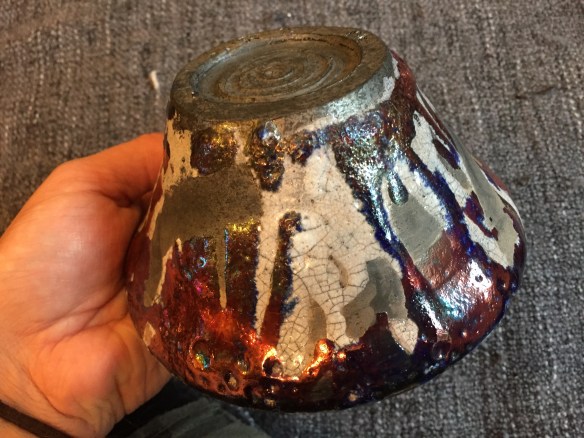
Again, the white glaze was too thick on the outside, so no crackle there, but a lovely metallic finish round the outside top edge.

Another bowl with nice white crackle on the inside, but I don’t like the green splodges – wish I hadn’t added those at the last minute…. The metallic edges have a lovely blue-rust colour that changes in the light.

I like the outside of this one – with dribbly metallic bits
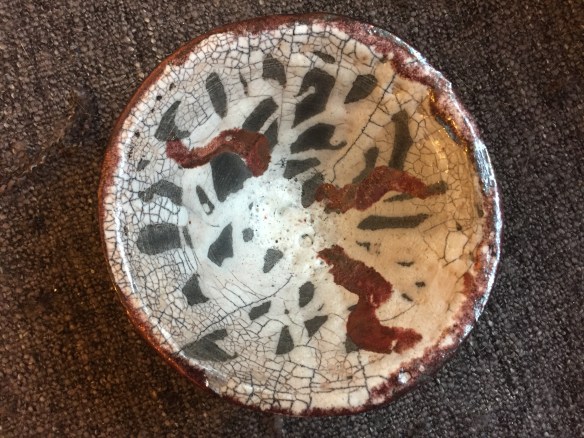
This was my first one, trying a little bit of everything, and actually my favourite in the end! Also I used tape here to make a black stripe, which looks quite nice.


Once again, this one got lovely crackle on the inside, but sadly not on the outside. Although they also told me that deeper pots or ones with smaller holes trap heat inside and react differently than more open bowls. Here is the inside of this tiny vase…
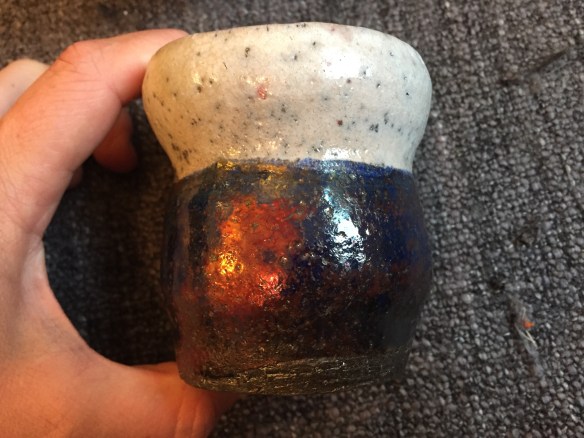
And the outside – lovely metallic colours but no crackle on the outside. Also this one broke slightly (the bottom came off) but it gave me a chance to try fixing it with Kintsugi!

This one I was also disappointed with – it’s a lovely shaped, little squat vase, but didn’t crackle at all on the outside, and not much on the inside either. But some lovely subtle colours otherwise. It also cracked slightly so prob won’t hold any water!


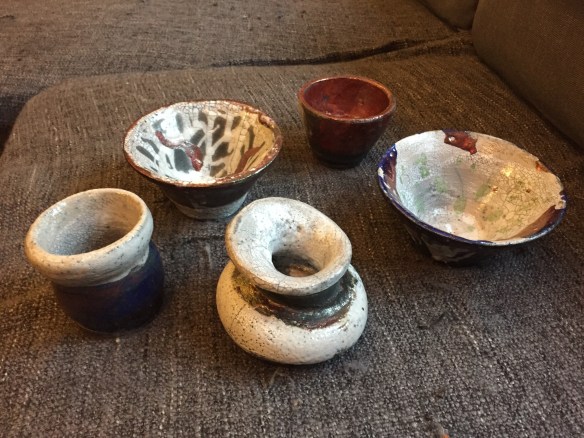
So here they all are afterwards!

So, after my exciting Raku experience, I thought I would try another Japanese technique – Kintsugi, which is a method of fixing broken pottery using gold.
The idea is that when a bowl or plate breaks, rather than try to fix it with glue, and pretend the break never happened, you accept that the break is part of the history of the plate, and make it a feature, acknowledging the things that happen – all very zen I’m sure!
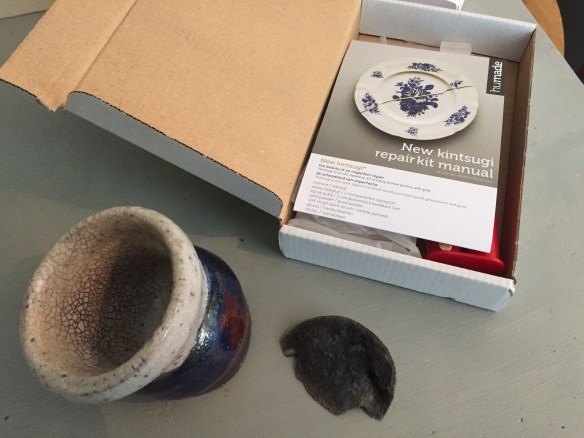
Anyhow, I wanted to fix one of my Raku pots that broke, and thought it might be nice to try out Kinsugi, and so I found a kit online (not real gold though sadly – only gold coloured glue….).
So here it is.
The kit, and the broken pot

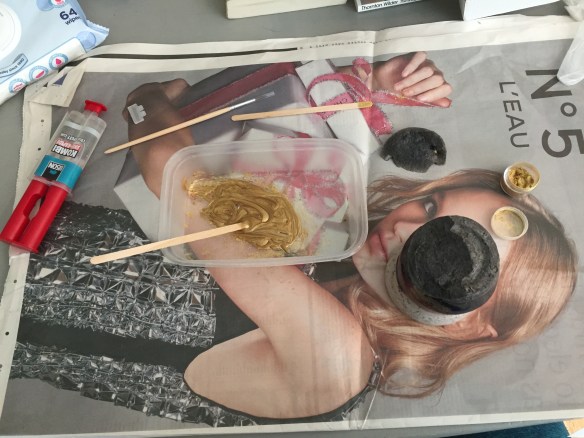
Mixing up the gold powder with the epoxy resin….
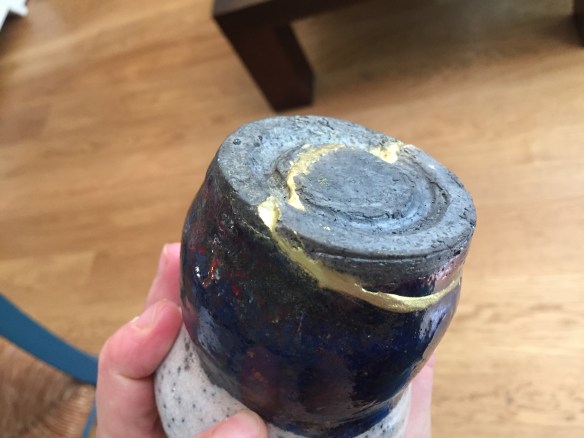
And voila! I put a little too much in, so got a bit of a bulge, but it’s not bad for a first attempt! Almost makes me wish more of my stuff would break!


I love the outcome of these! Raku is so magical and you can never always control it. They’re gorgeous 🙂