Last day! Thank goodness! This last couple of days has been HARD.
I woke up this morning feeling bloated and uncomfortable and not at all hungry. Very glad it’s the last day!
I did a slightly more vigorous workout this morning to try and feel a bit better, and then S and I had rice and lentil soup for brekkie. Forgot to take a picture though.
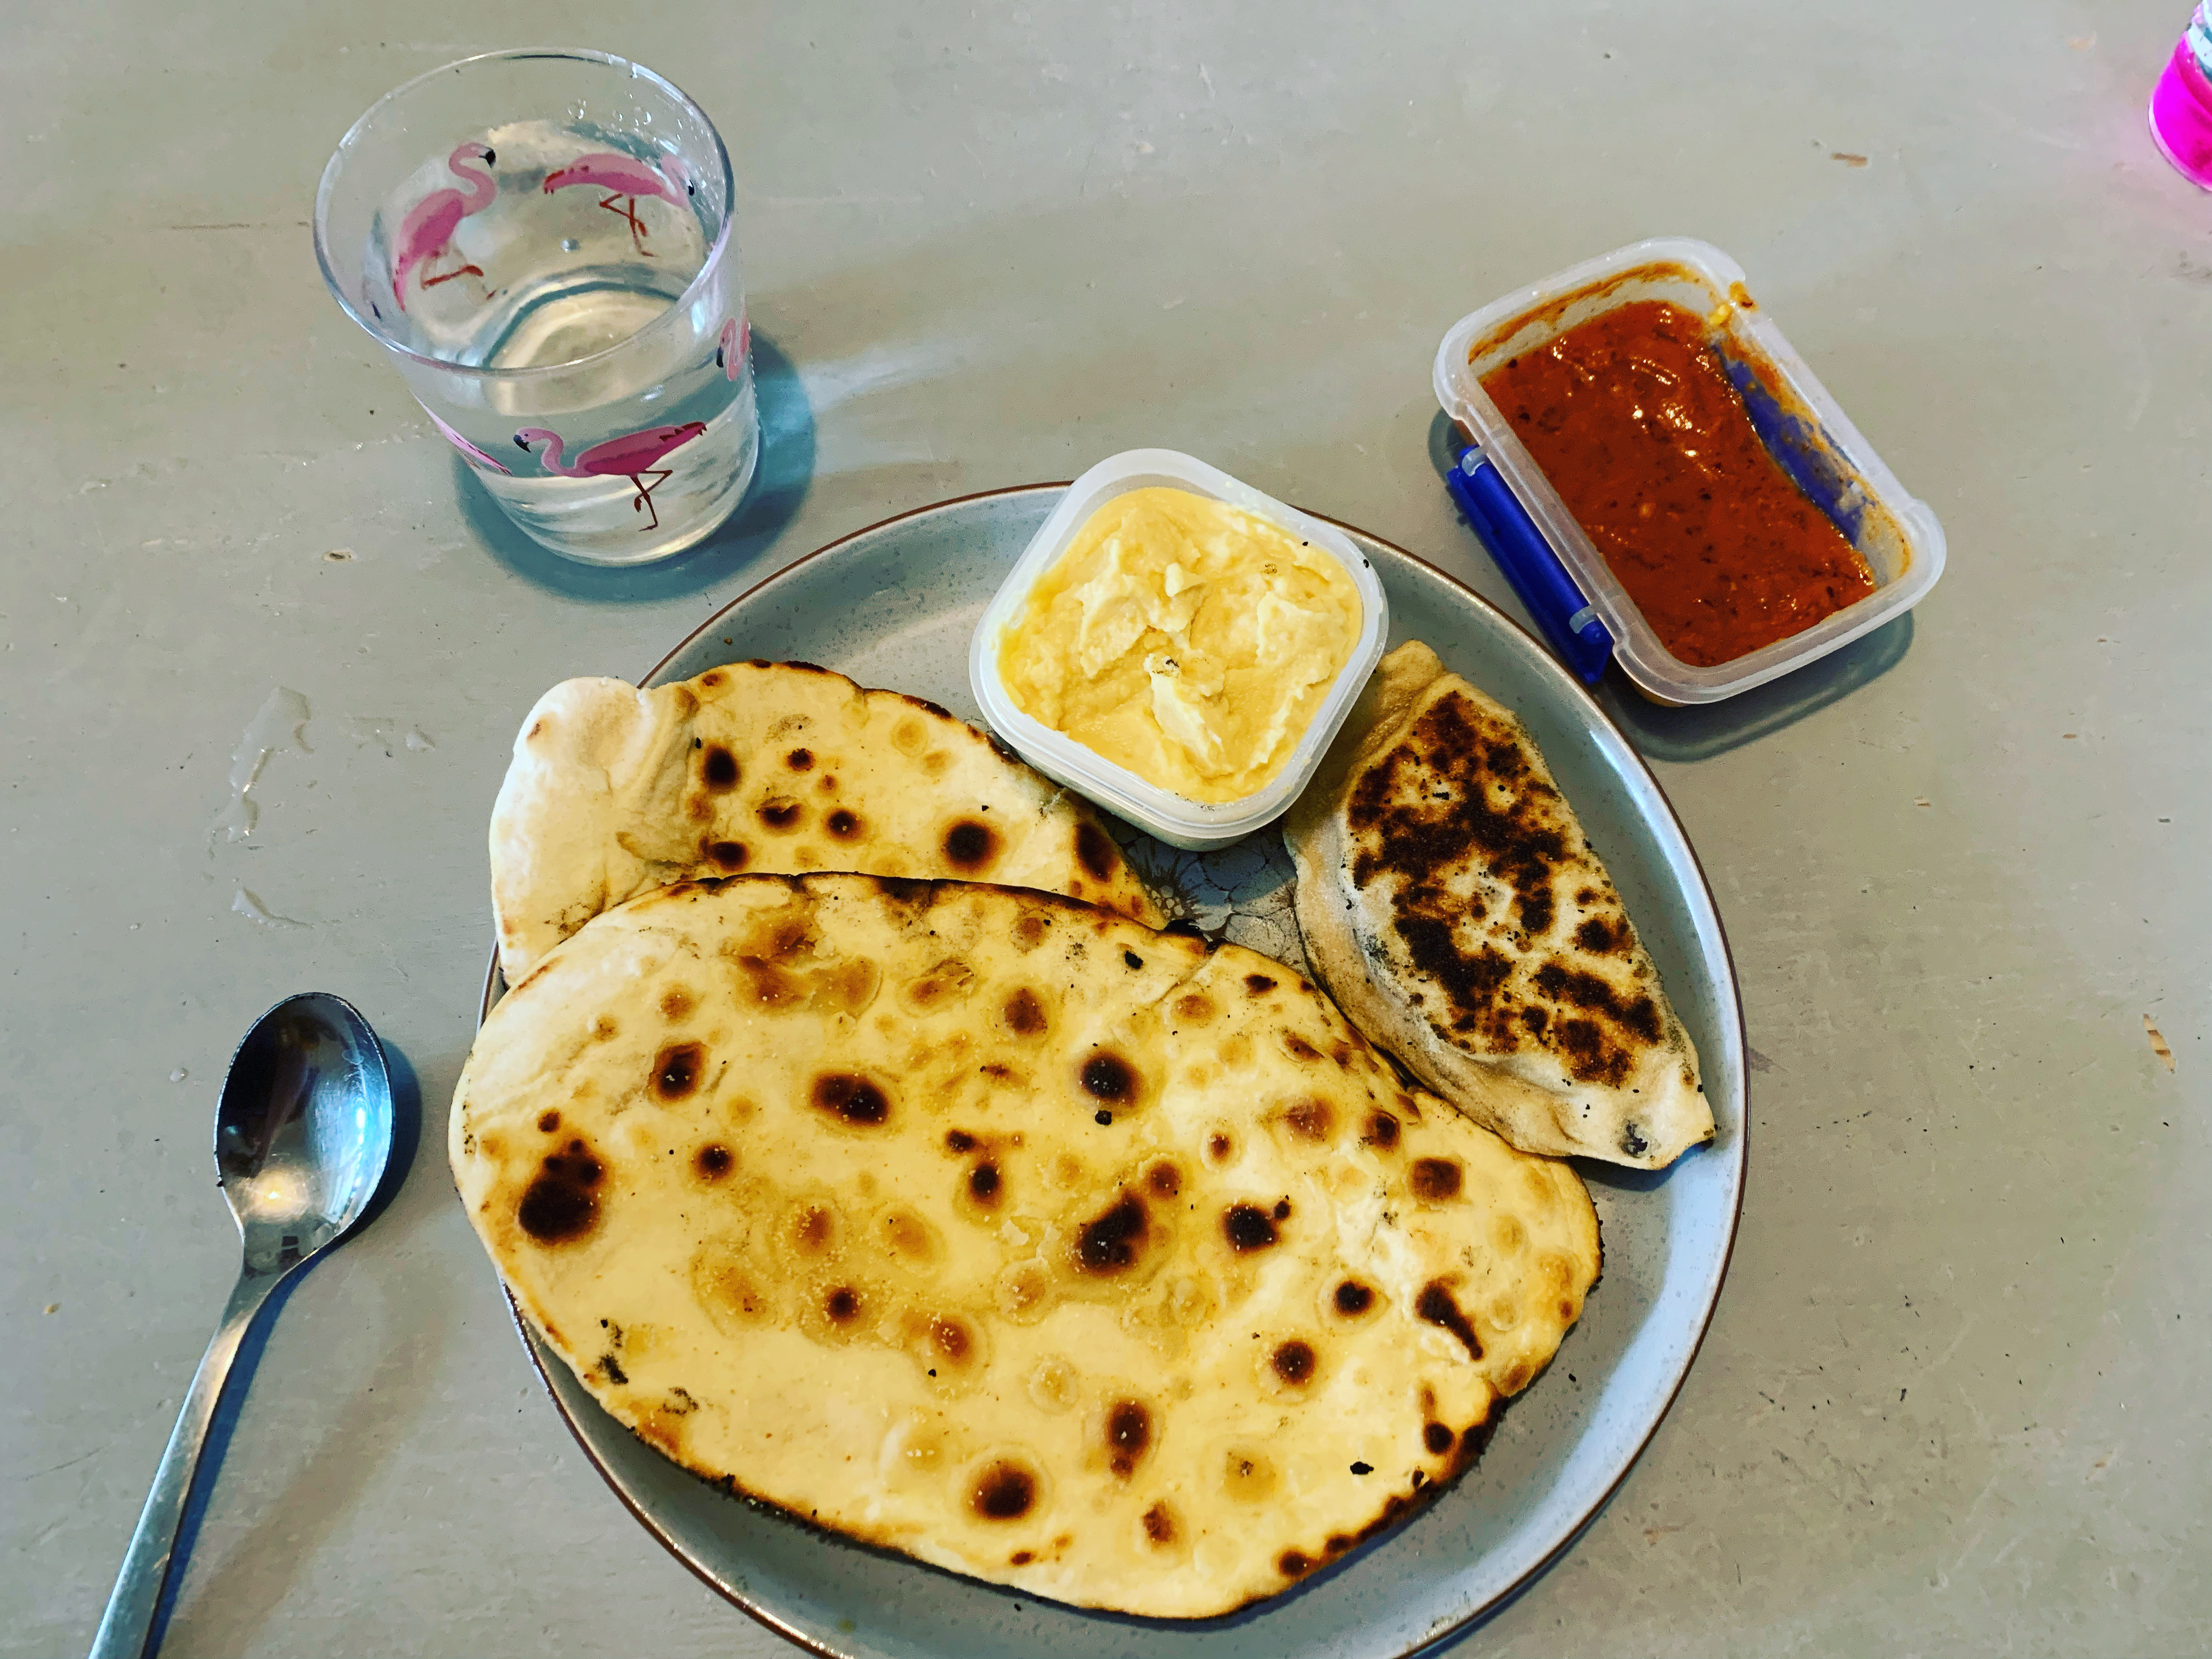
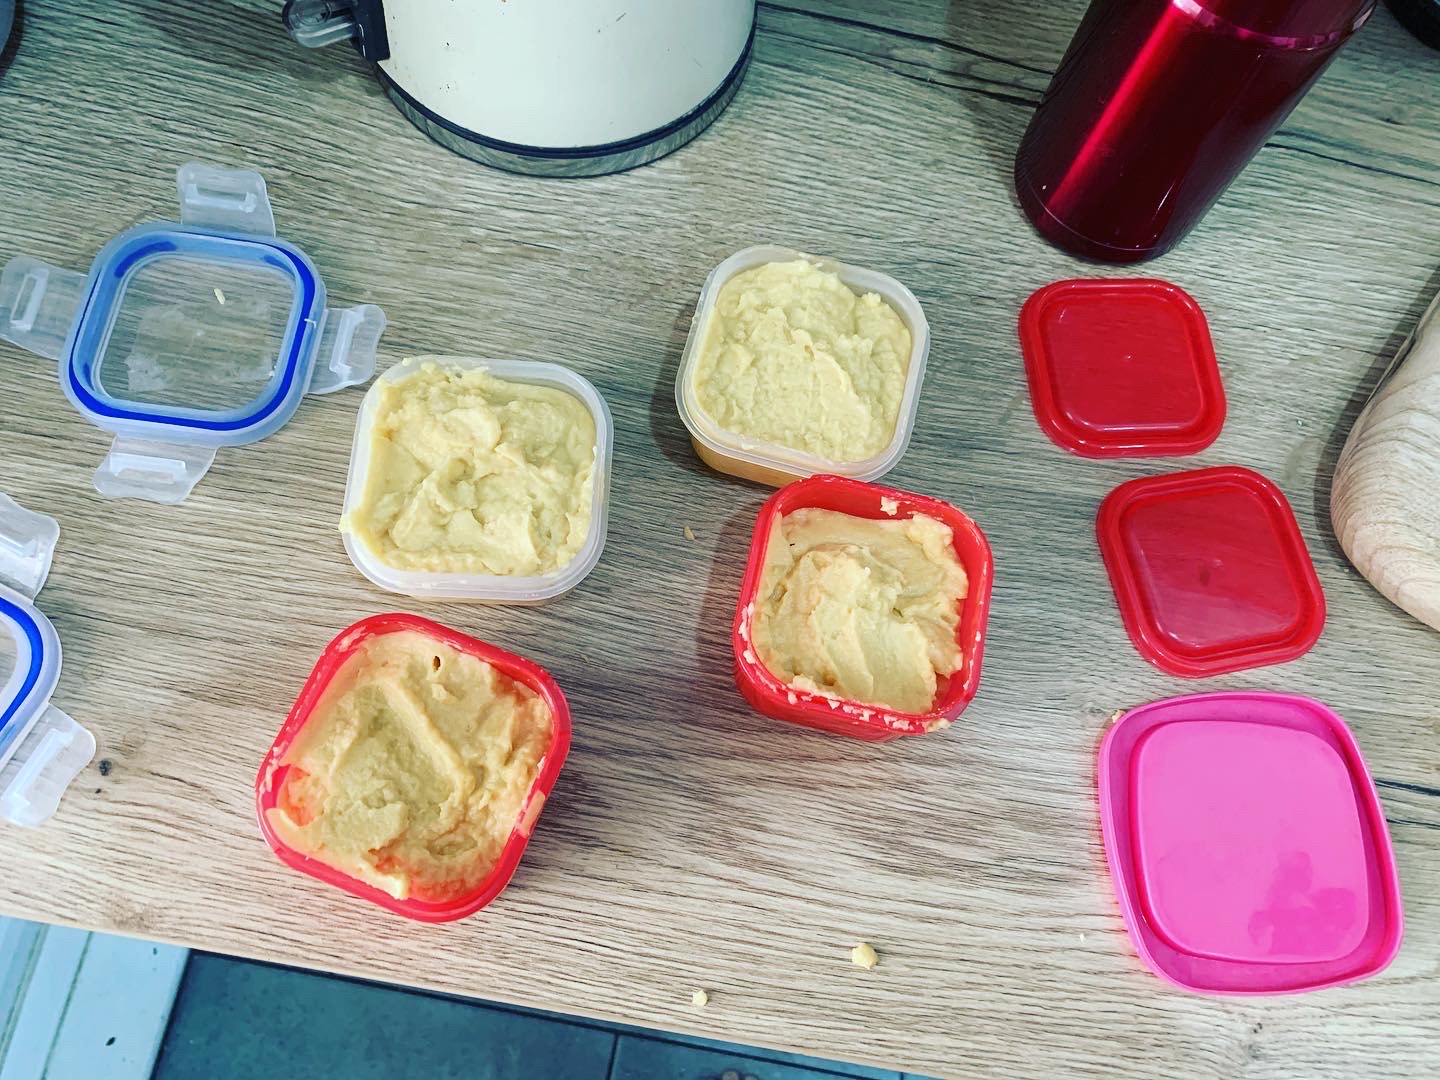
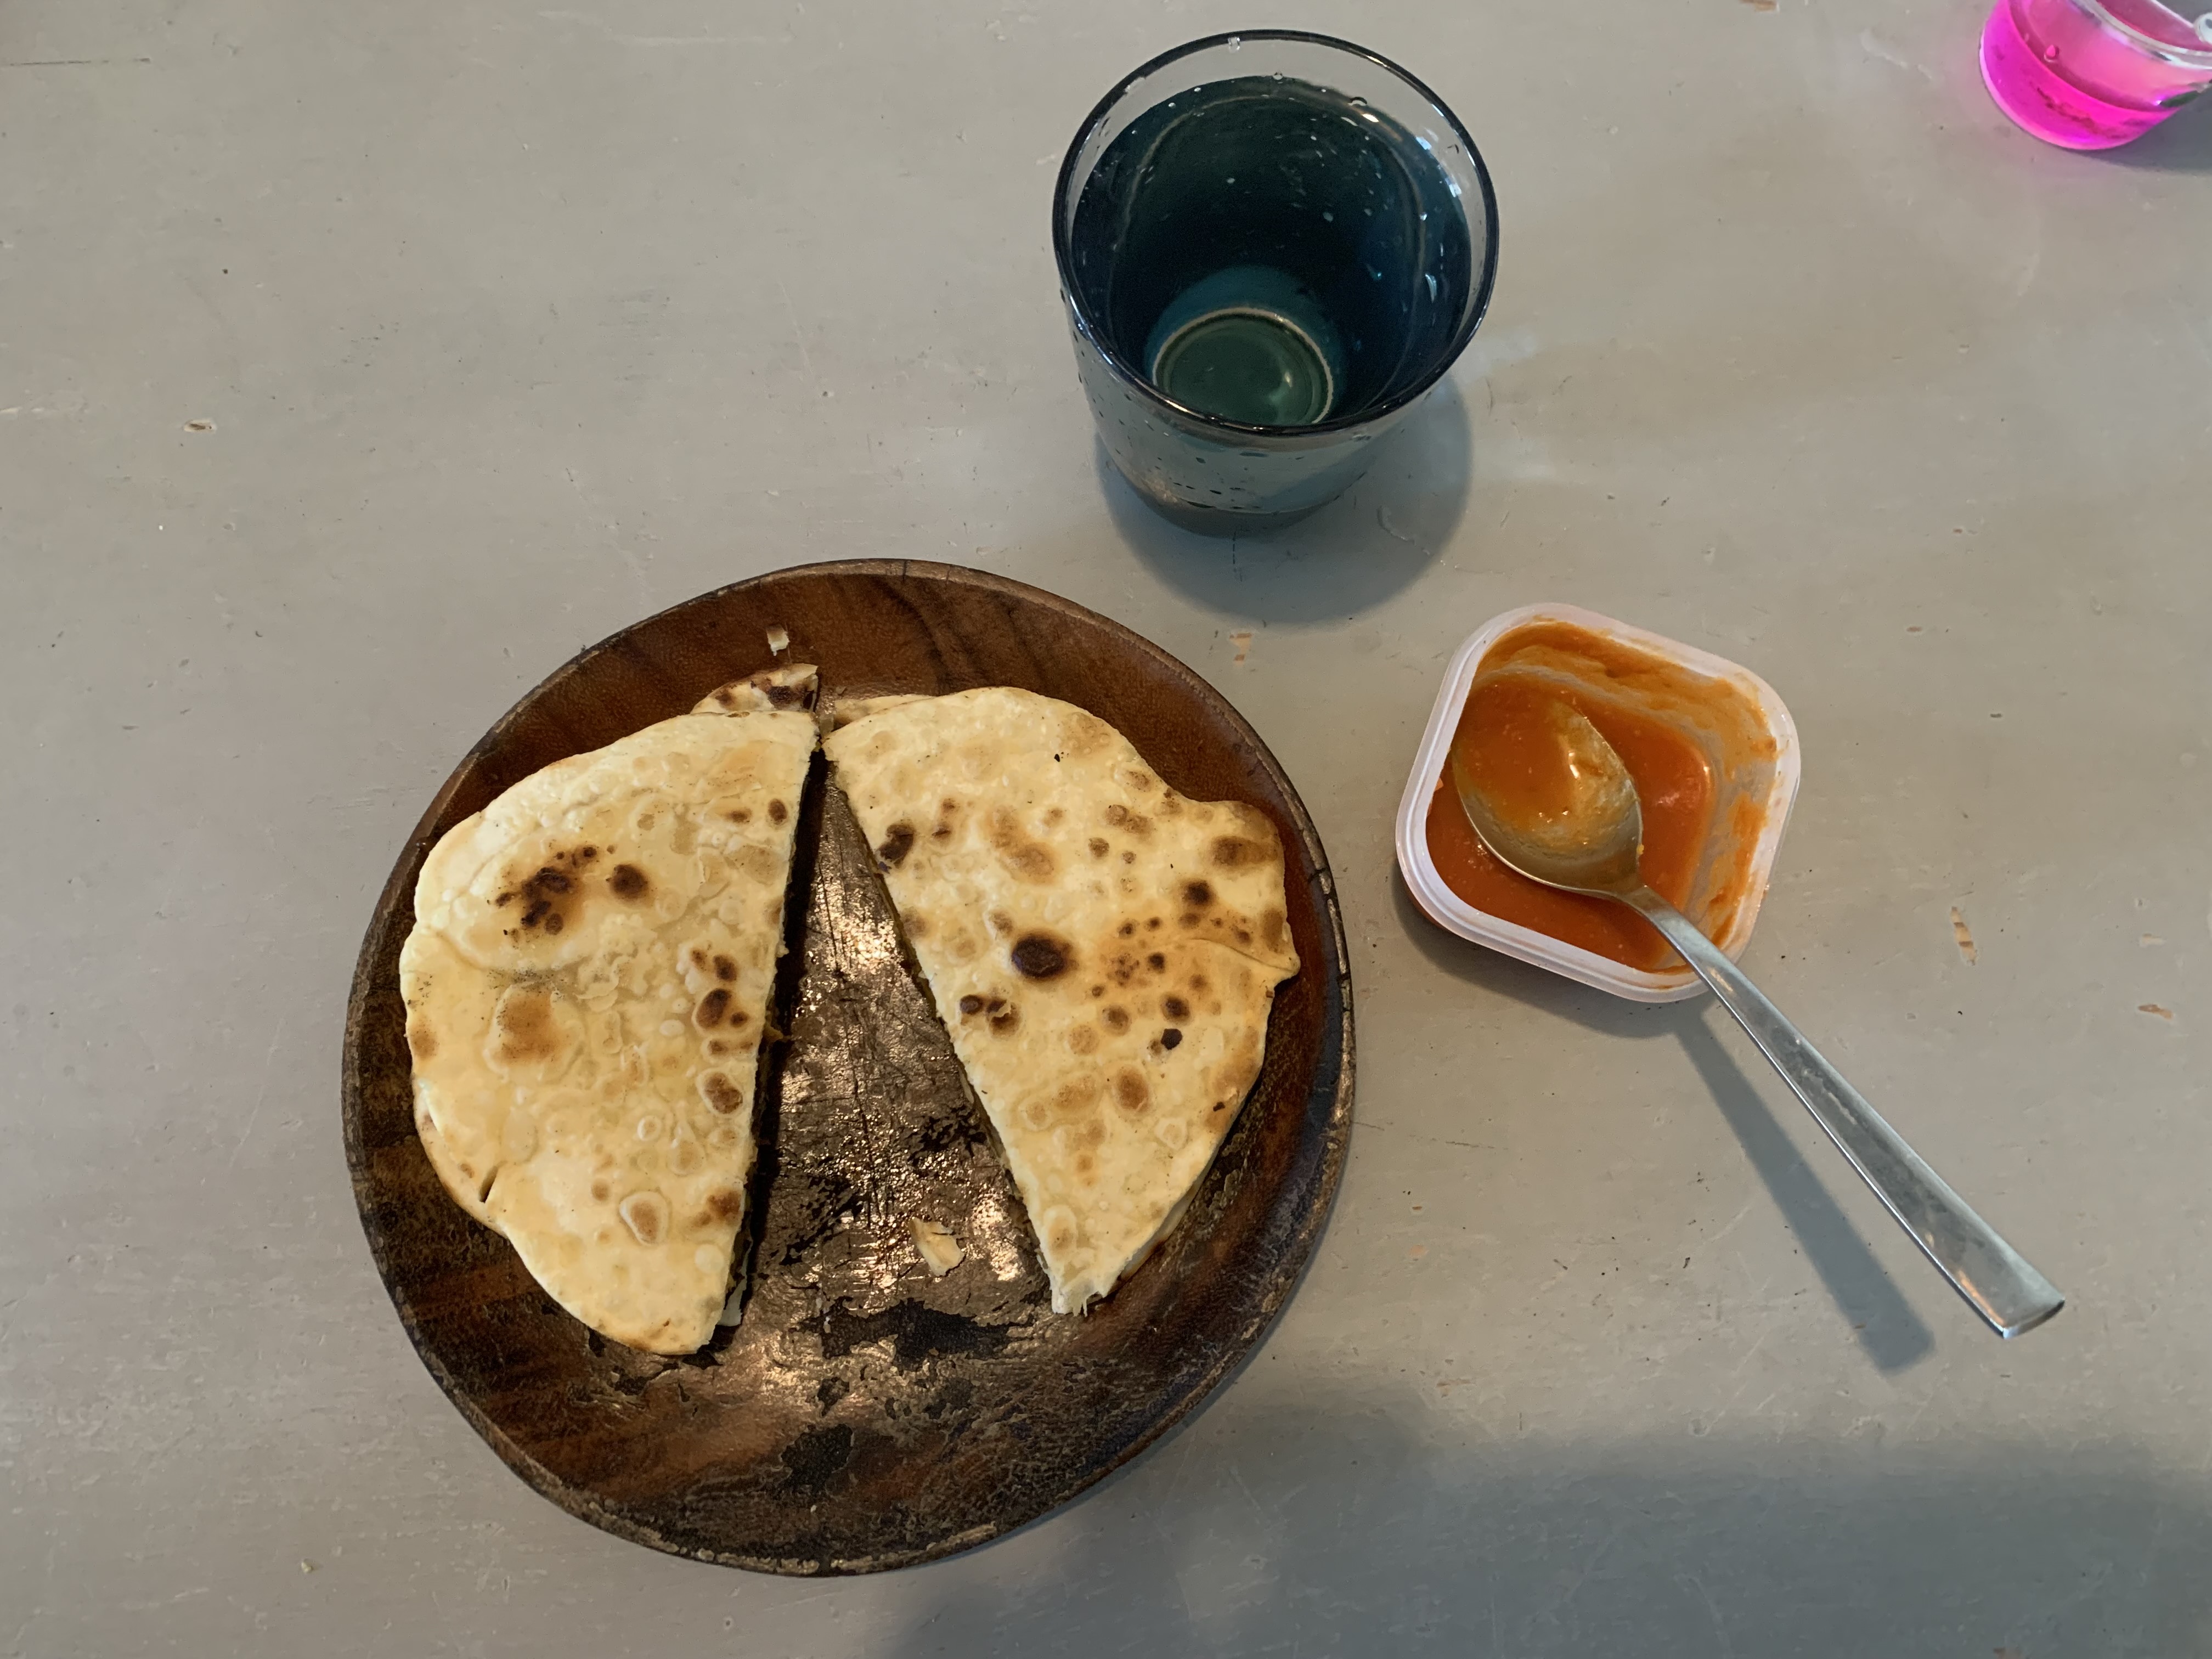
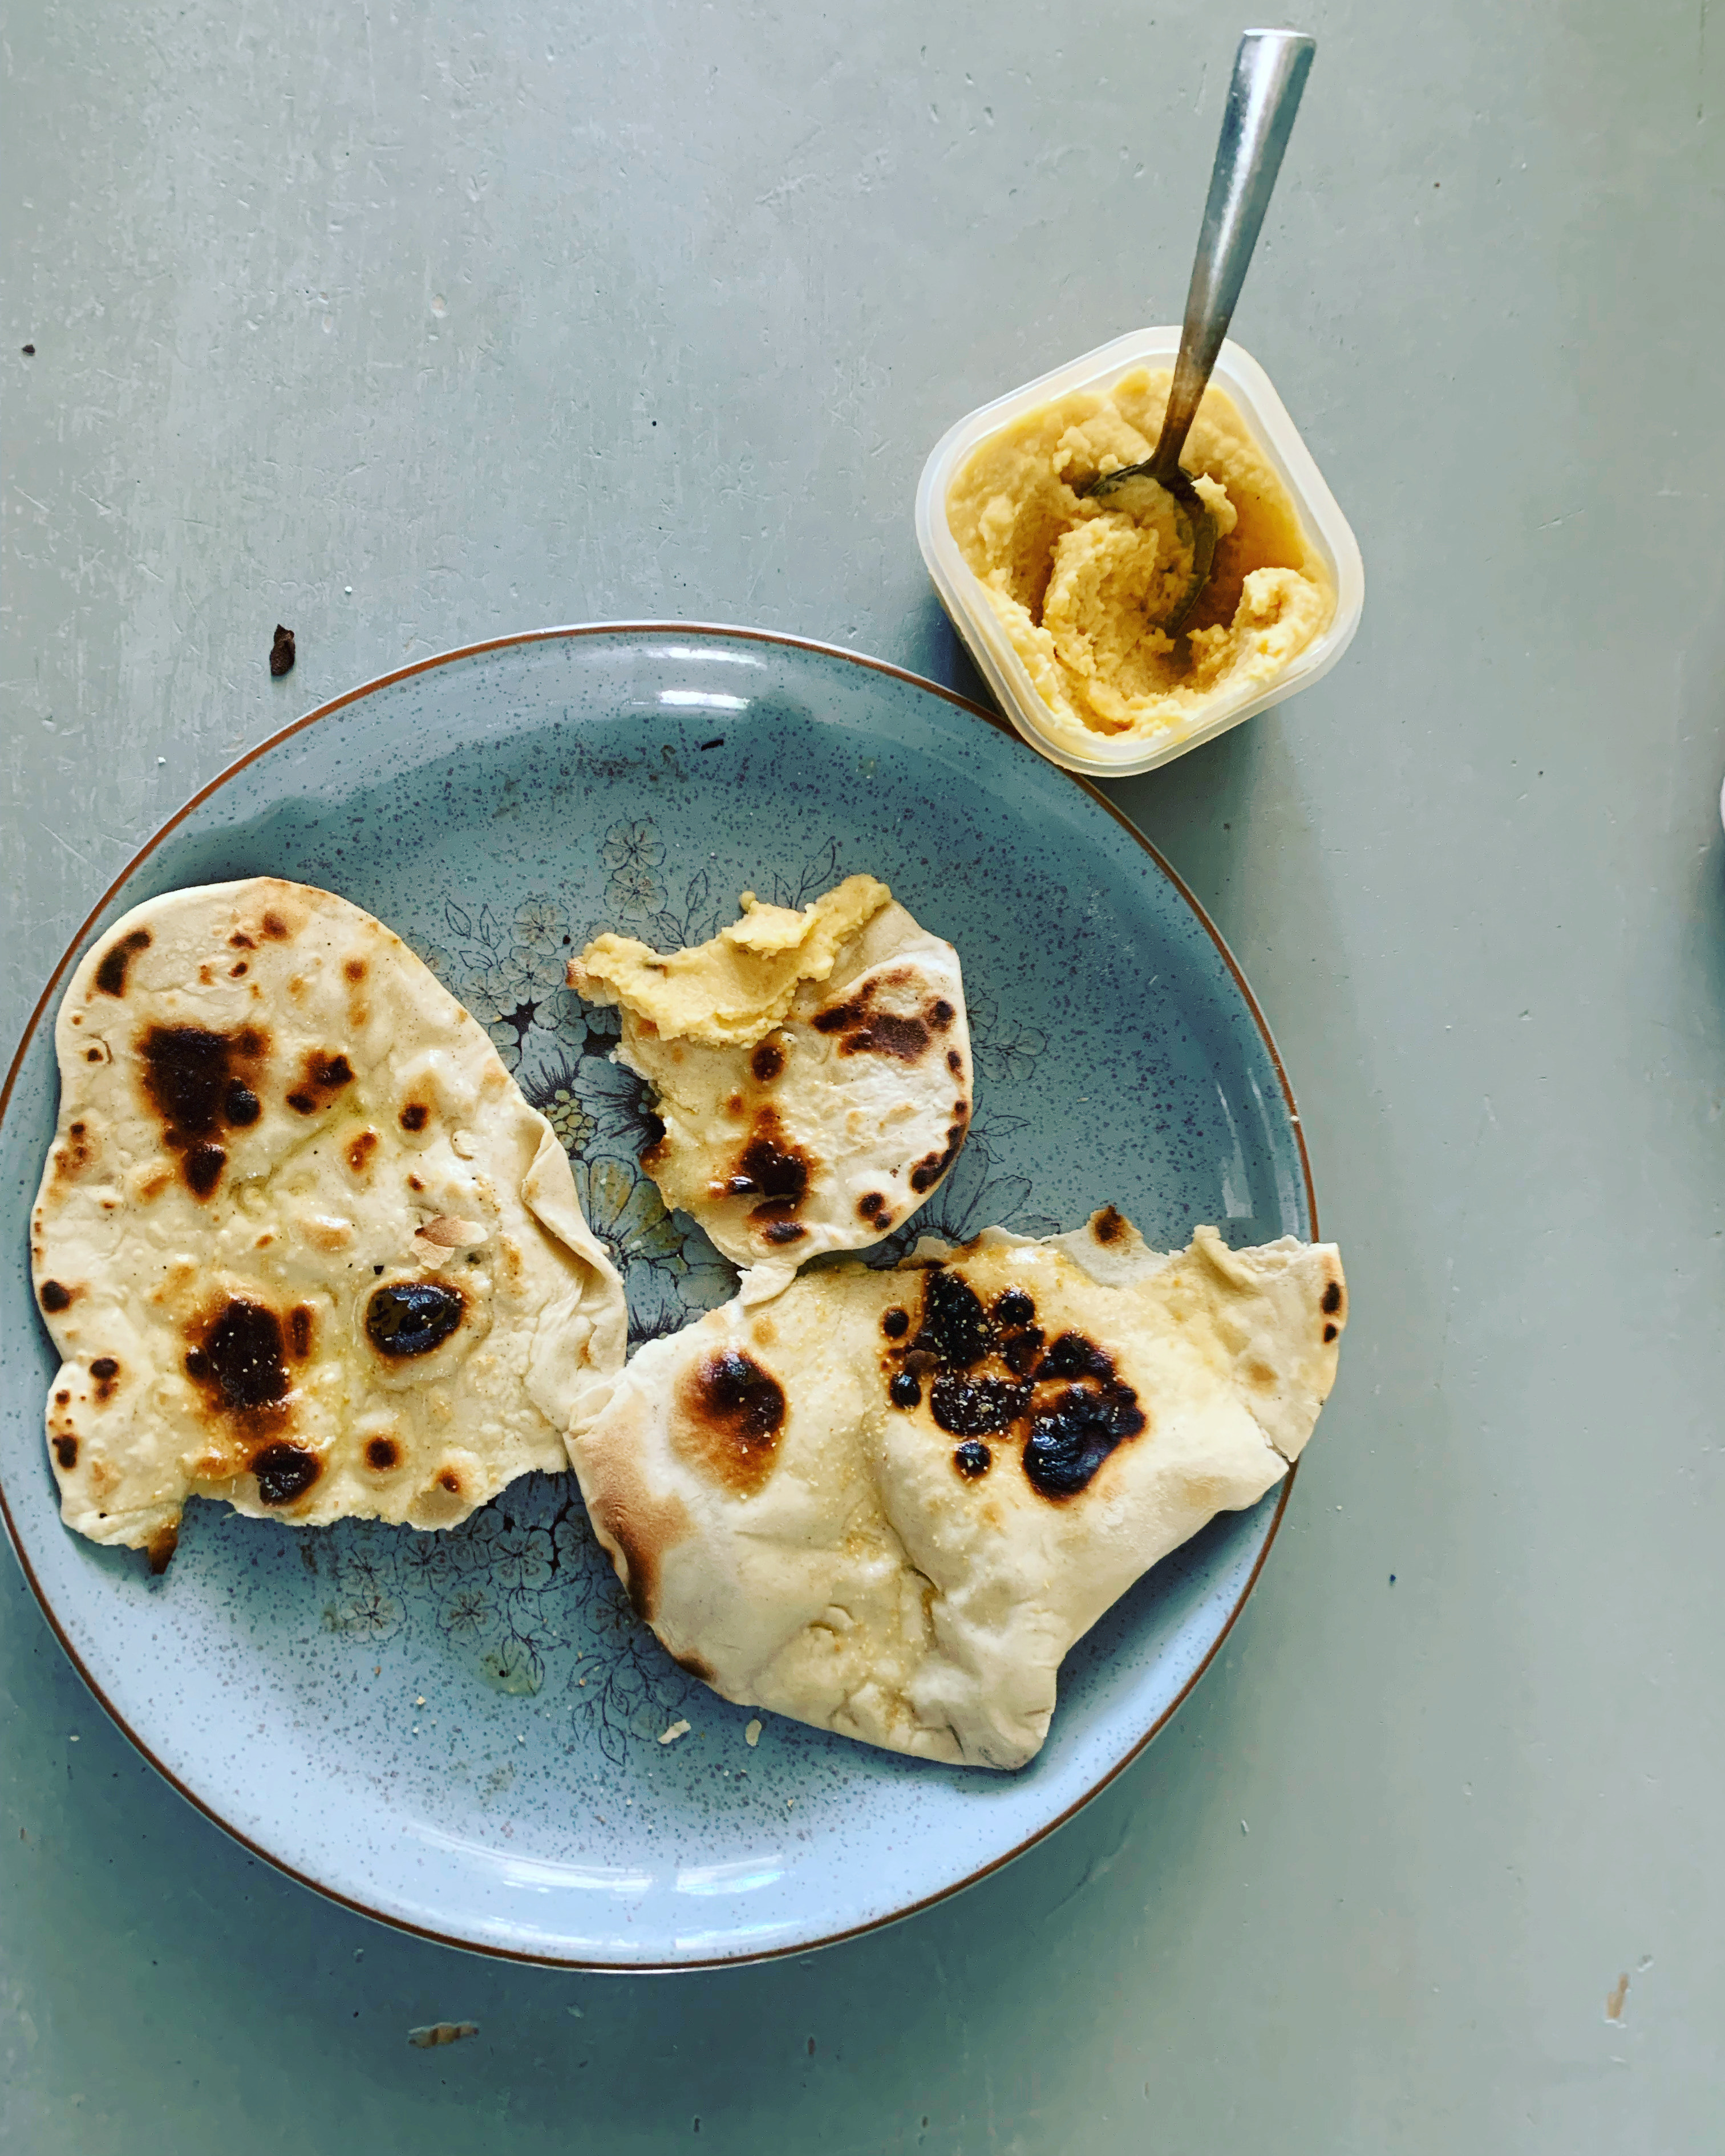
Neither of us were very hungry at lunch so we just ate a bit of hummous and flatbreads.
The afternoon was busy – we went swimming and the girls had playdates.
S did incredibly well and held out almost to the end of her 2 days. She did all of Saturday and most of Sunday but ended up giving in at dinnertime as she had 2 friends over and they were having pizza for dinner so it was fair enough really. She felt bad but I think she tried really hard and has done really well overall.
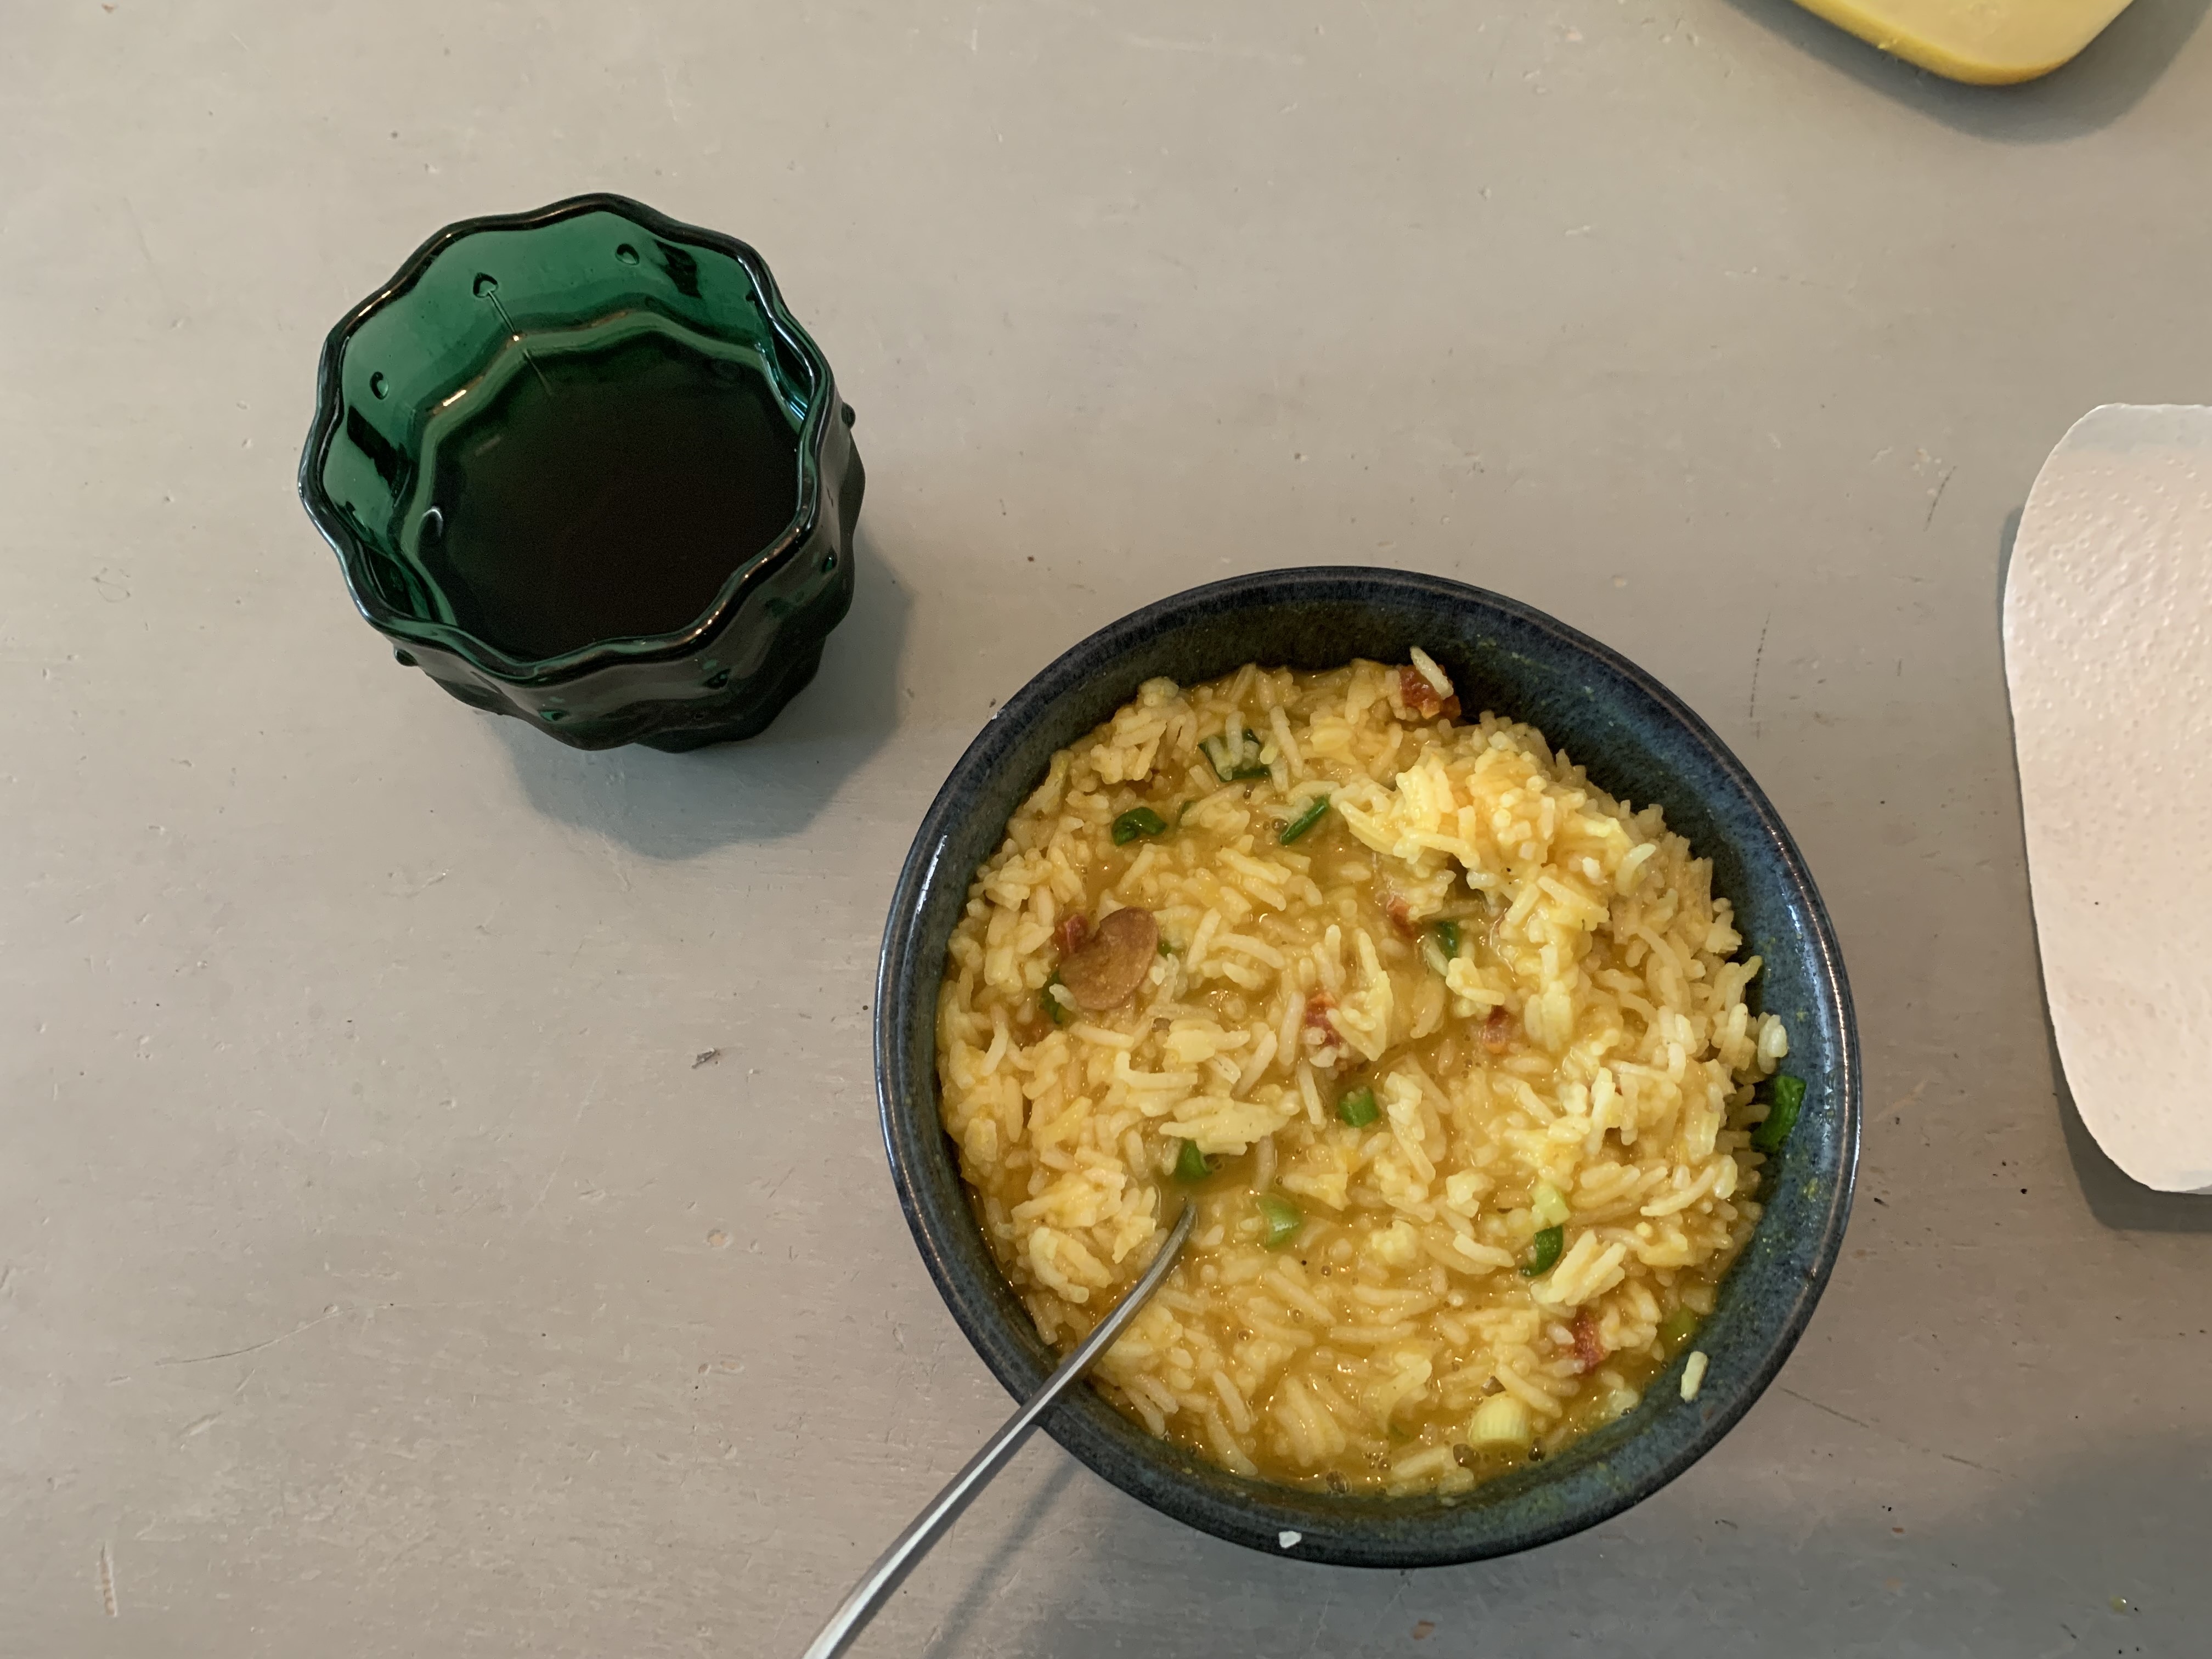
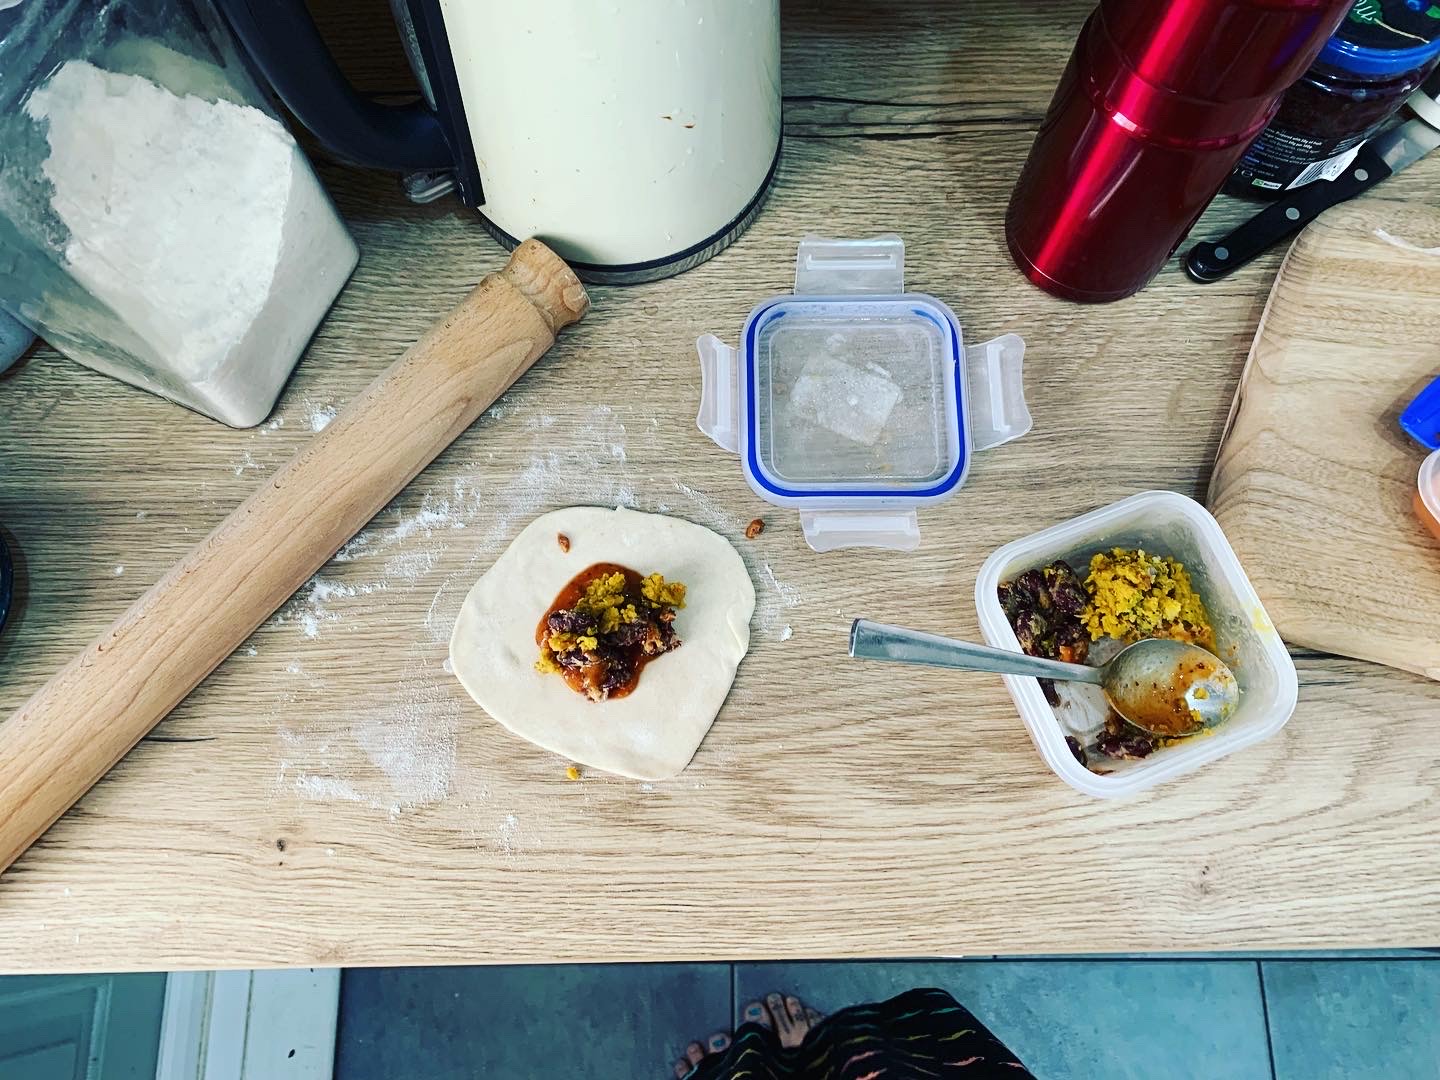
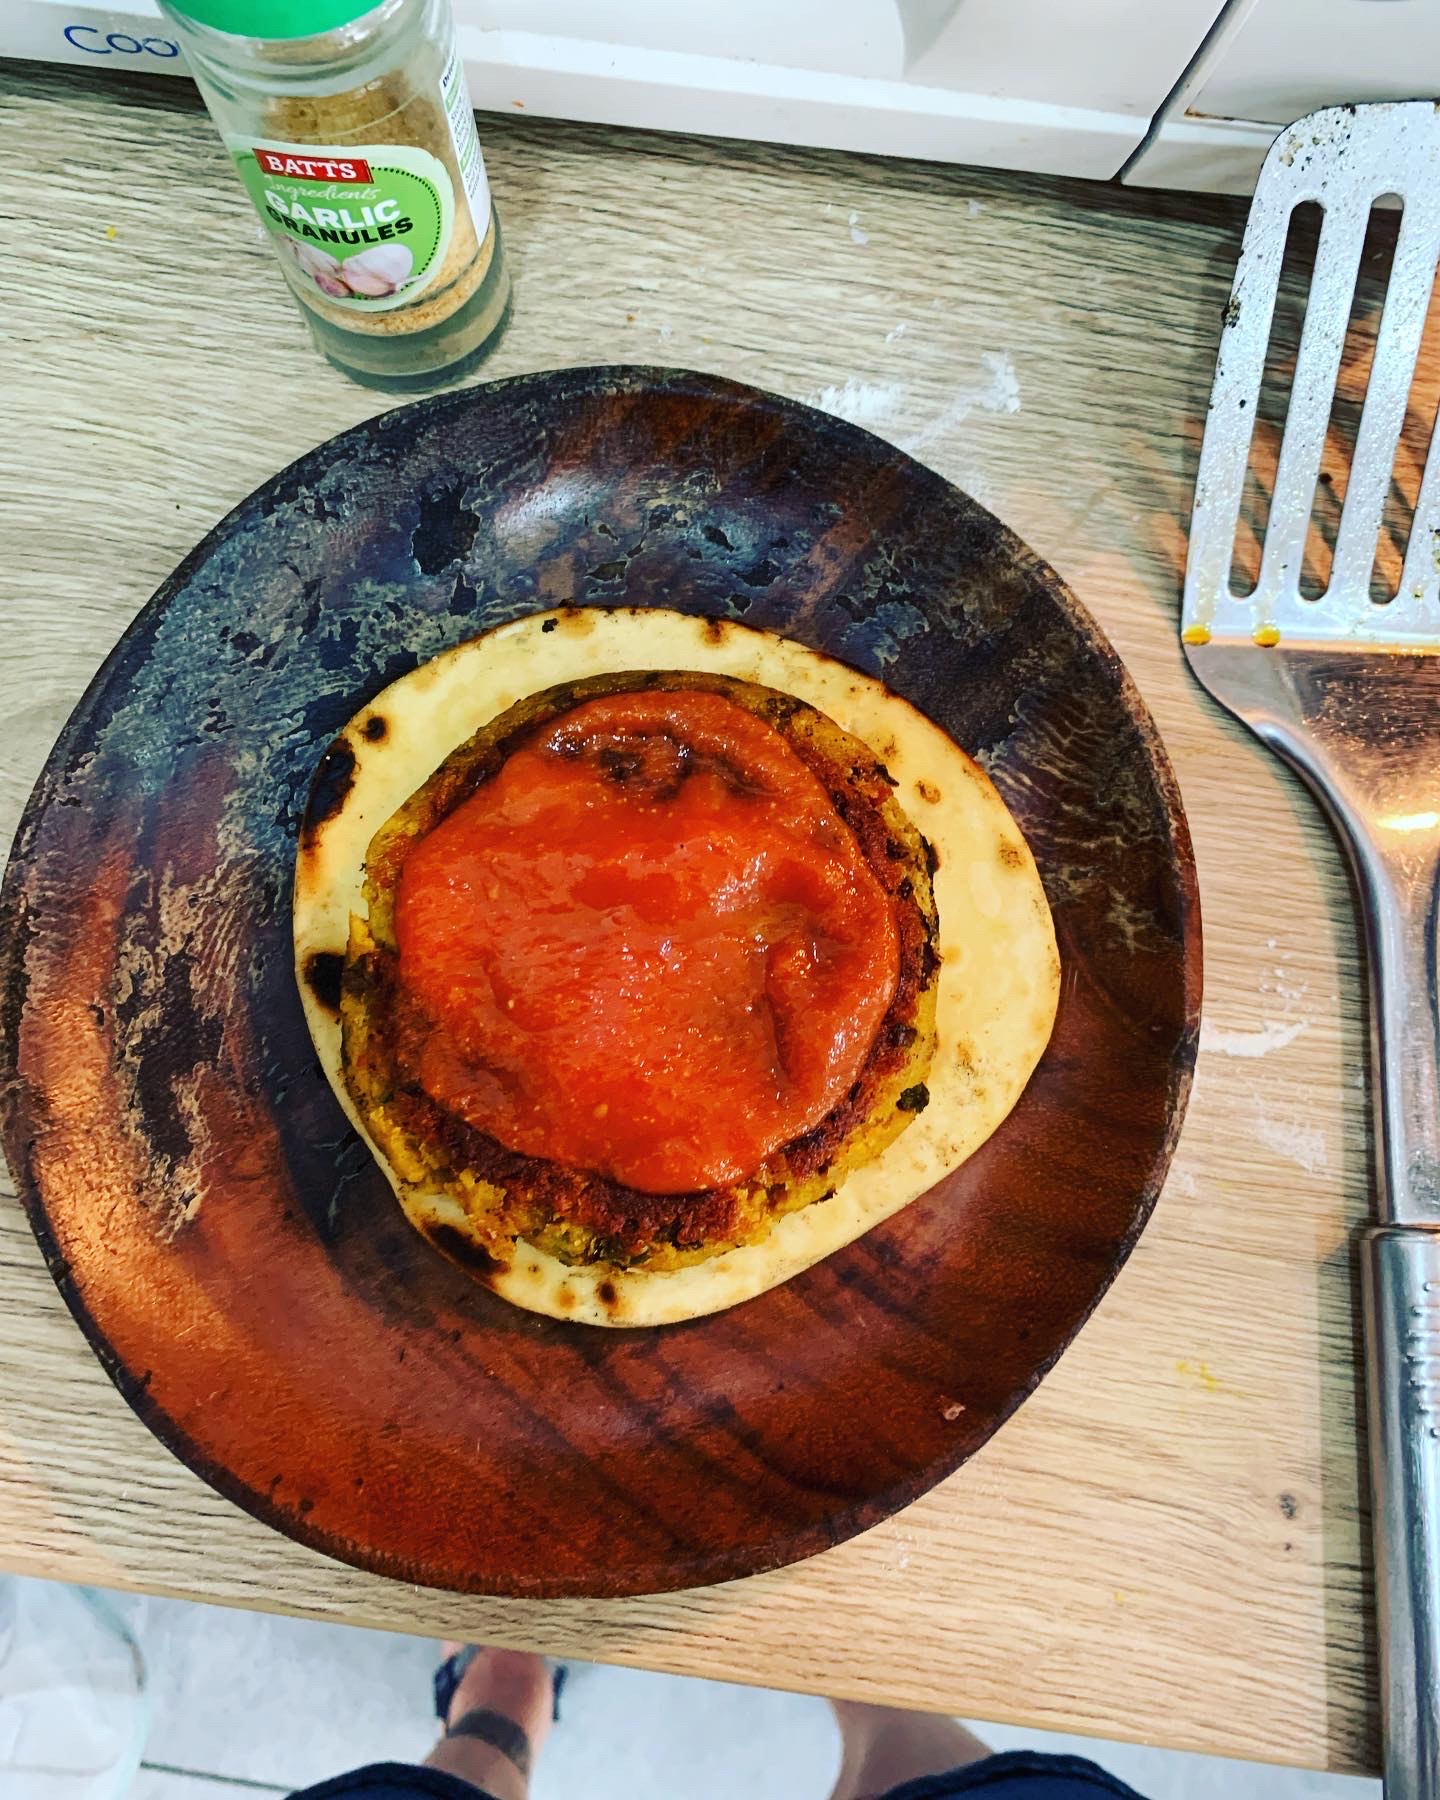
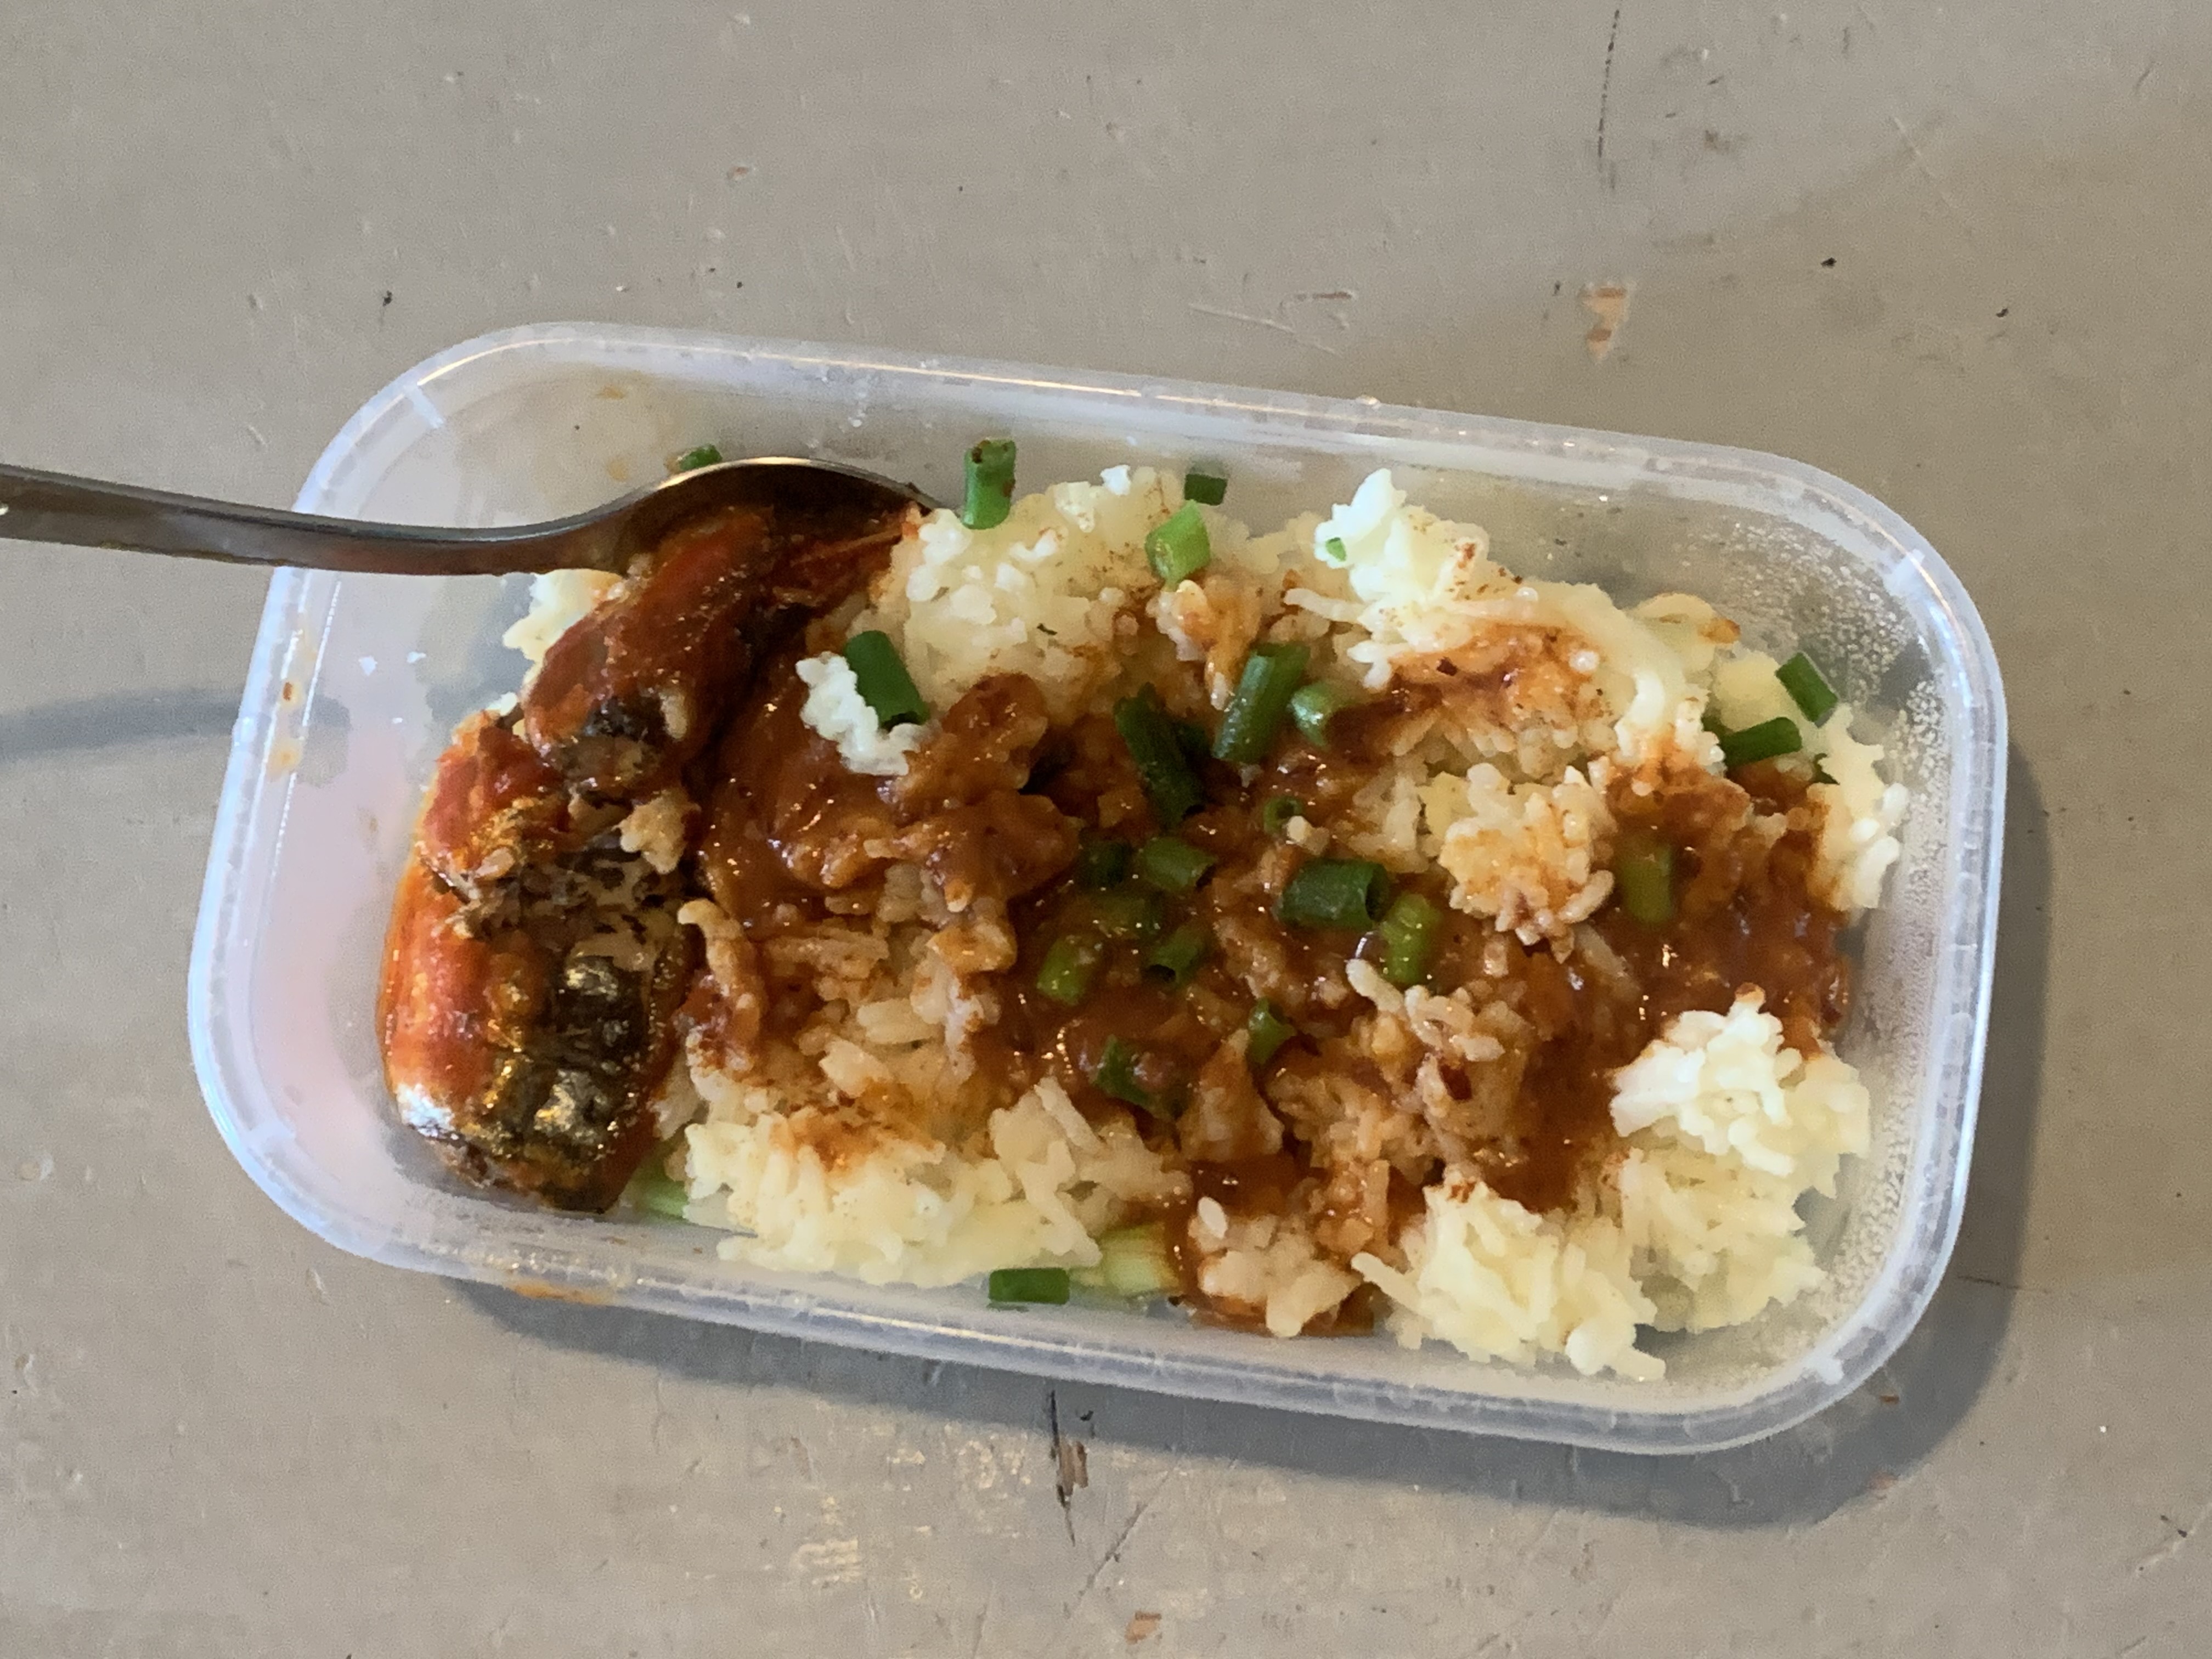
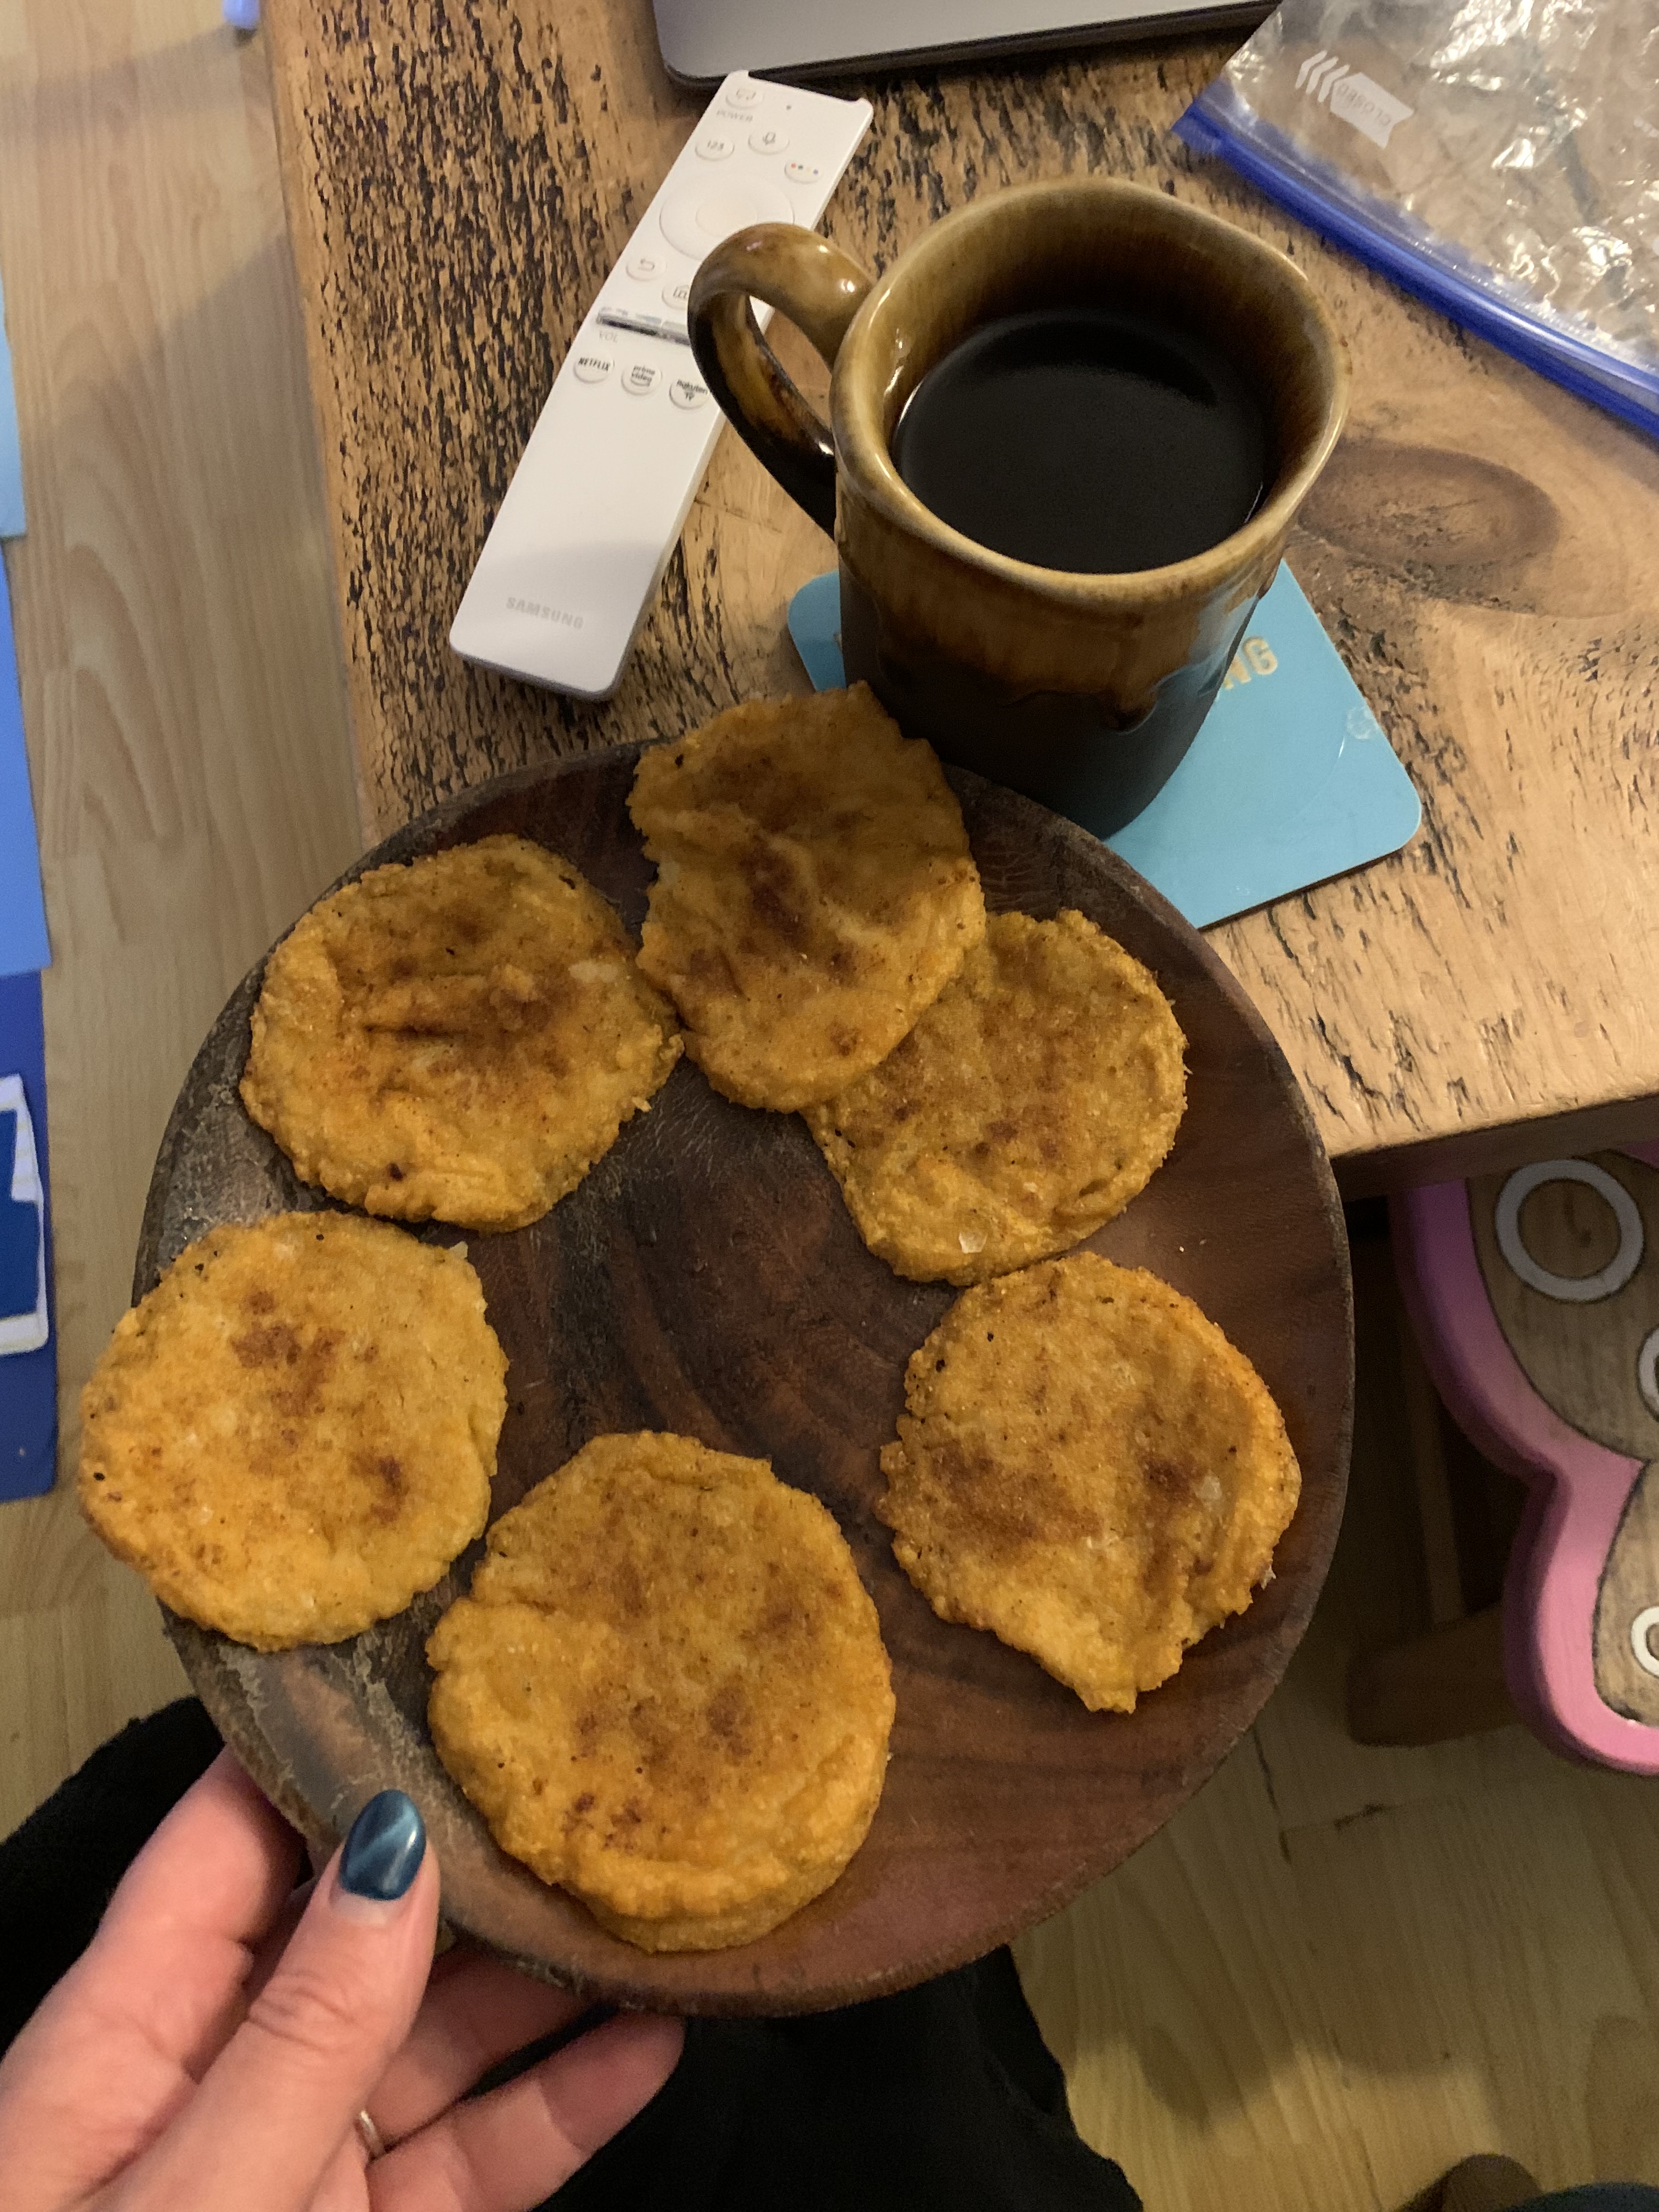
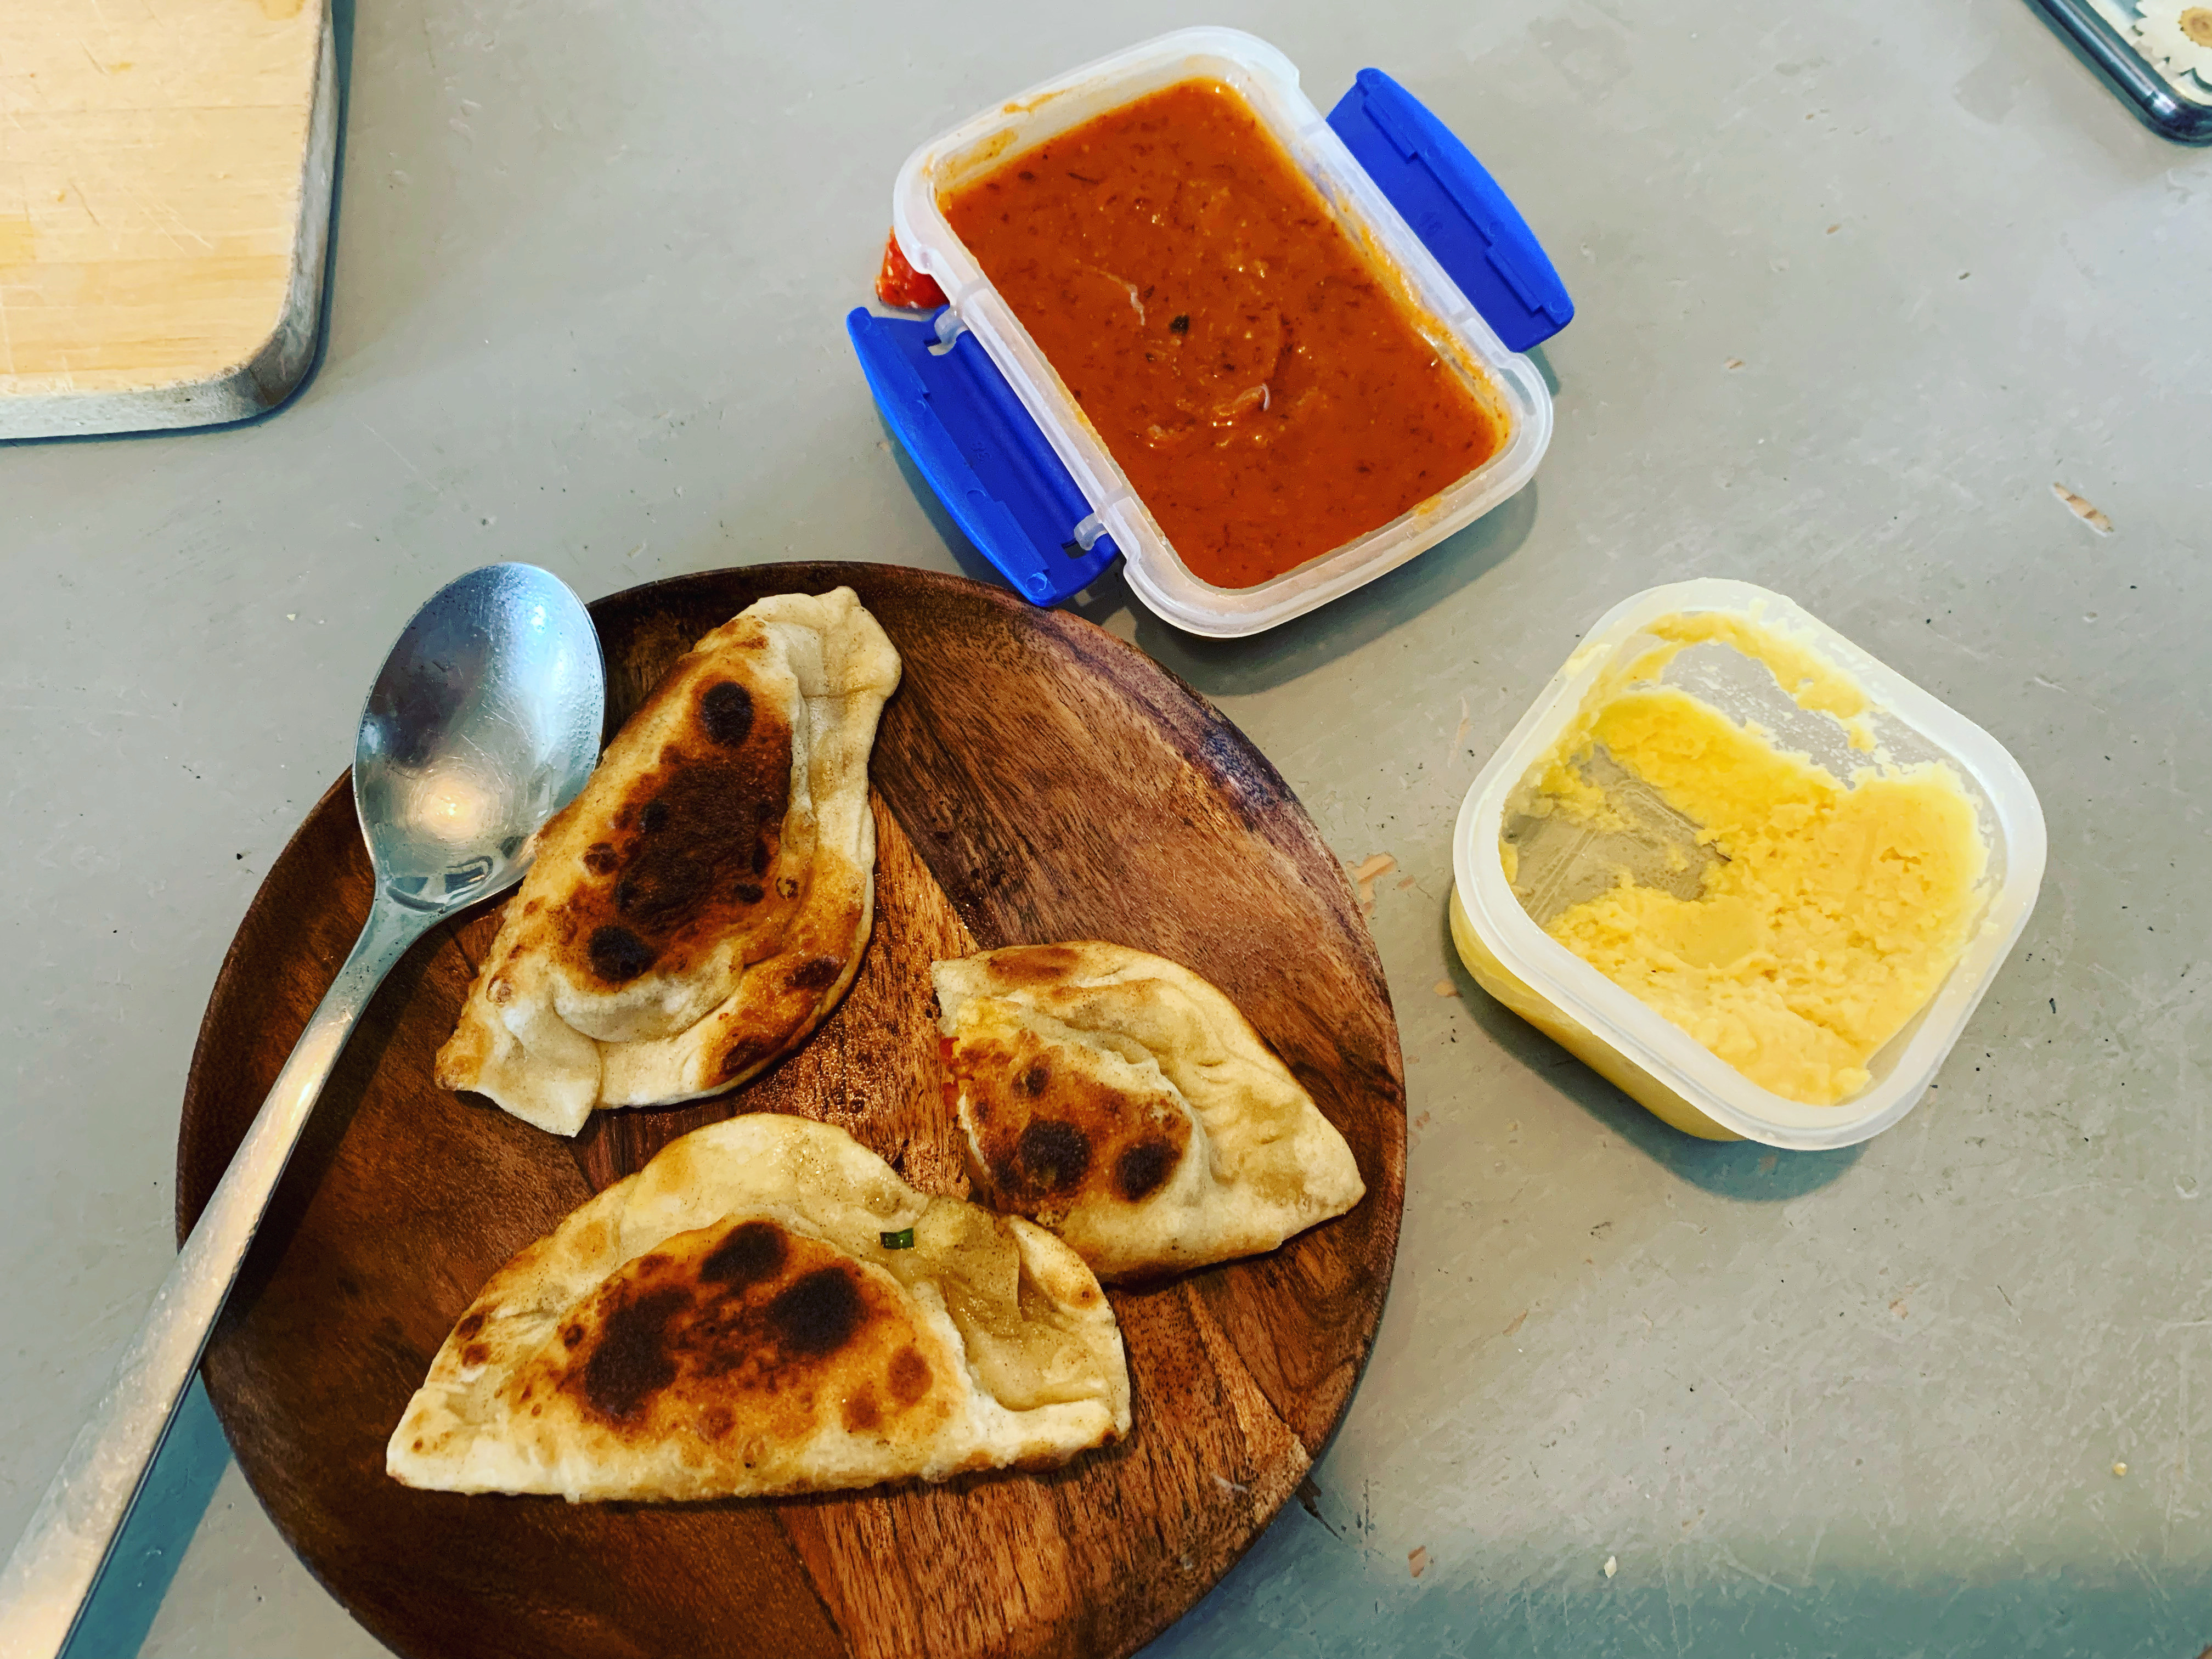
I wasn’t very hungry in the evening either so I had a mini bowl of lentil soup and the last few empanada type things with the rest of the bean dip and leftover hummous.
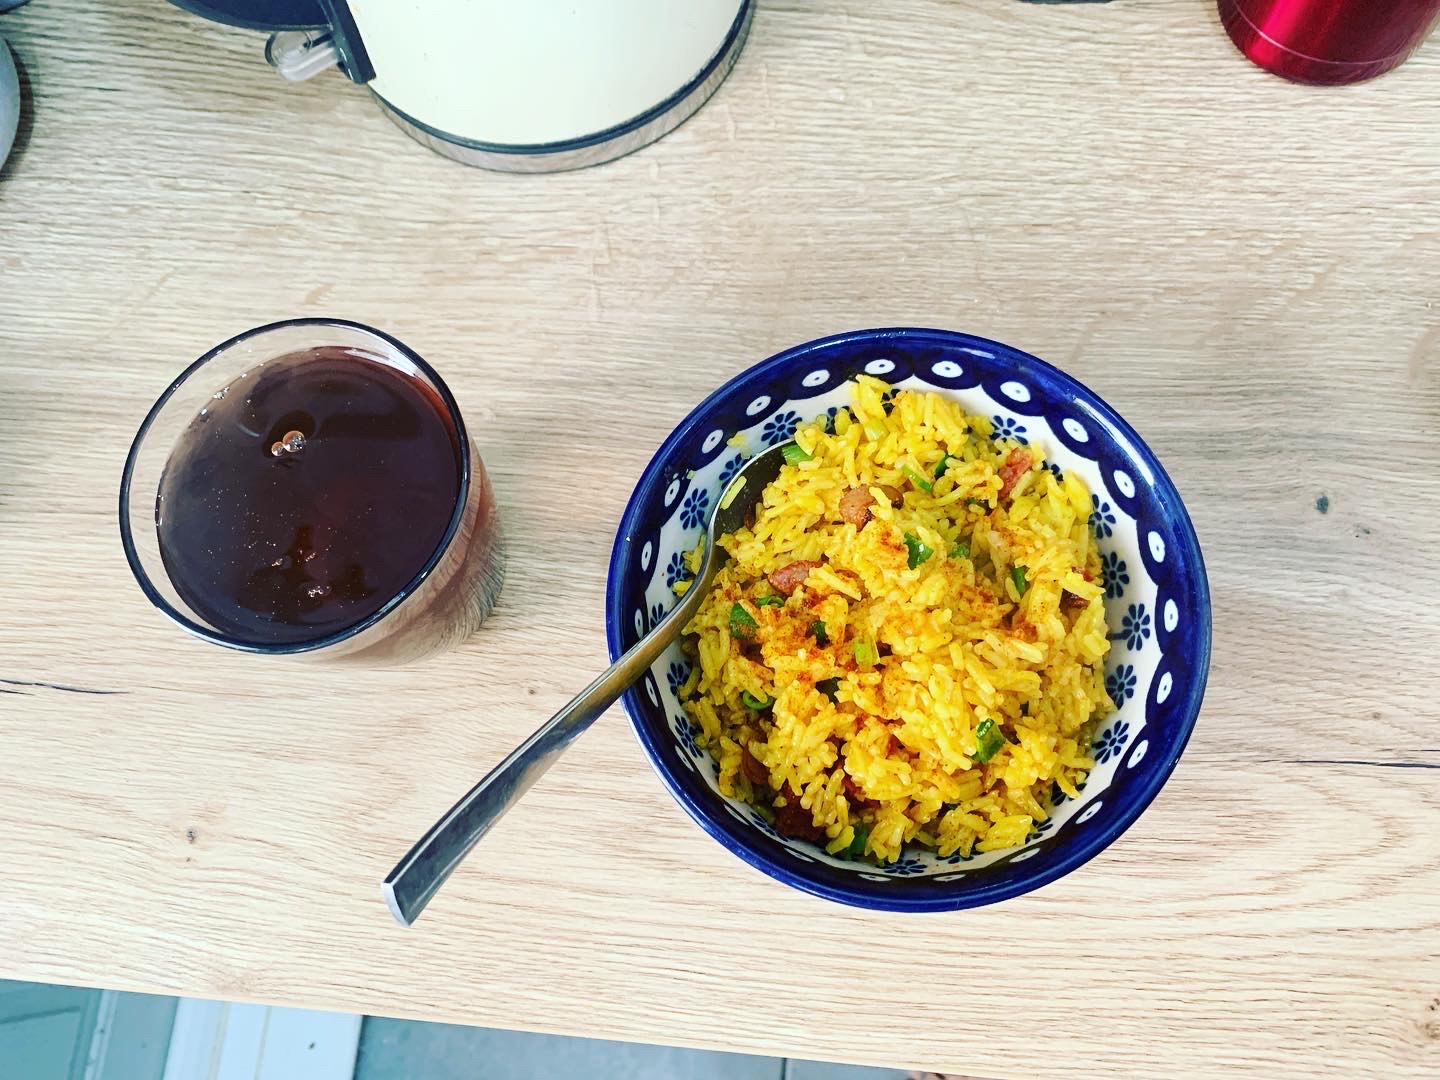
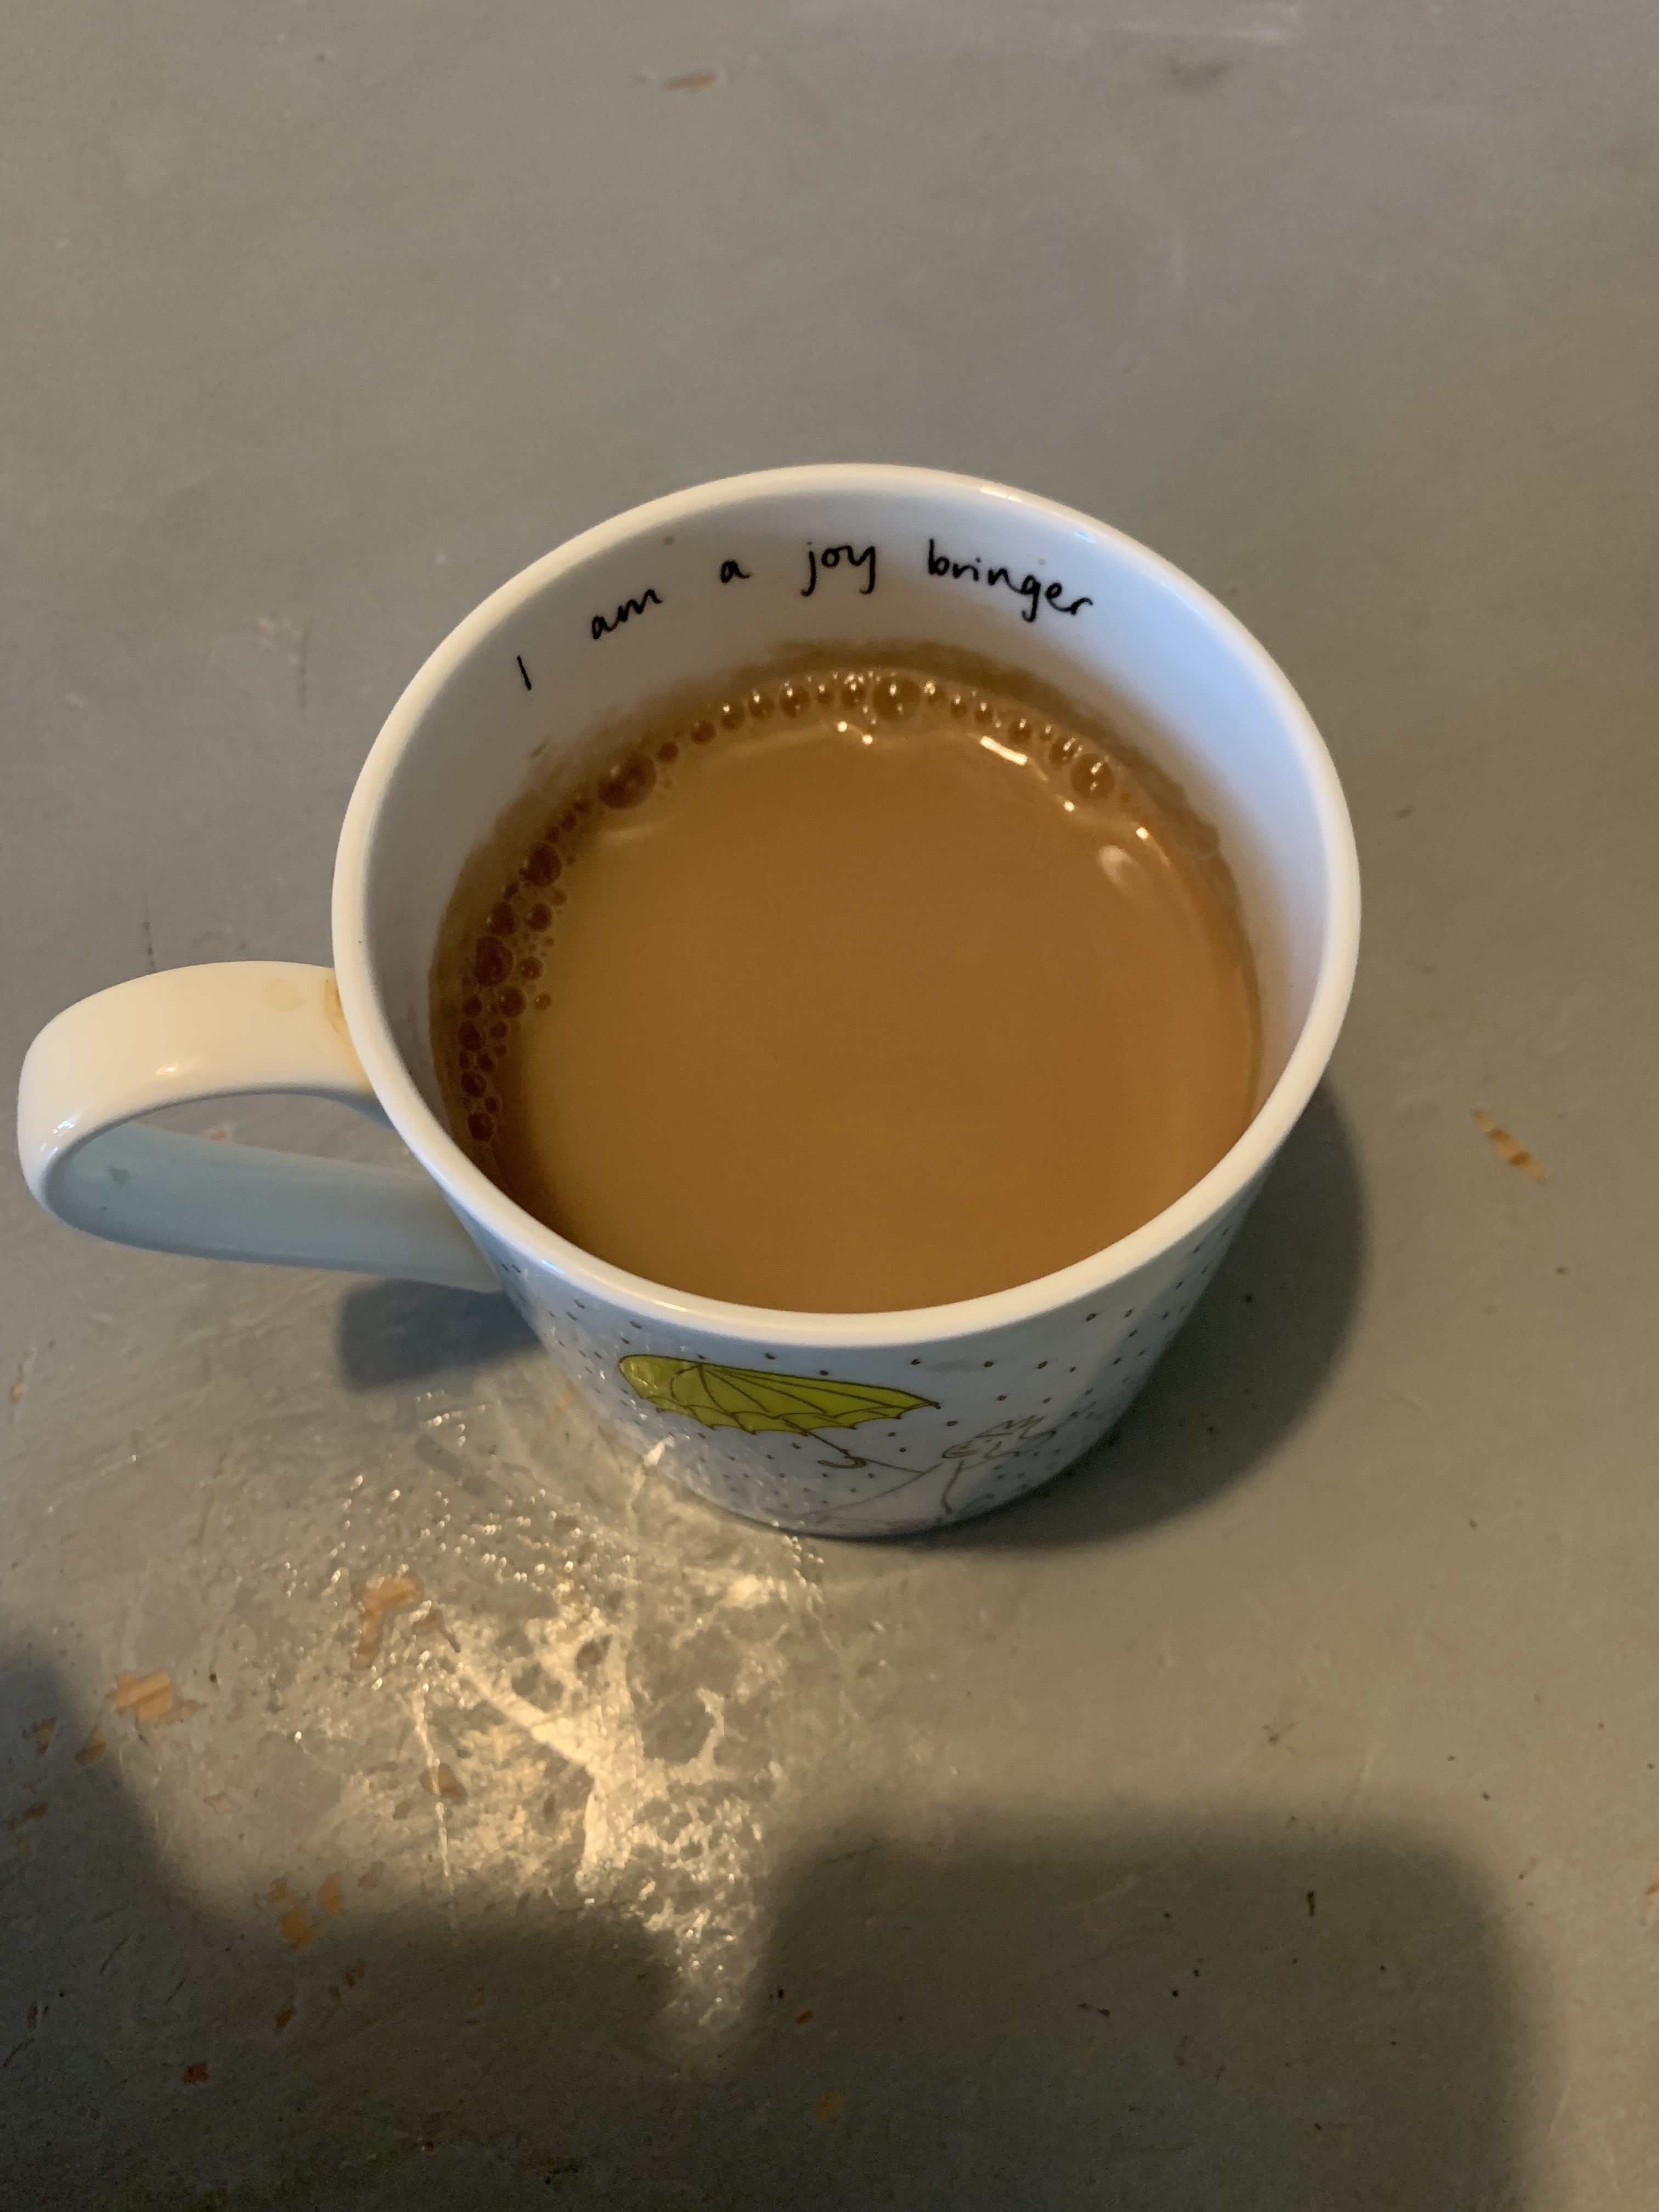
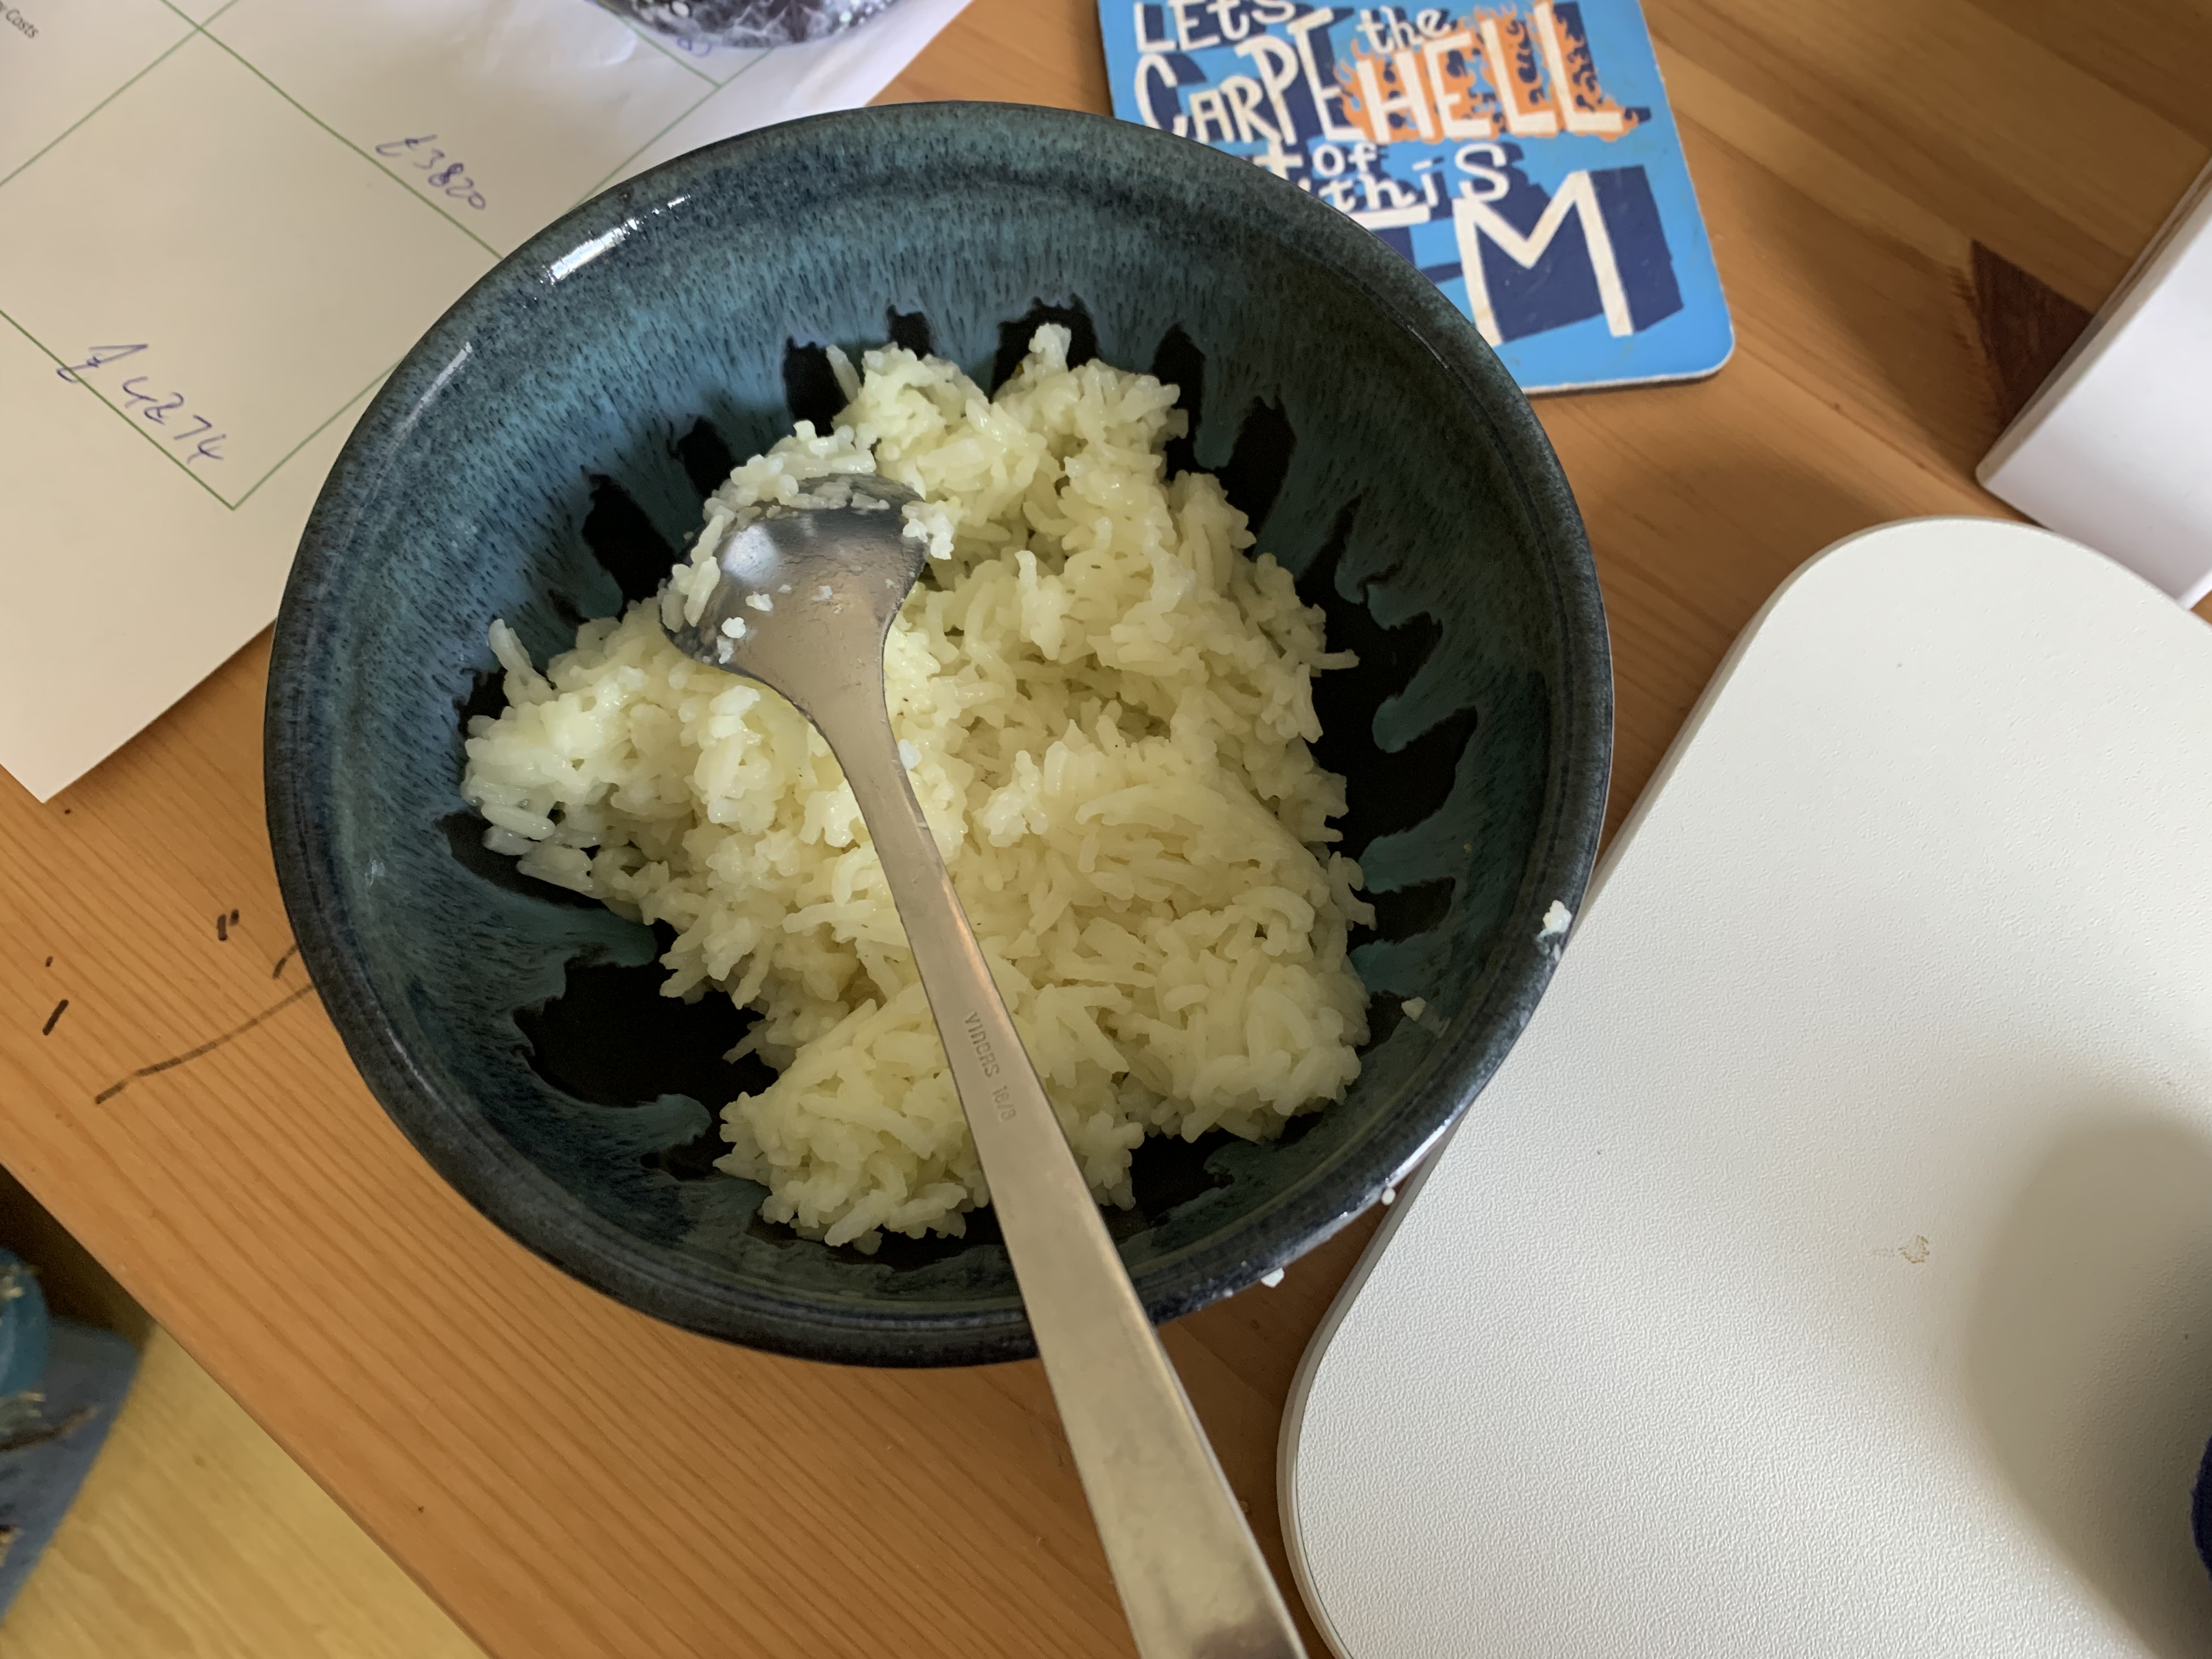
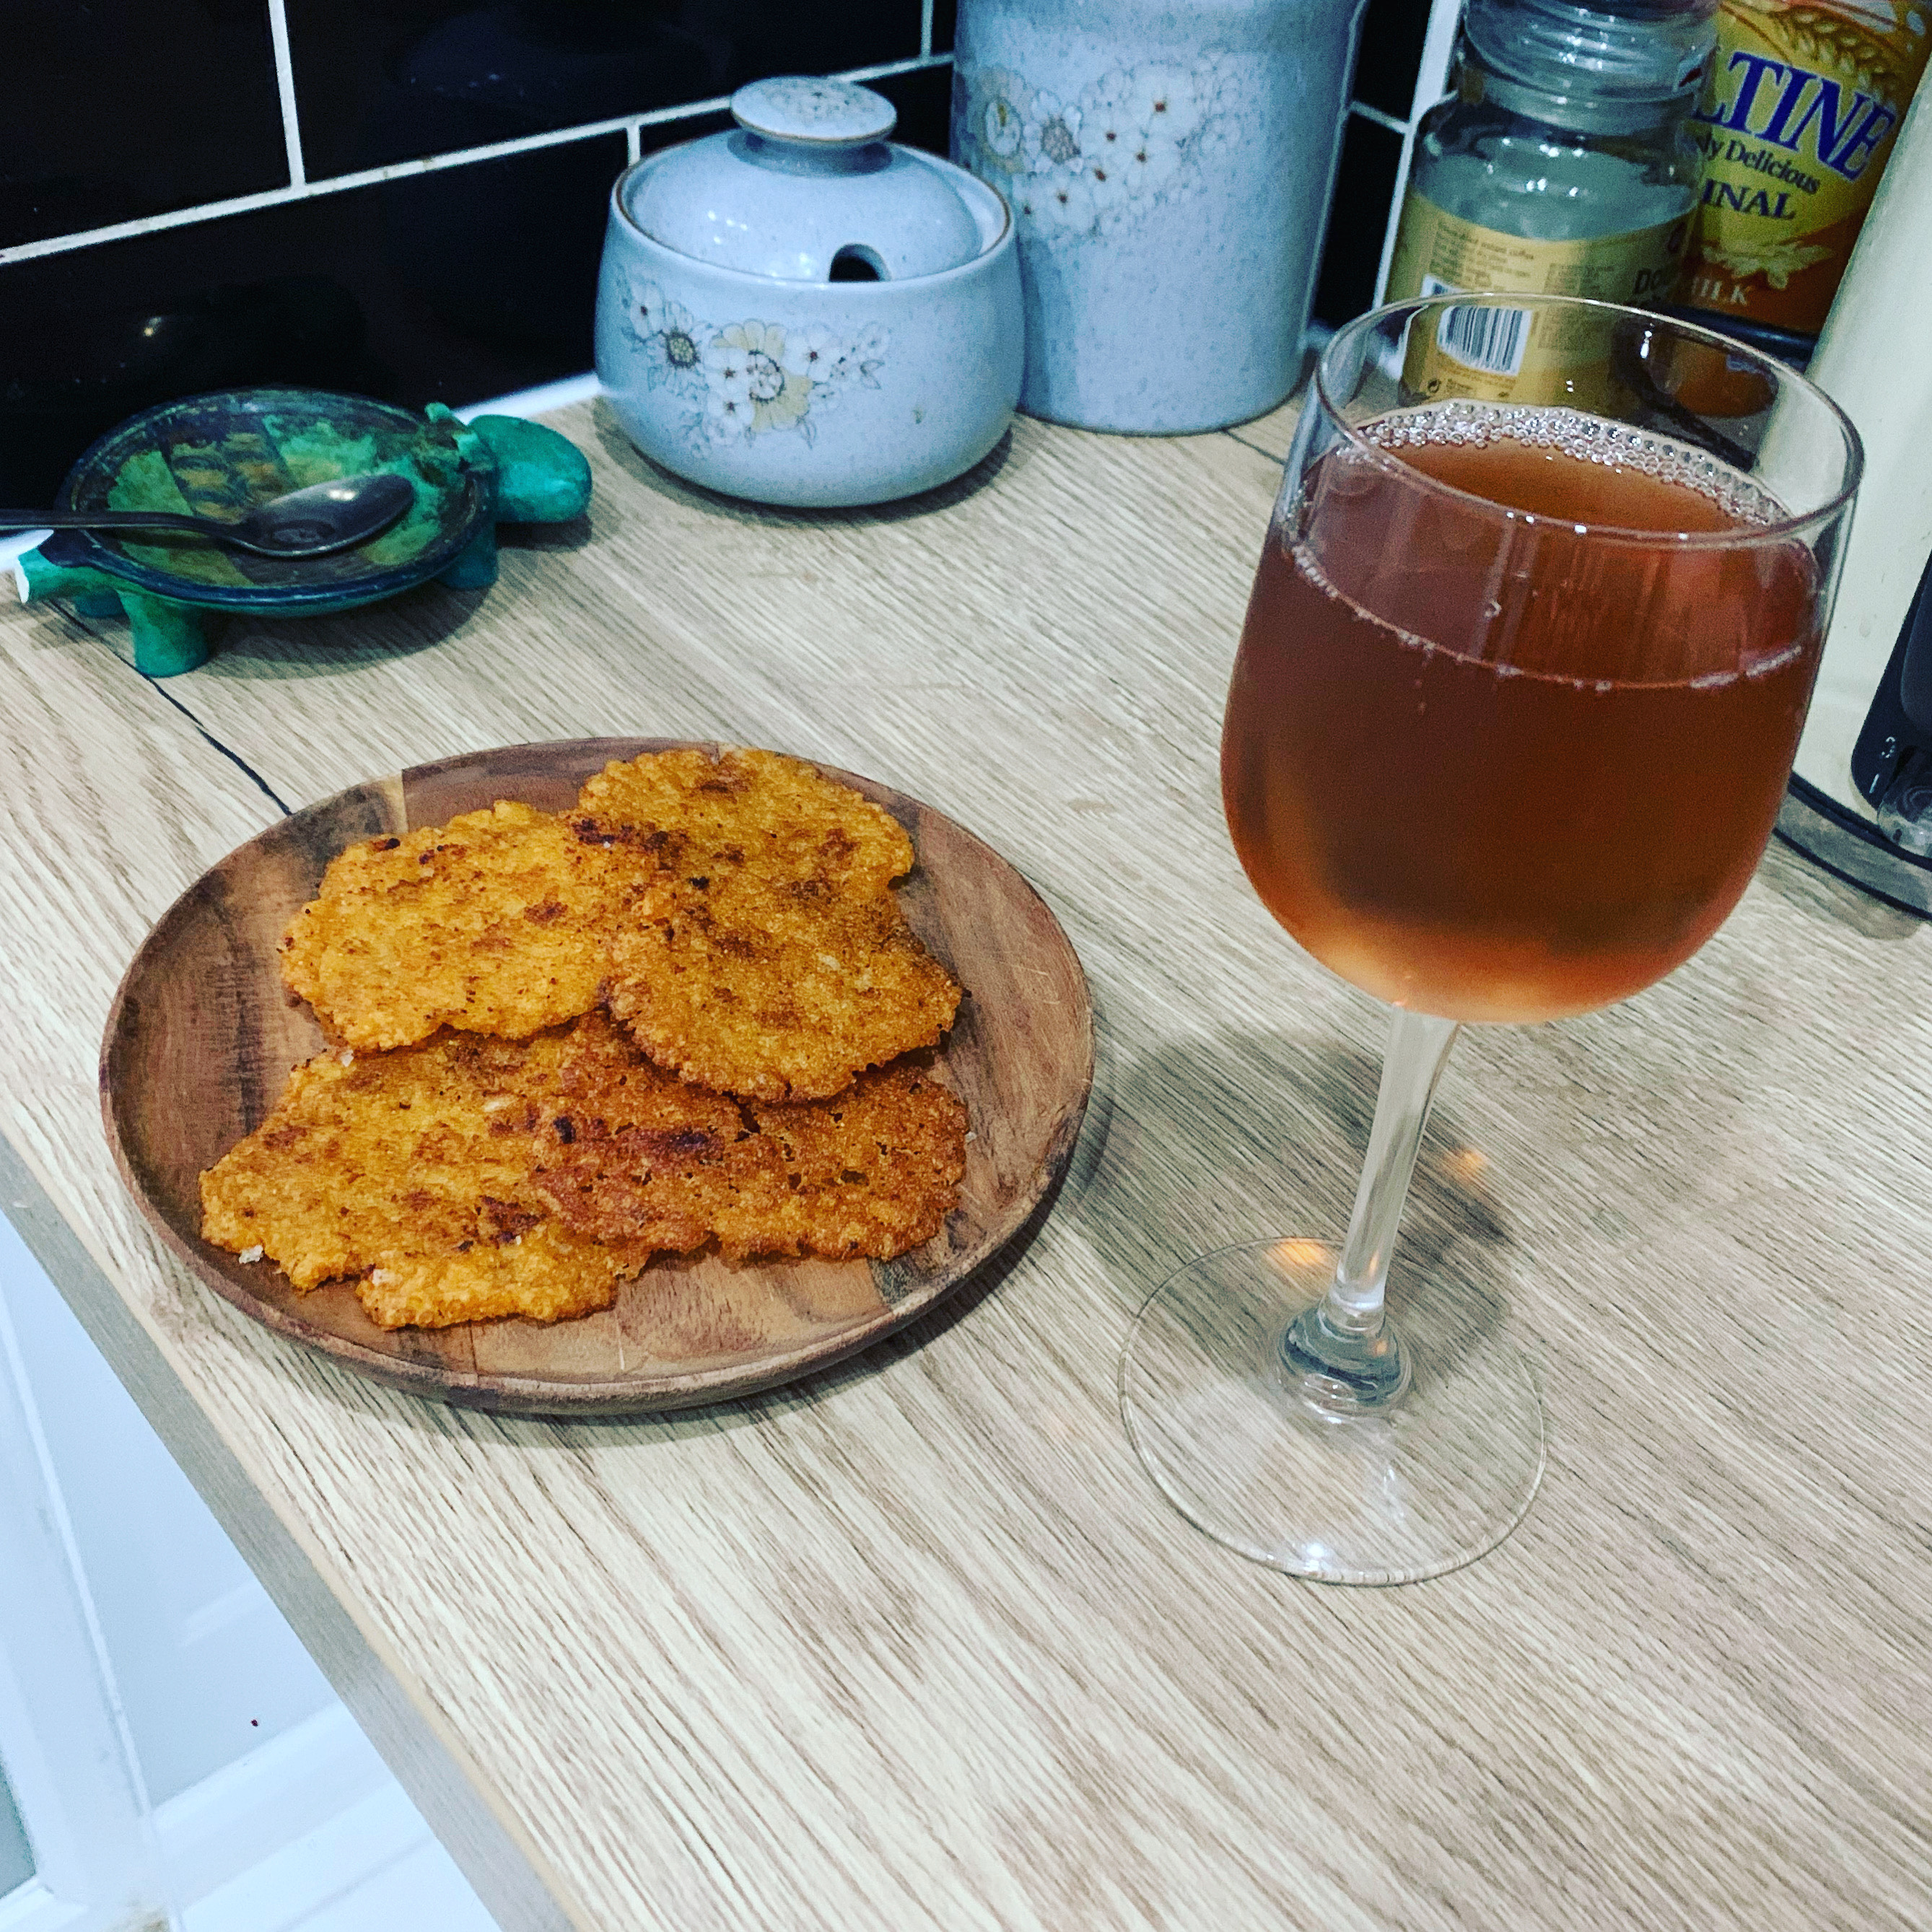
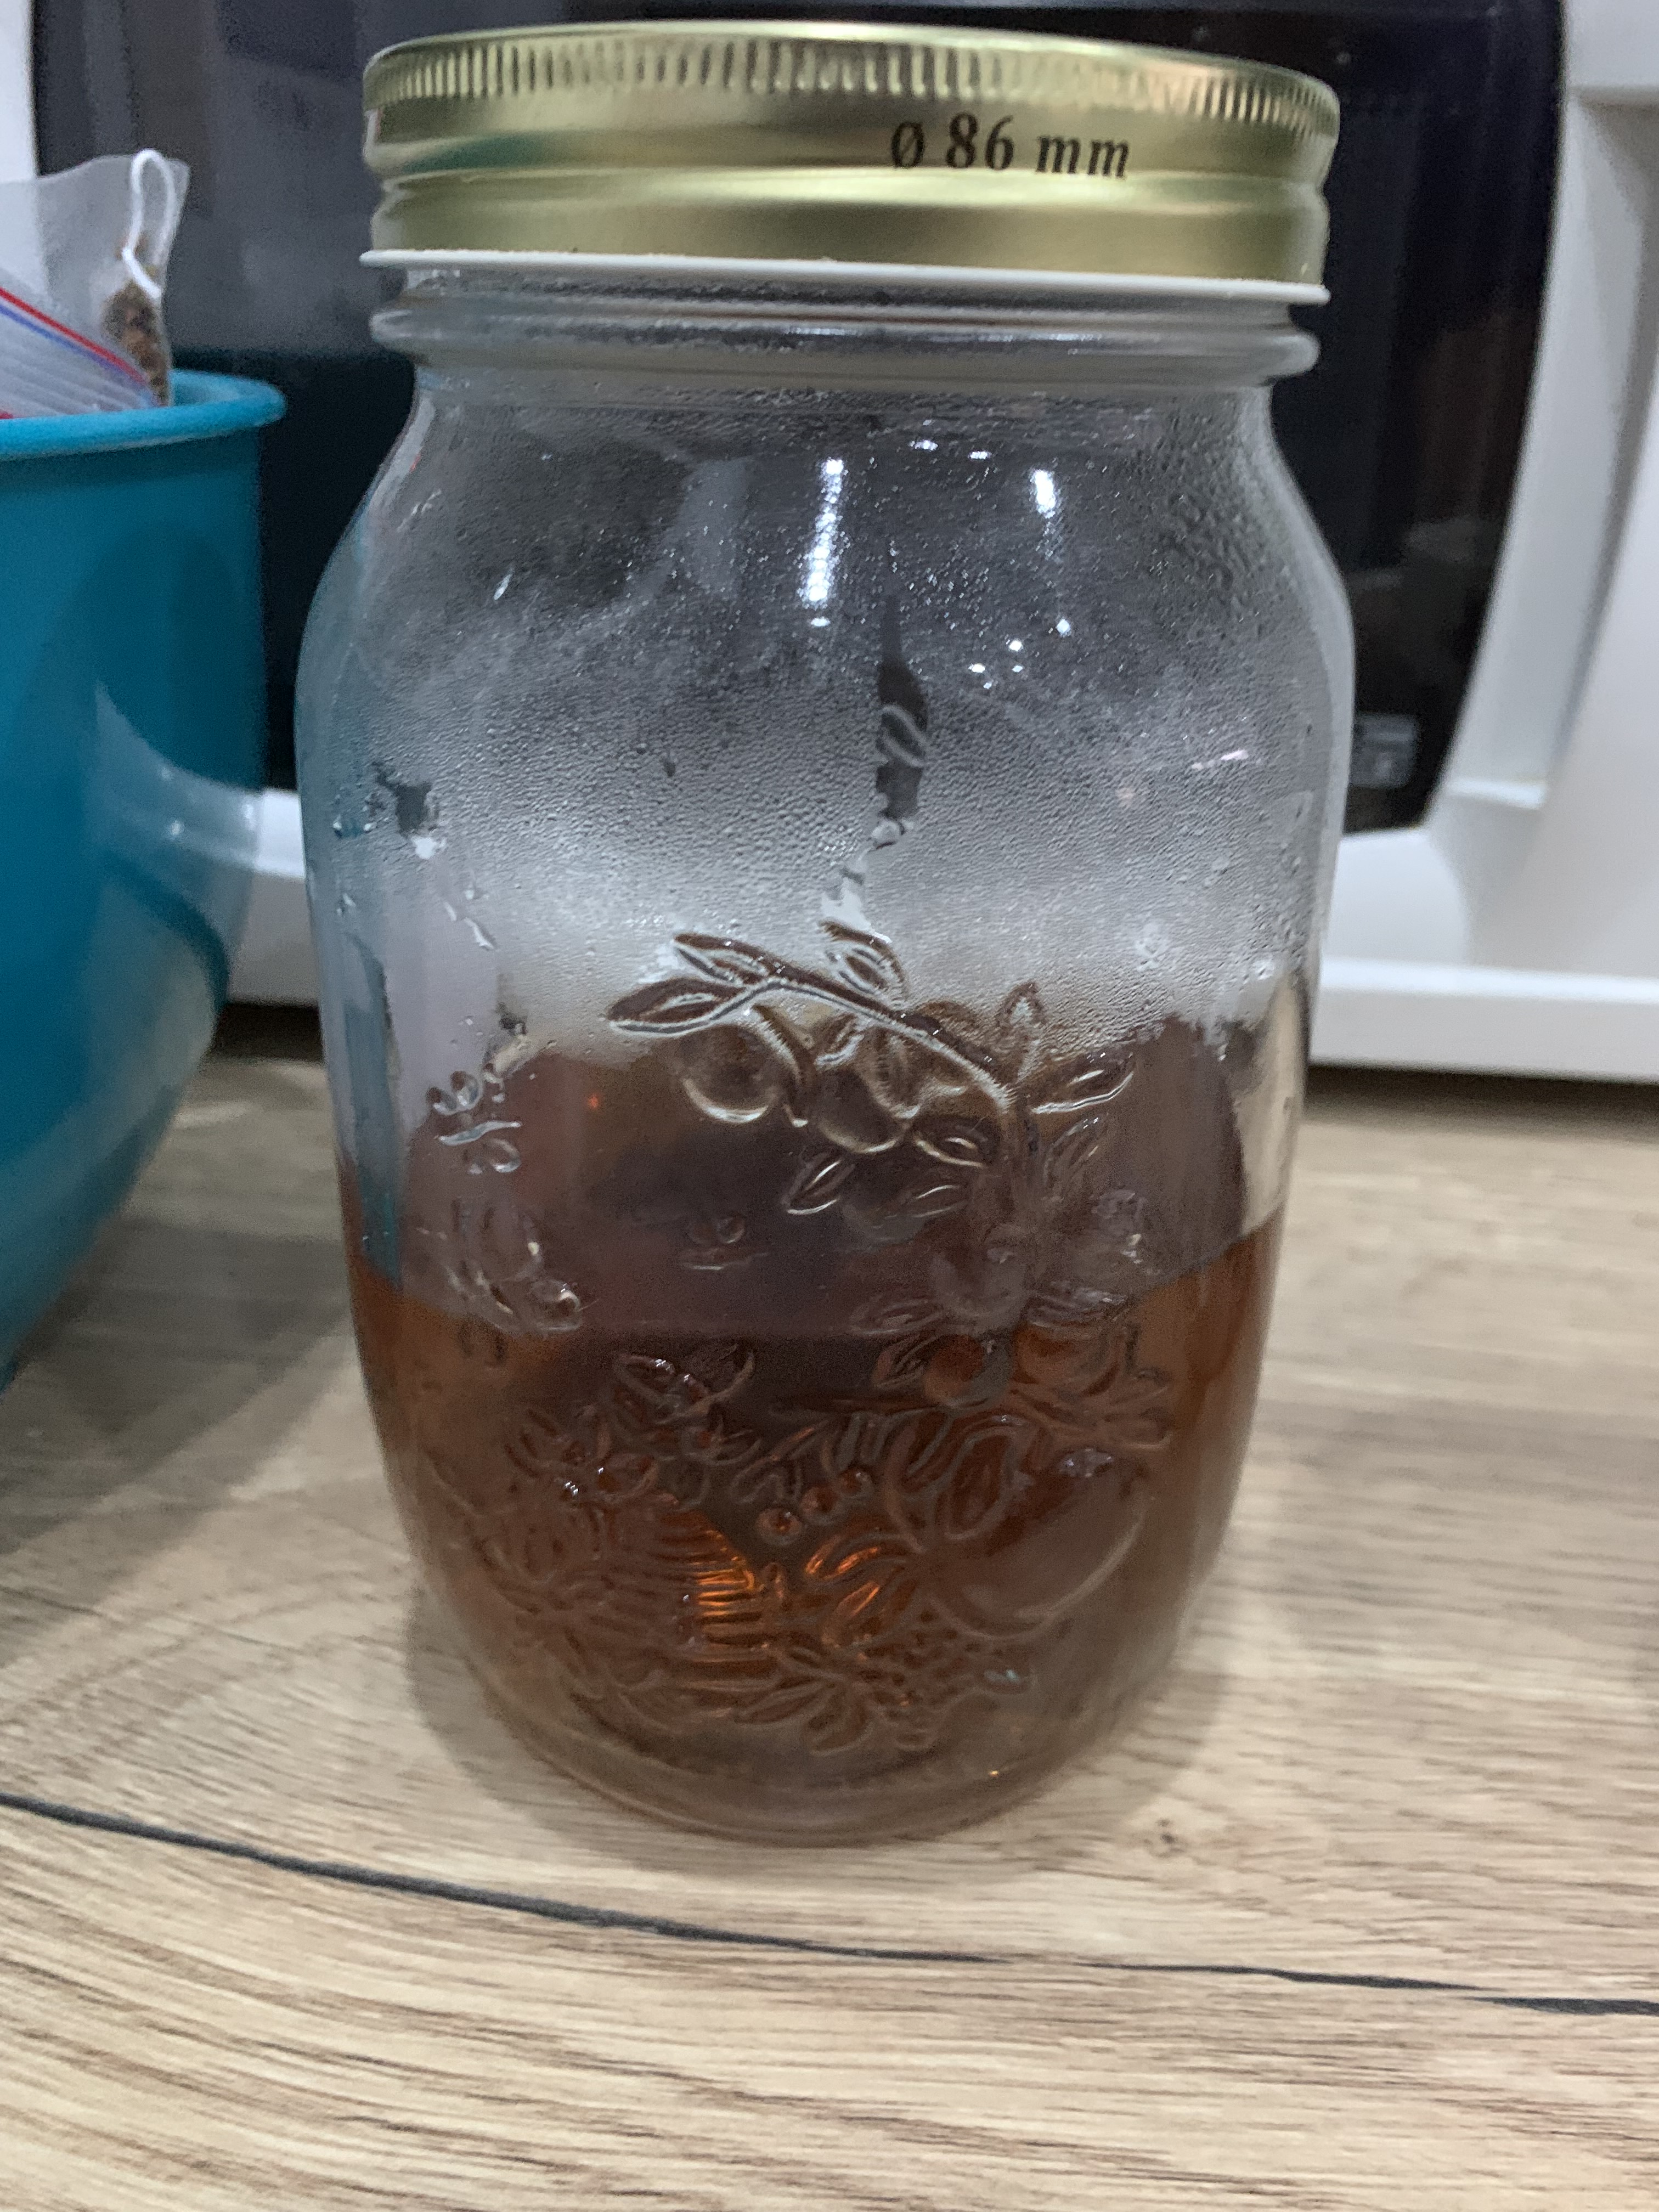
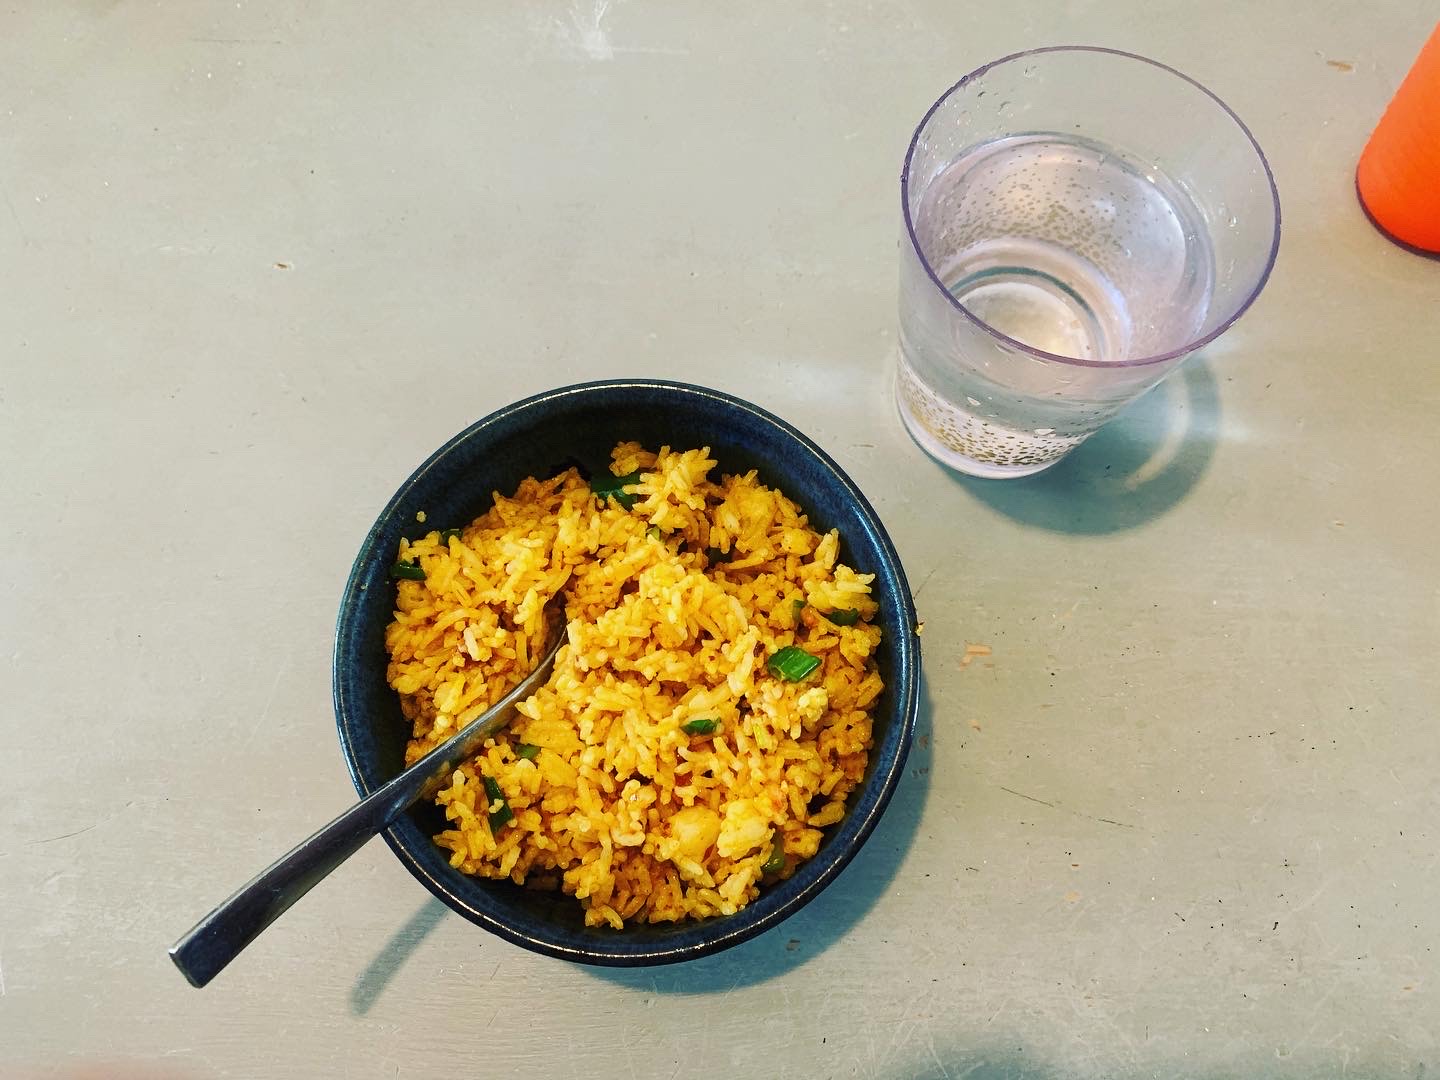
In the evening I polished off the fruit tea and had my last mini glass of wine. I had a litlte more rice and soup later on as a snack.
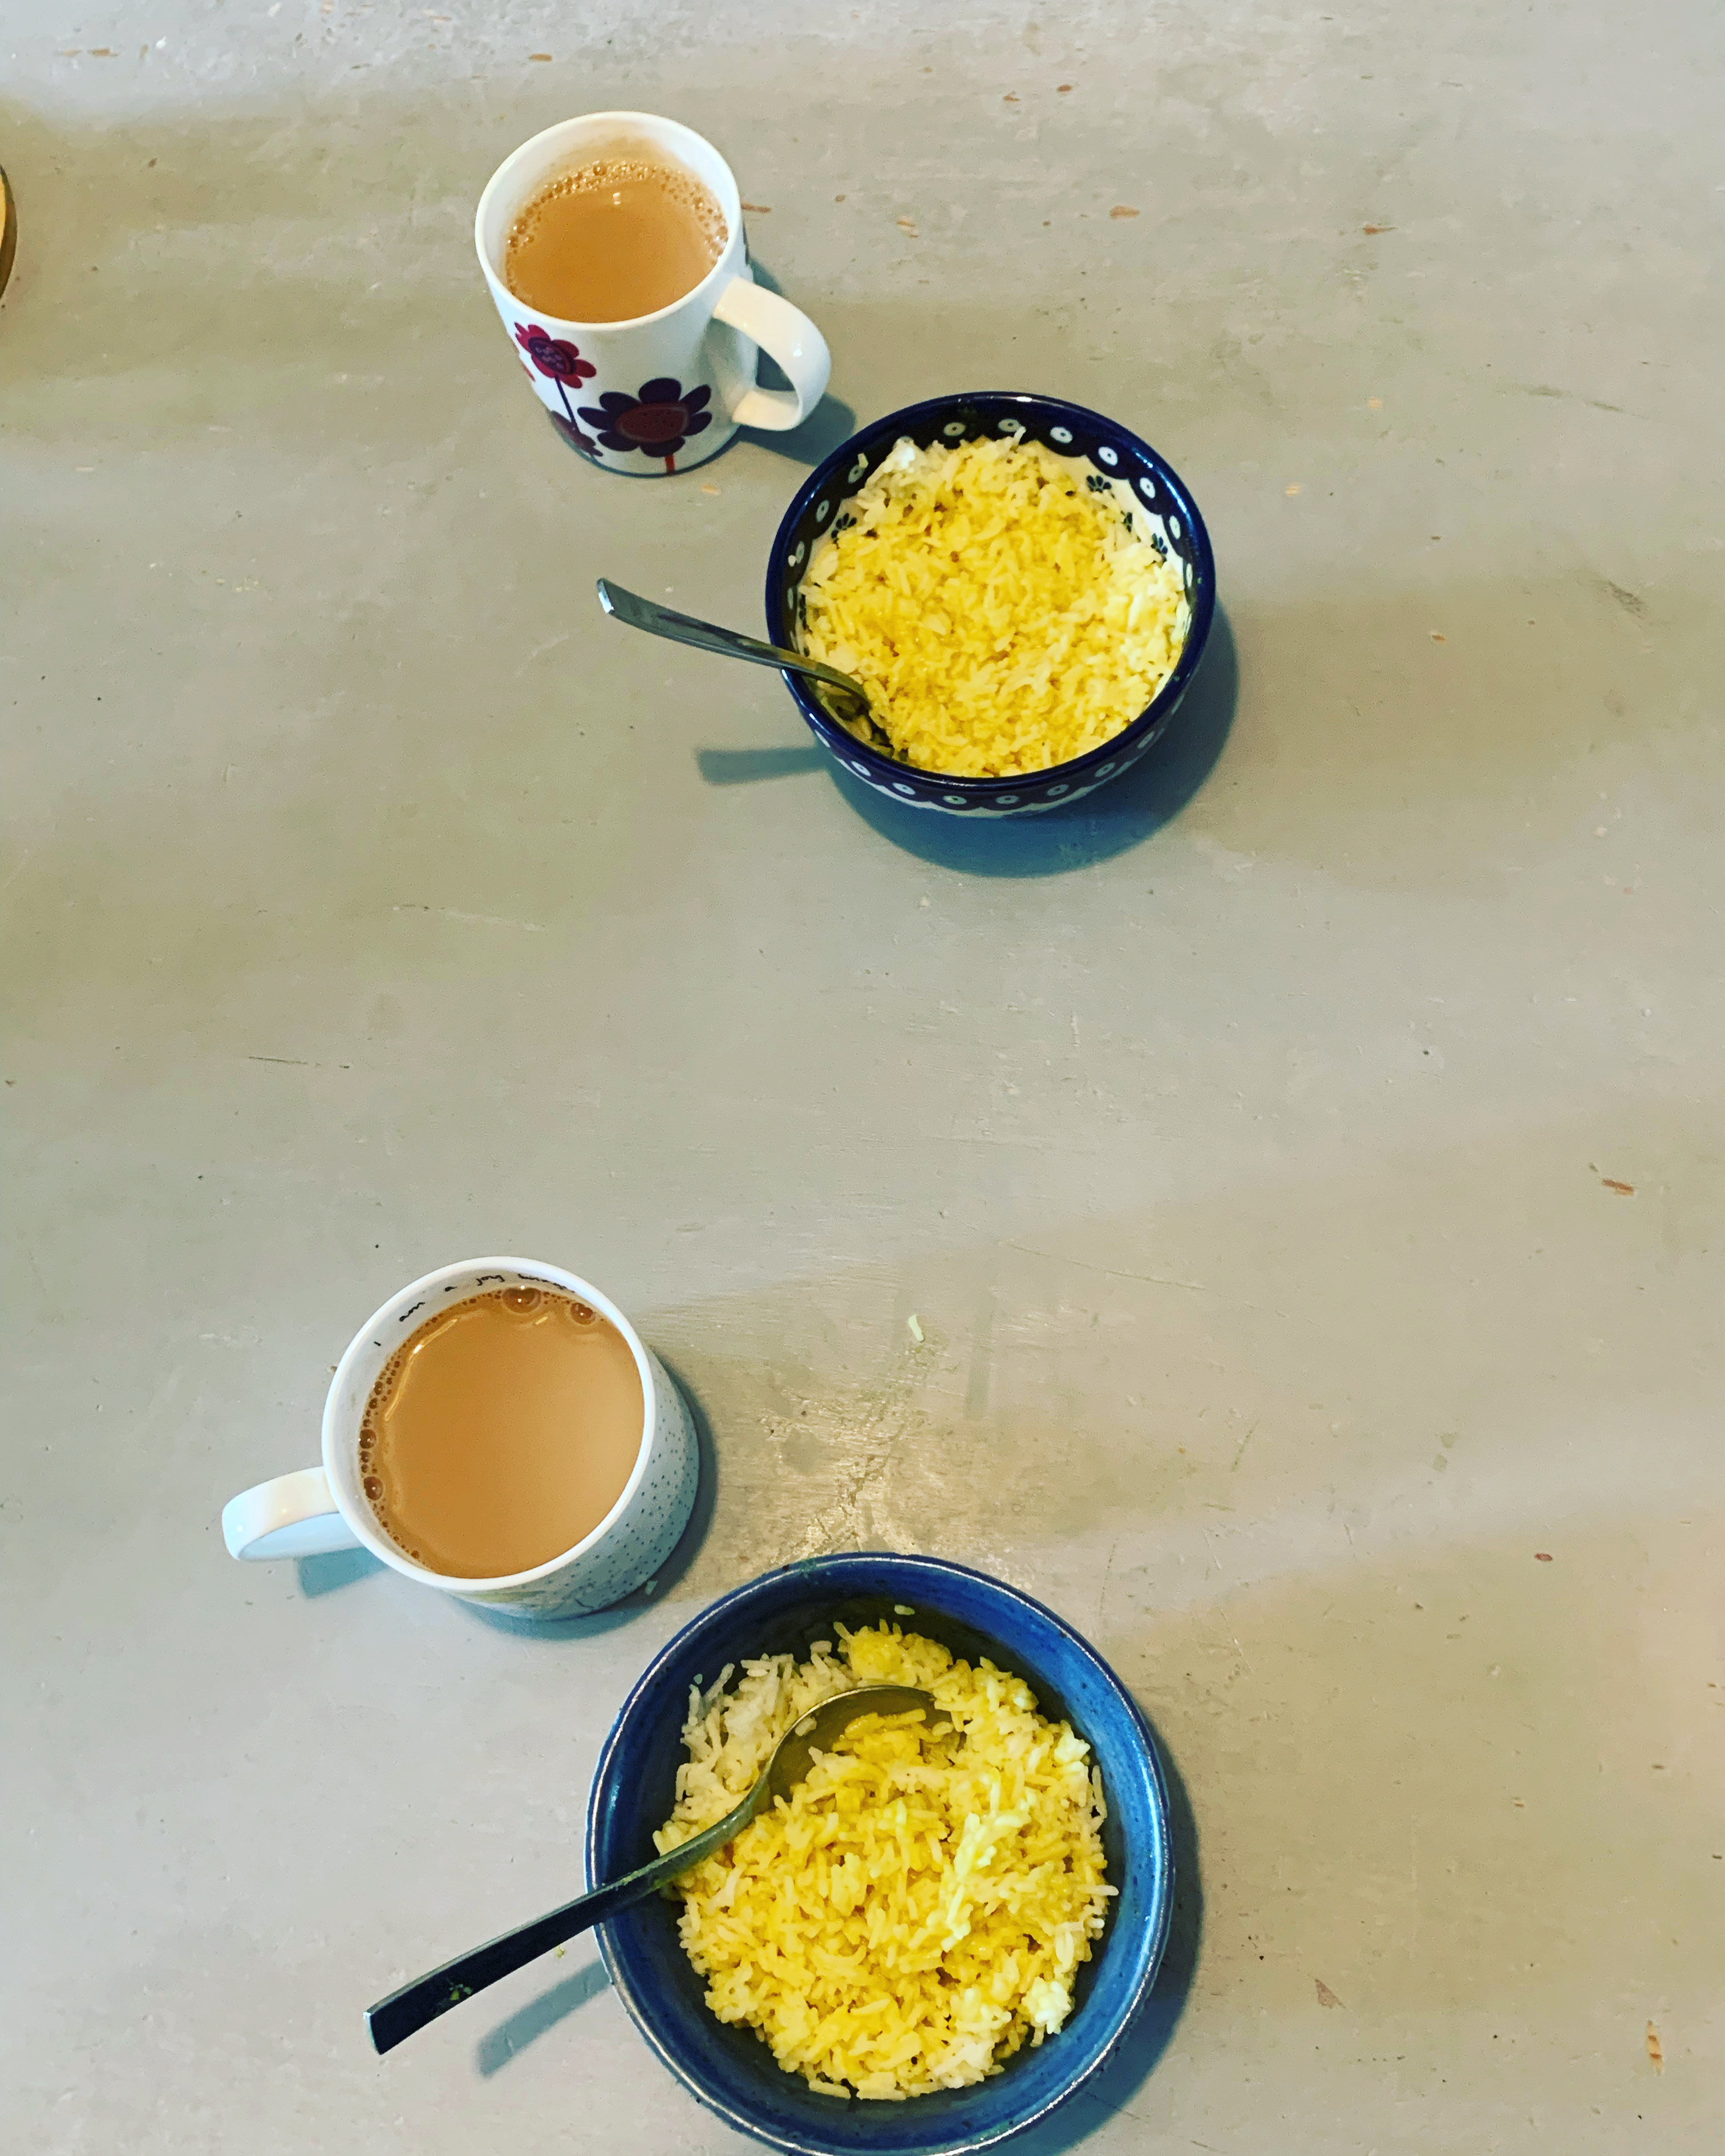
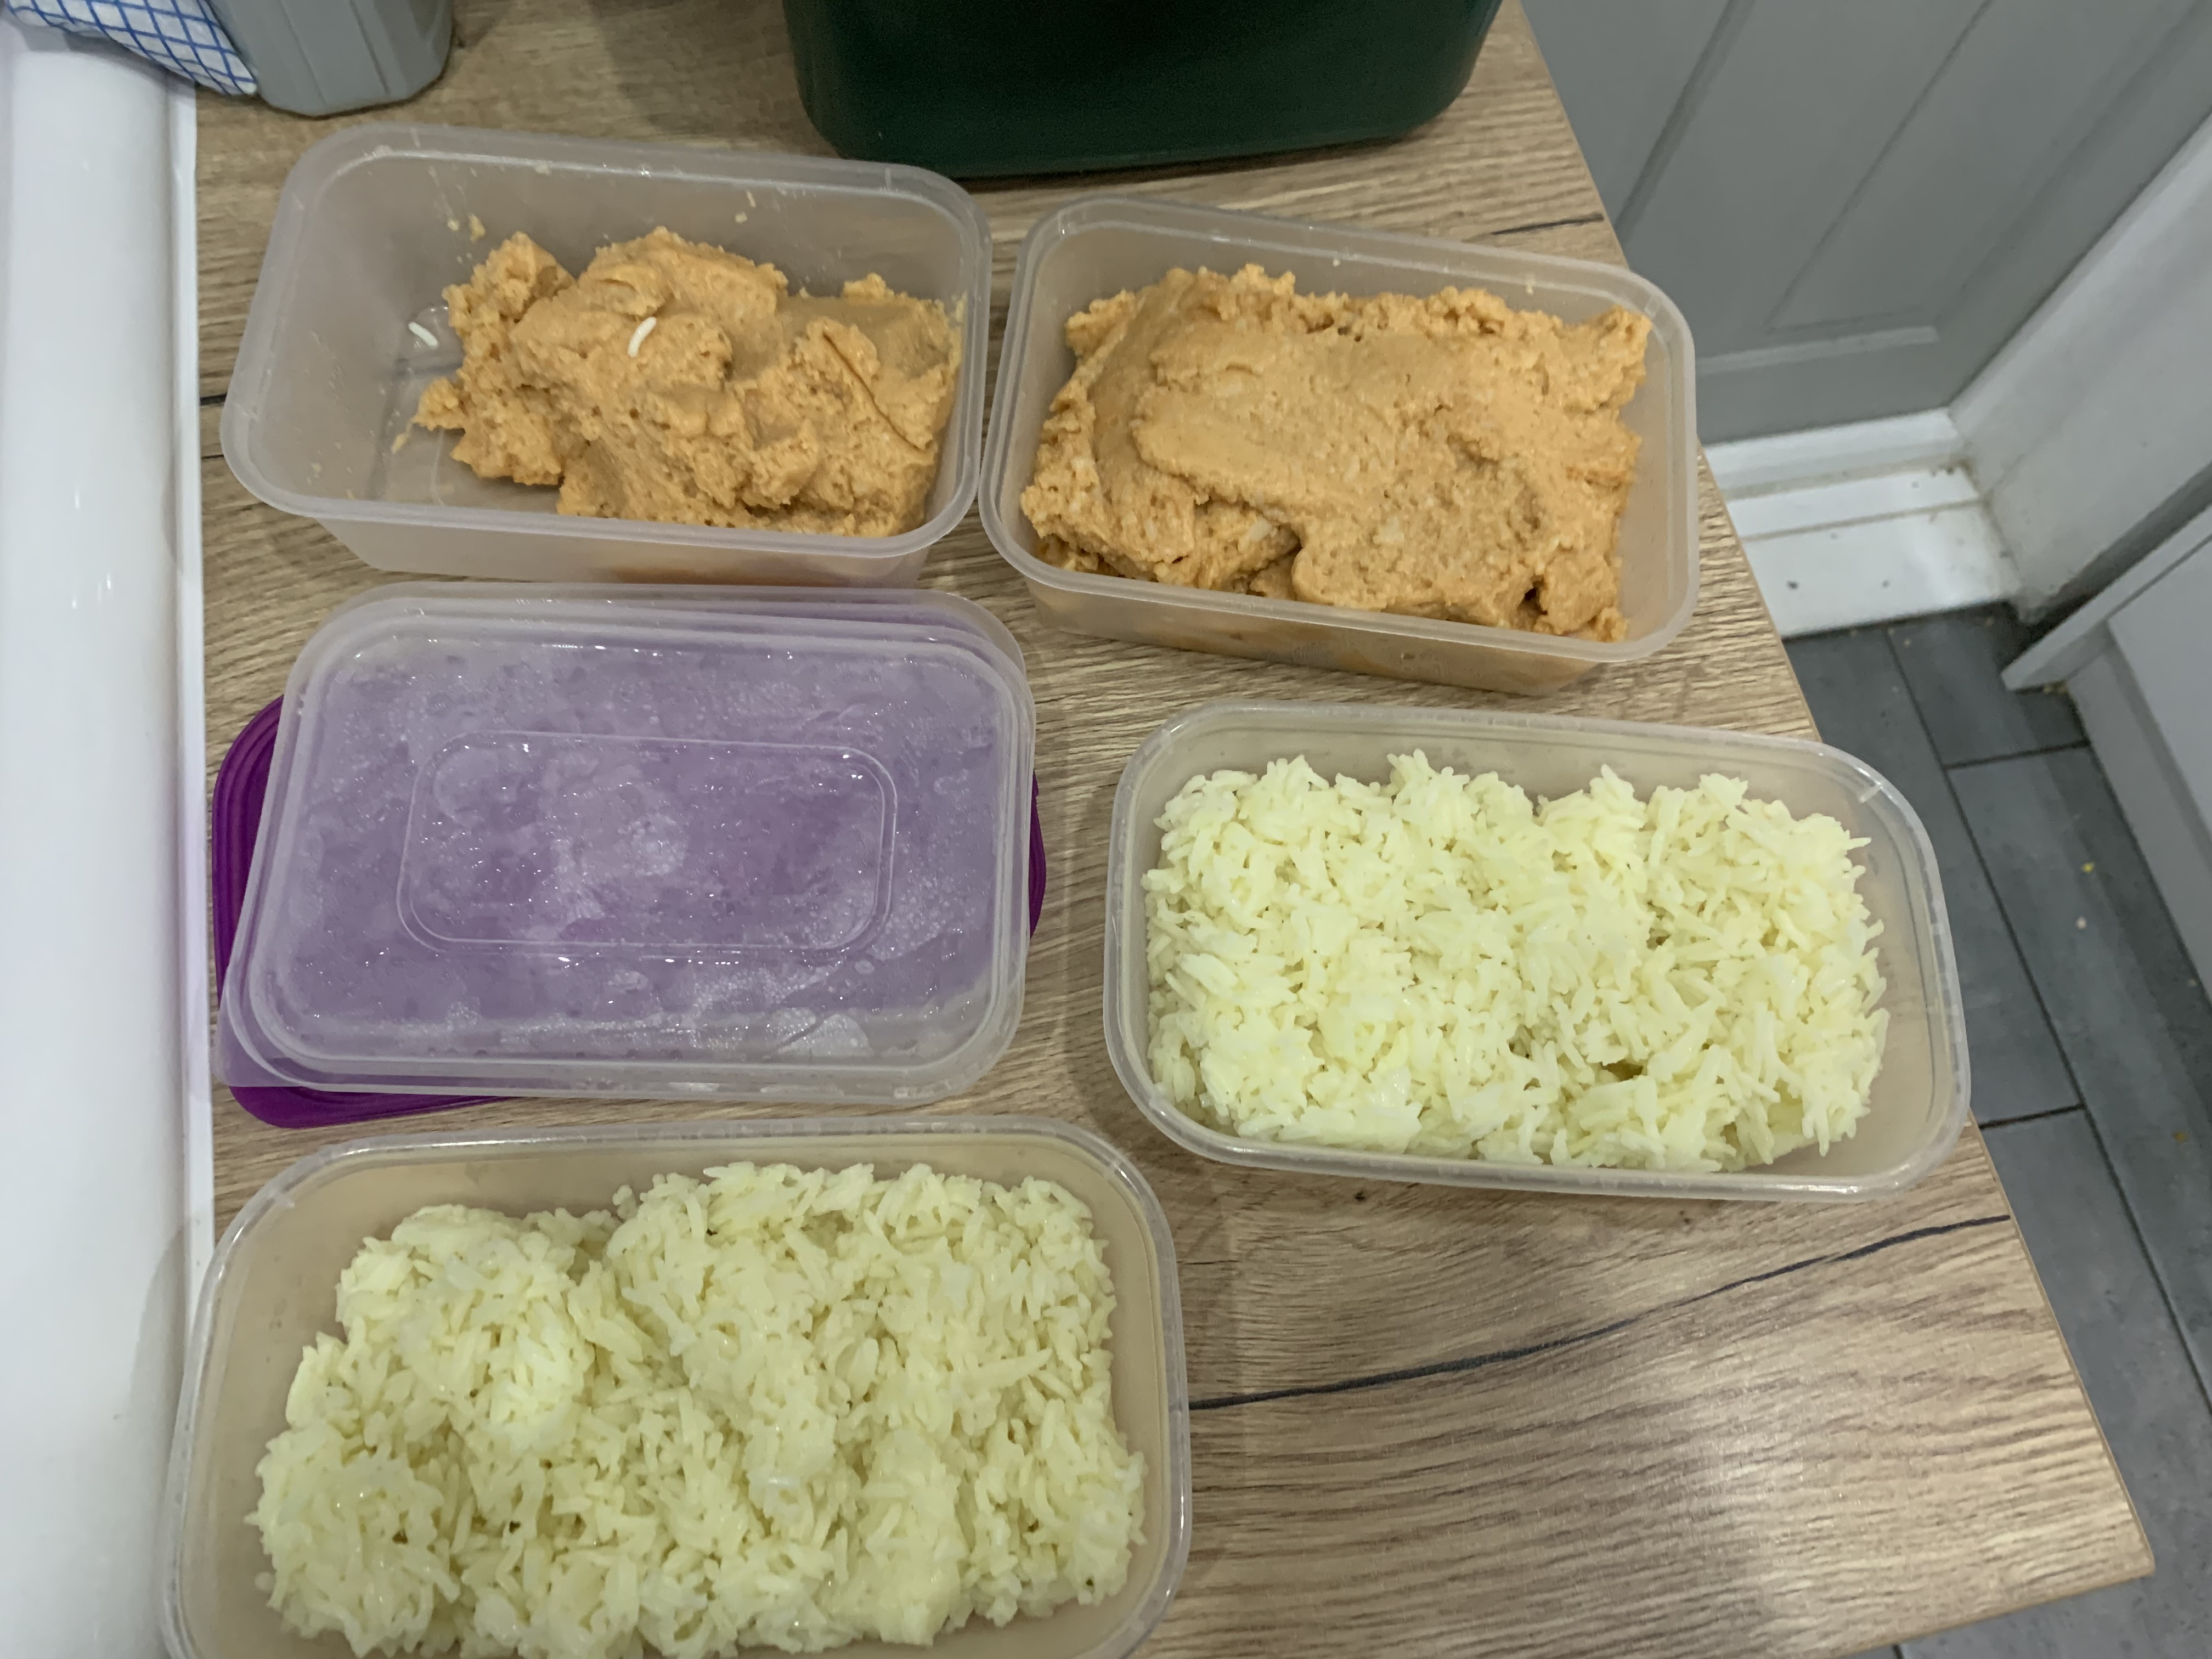
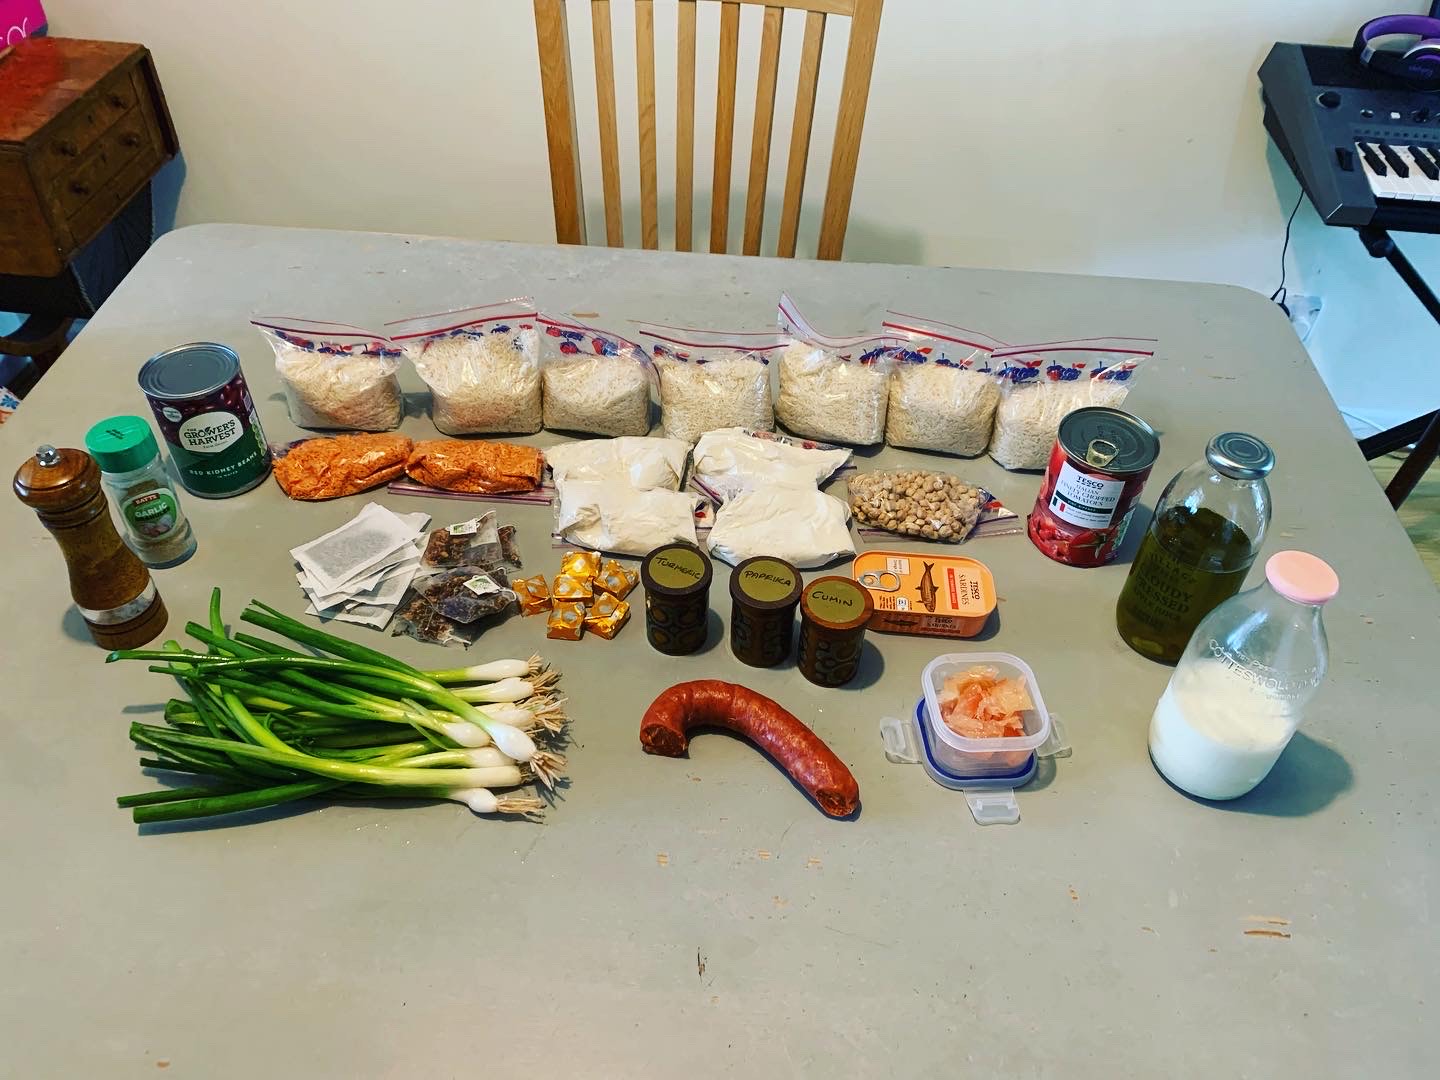
There is LOADS of rice left in the fridge this time around (partly because I cooked S’s rations too) so will be eating a fair bit of rice next week too.
Overall it was a hard week but not as hard as I found it last year.
I think next year I would definitely make my little samosa/pasty/empanadas again, and I would also spread out some of my non-ricey meals a bit more evenly throughout the week. Chicken stock was a game-changer too.
Overall, S and I have jointly raised $2,822 AUD for refugees, and we are pretty proud of our achievement. That’s another ration challenge finished and over until next year….